Creating Cupid
I recently had the idea to make a CGI Cupid character in Blender. I’ve done a bit of 3d modeling in the past, but never something as intricate as making a realistic-seeming human head.
My plan was to follow along with the course Human: Realistic Portrait Creation With Blender, and then add some props at the end. I would probably recommend the course, even though I don’t think I learn best by following along with videos. The instructor’s attention to detail is super strong, and I learned a ton of Blender tricks along the way.
Altogether, this project probably took me somewhere in the range of 30–40 hours of work. The final image rendered in about 2.5 hours.
Gaining Realism
I don’t want to spoil the course (and it’d be hard to spoil 25 hours of video in a single blog post anyways) but I do think it’s pretty cool to see how this project evolved. We started with a simple blockout of basic structures: a long divot to set the eyes in, two lumpy flaps for the ears, a flattened sphere for the top of the head, a triangular mound for the nose.
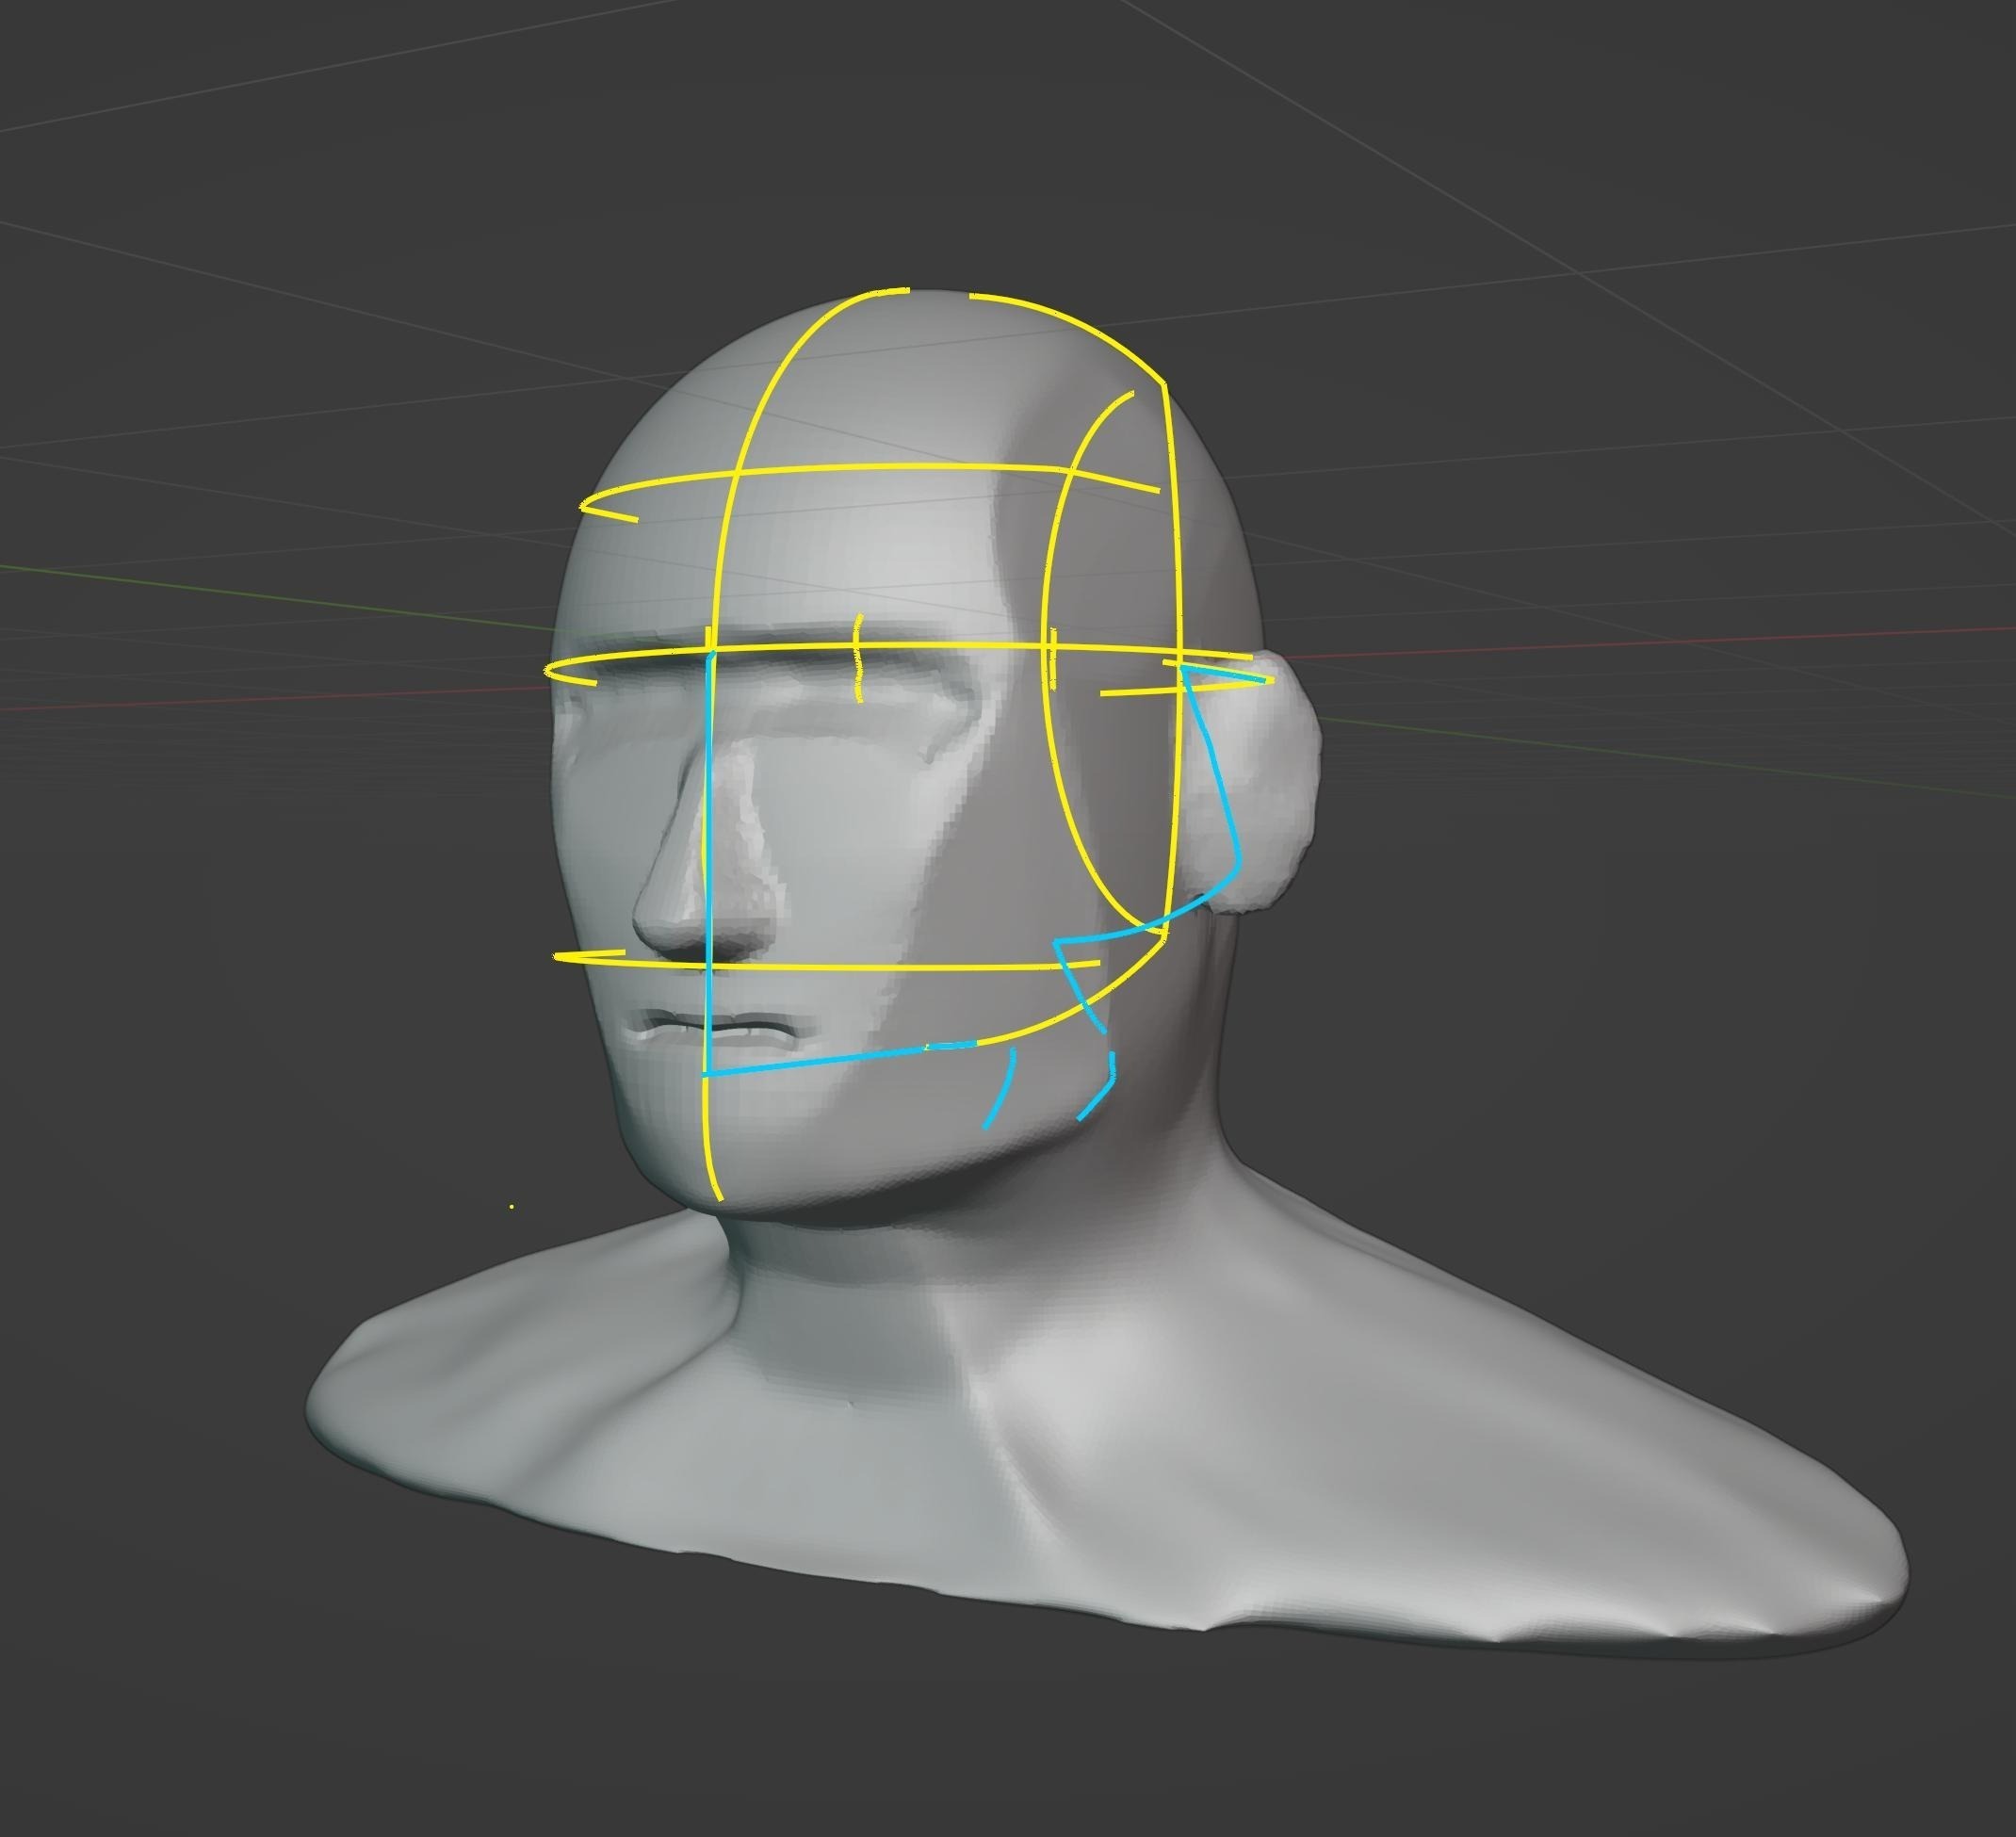
Proportions are very important to the final look of a character. I knew I wanted Cupid to look “buff” (even at the risk of slightly verging into unrealistic “superhero” territory), so started building a strong, sharply defined jawline and moved the cheekbones pretty high.
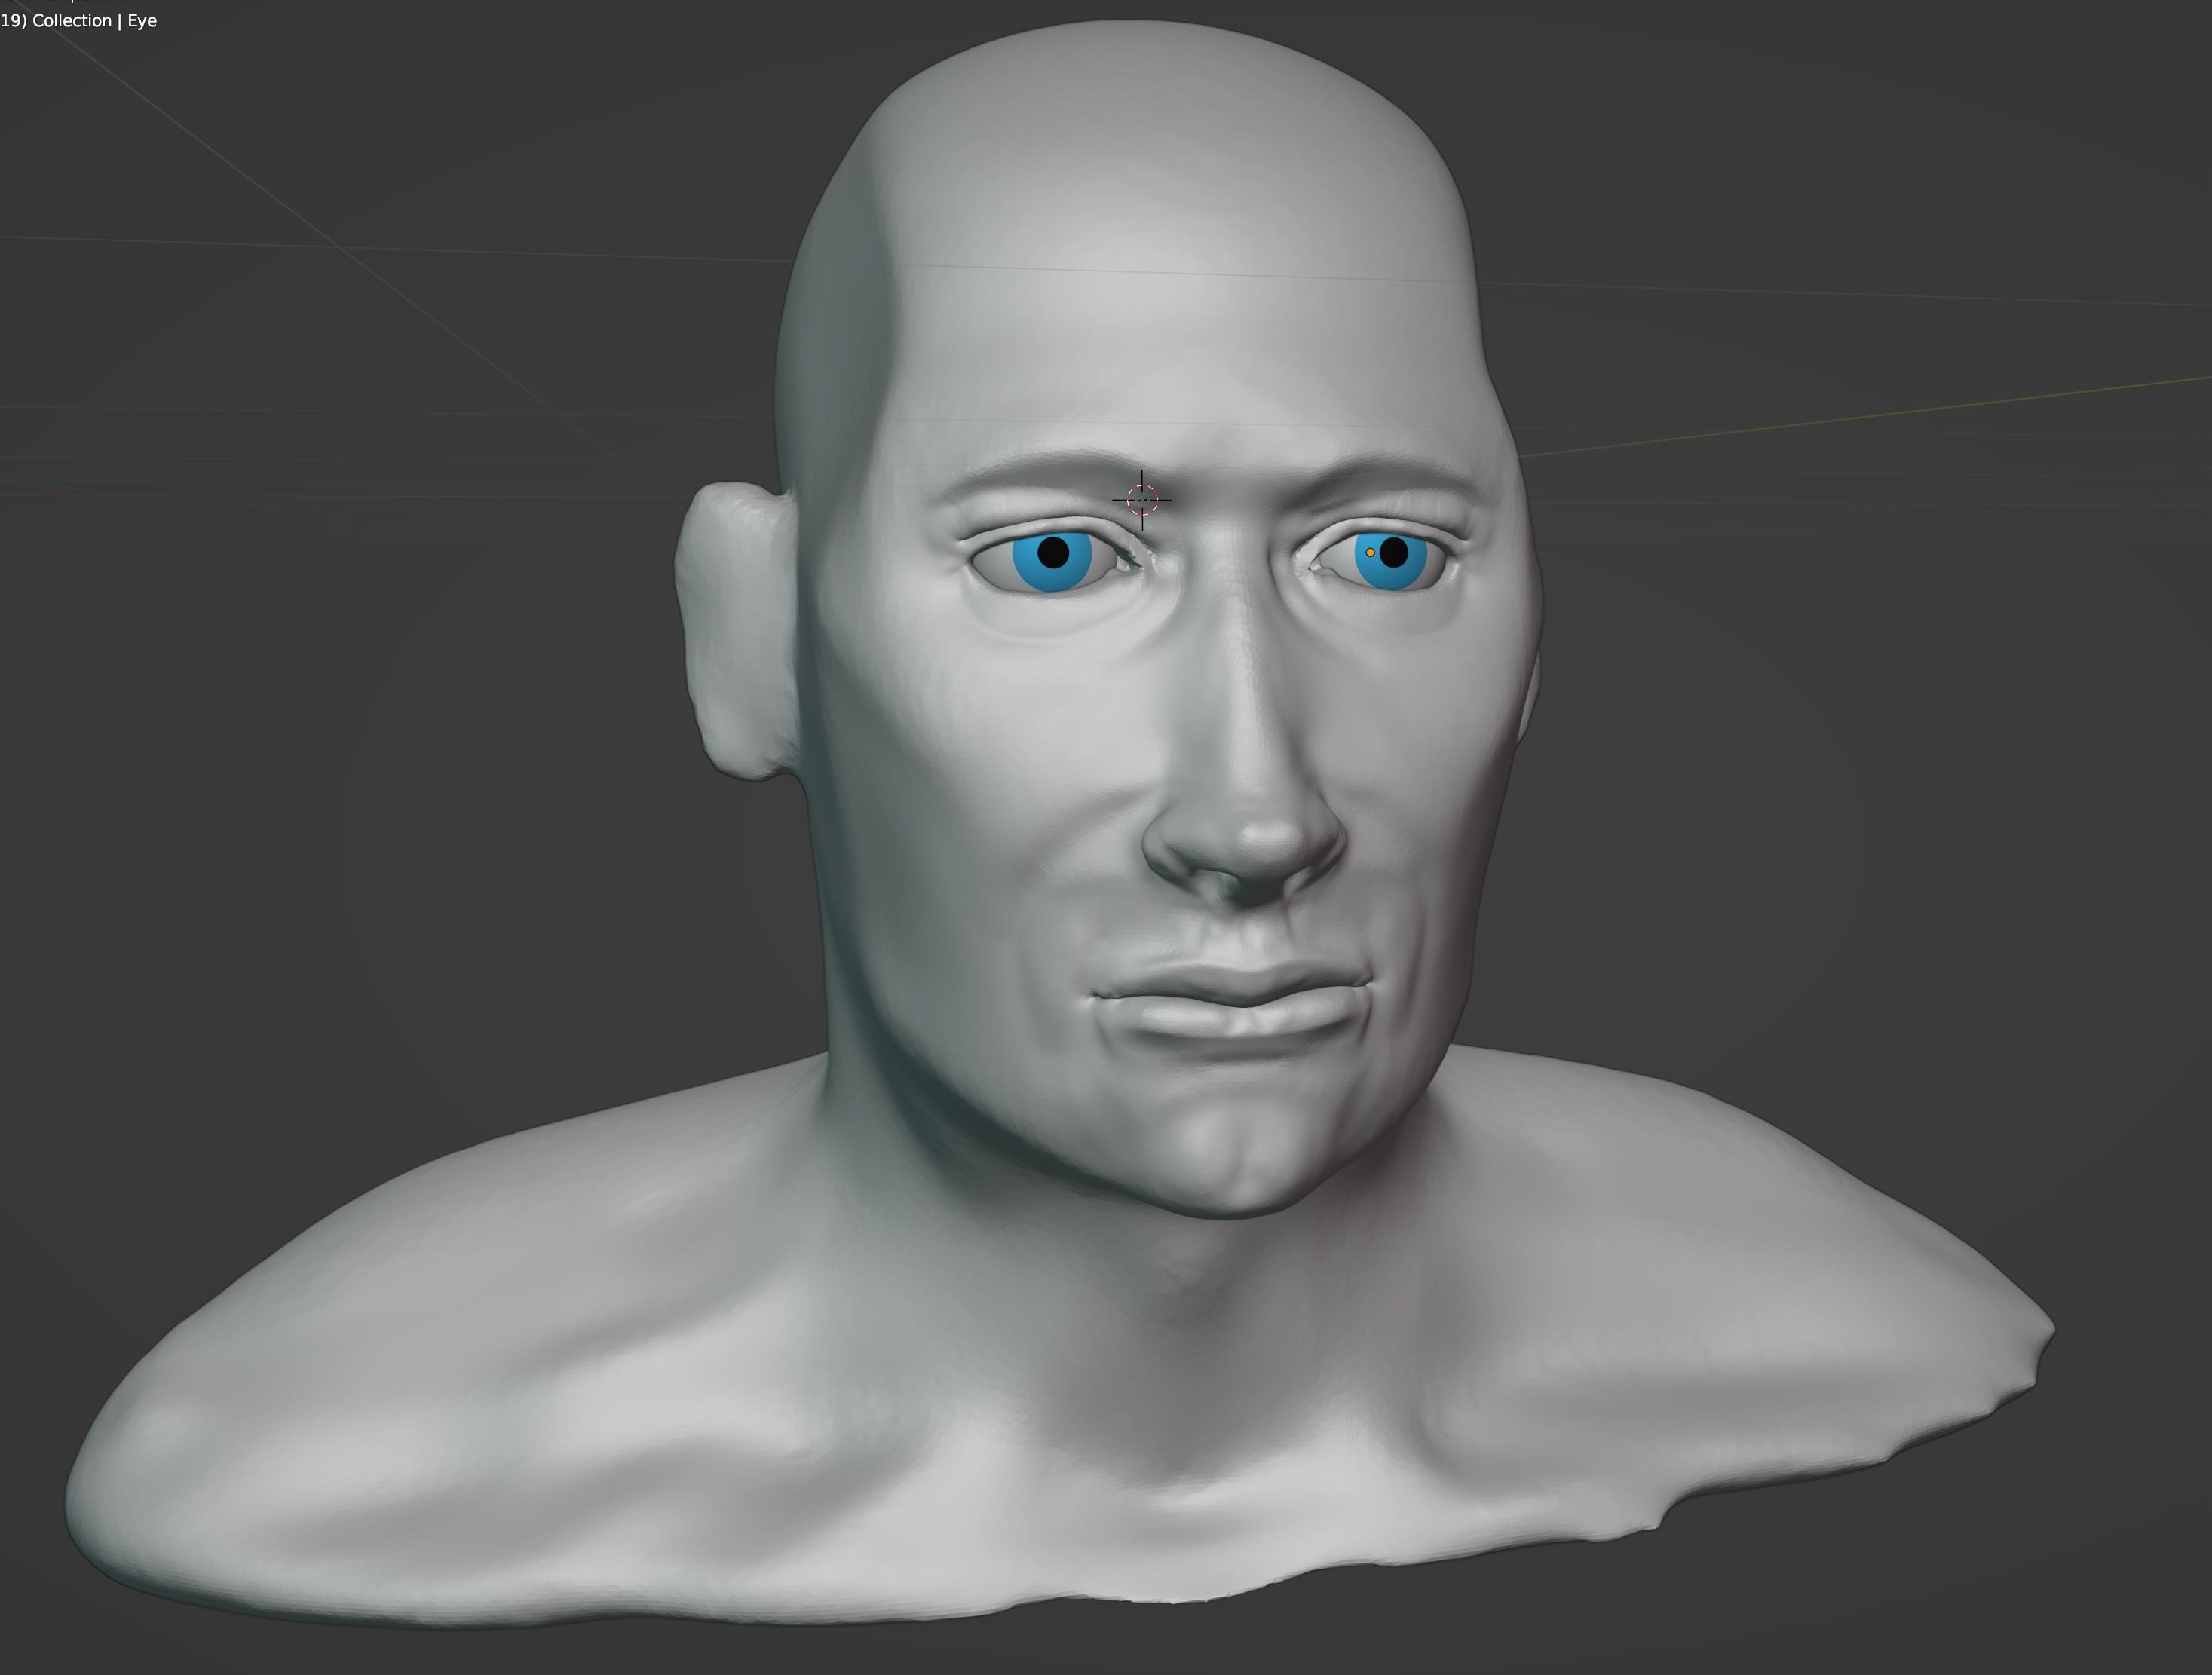
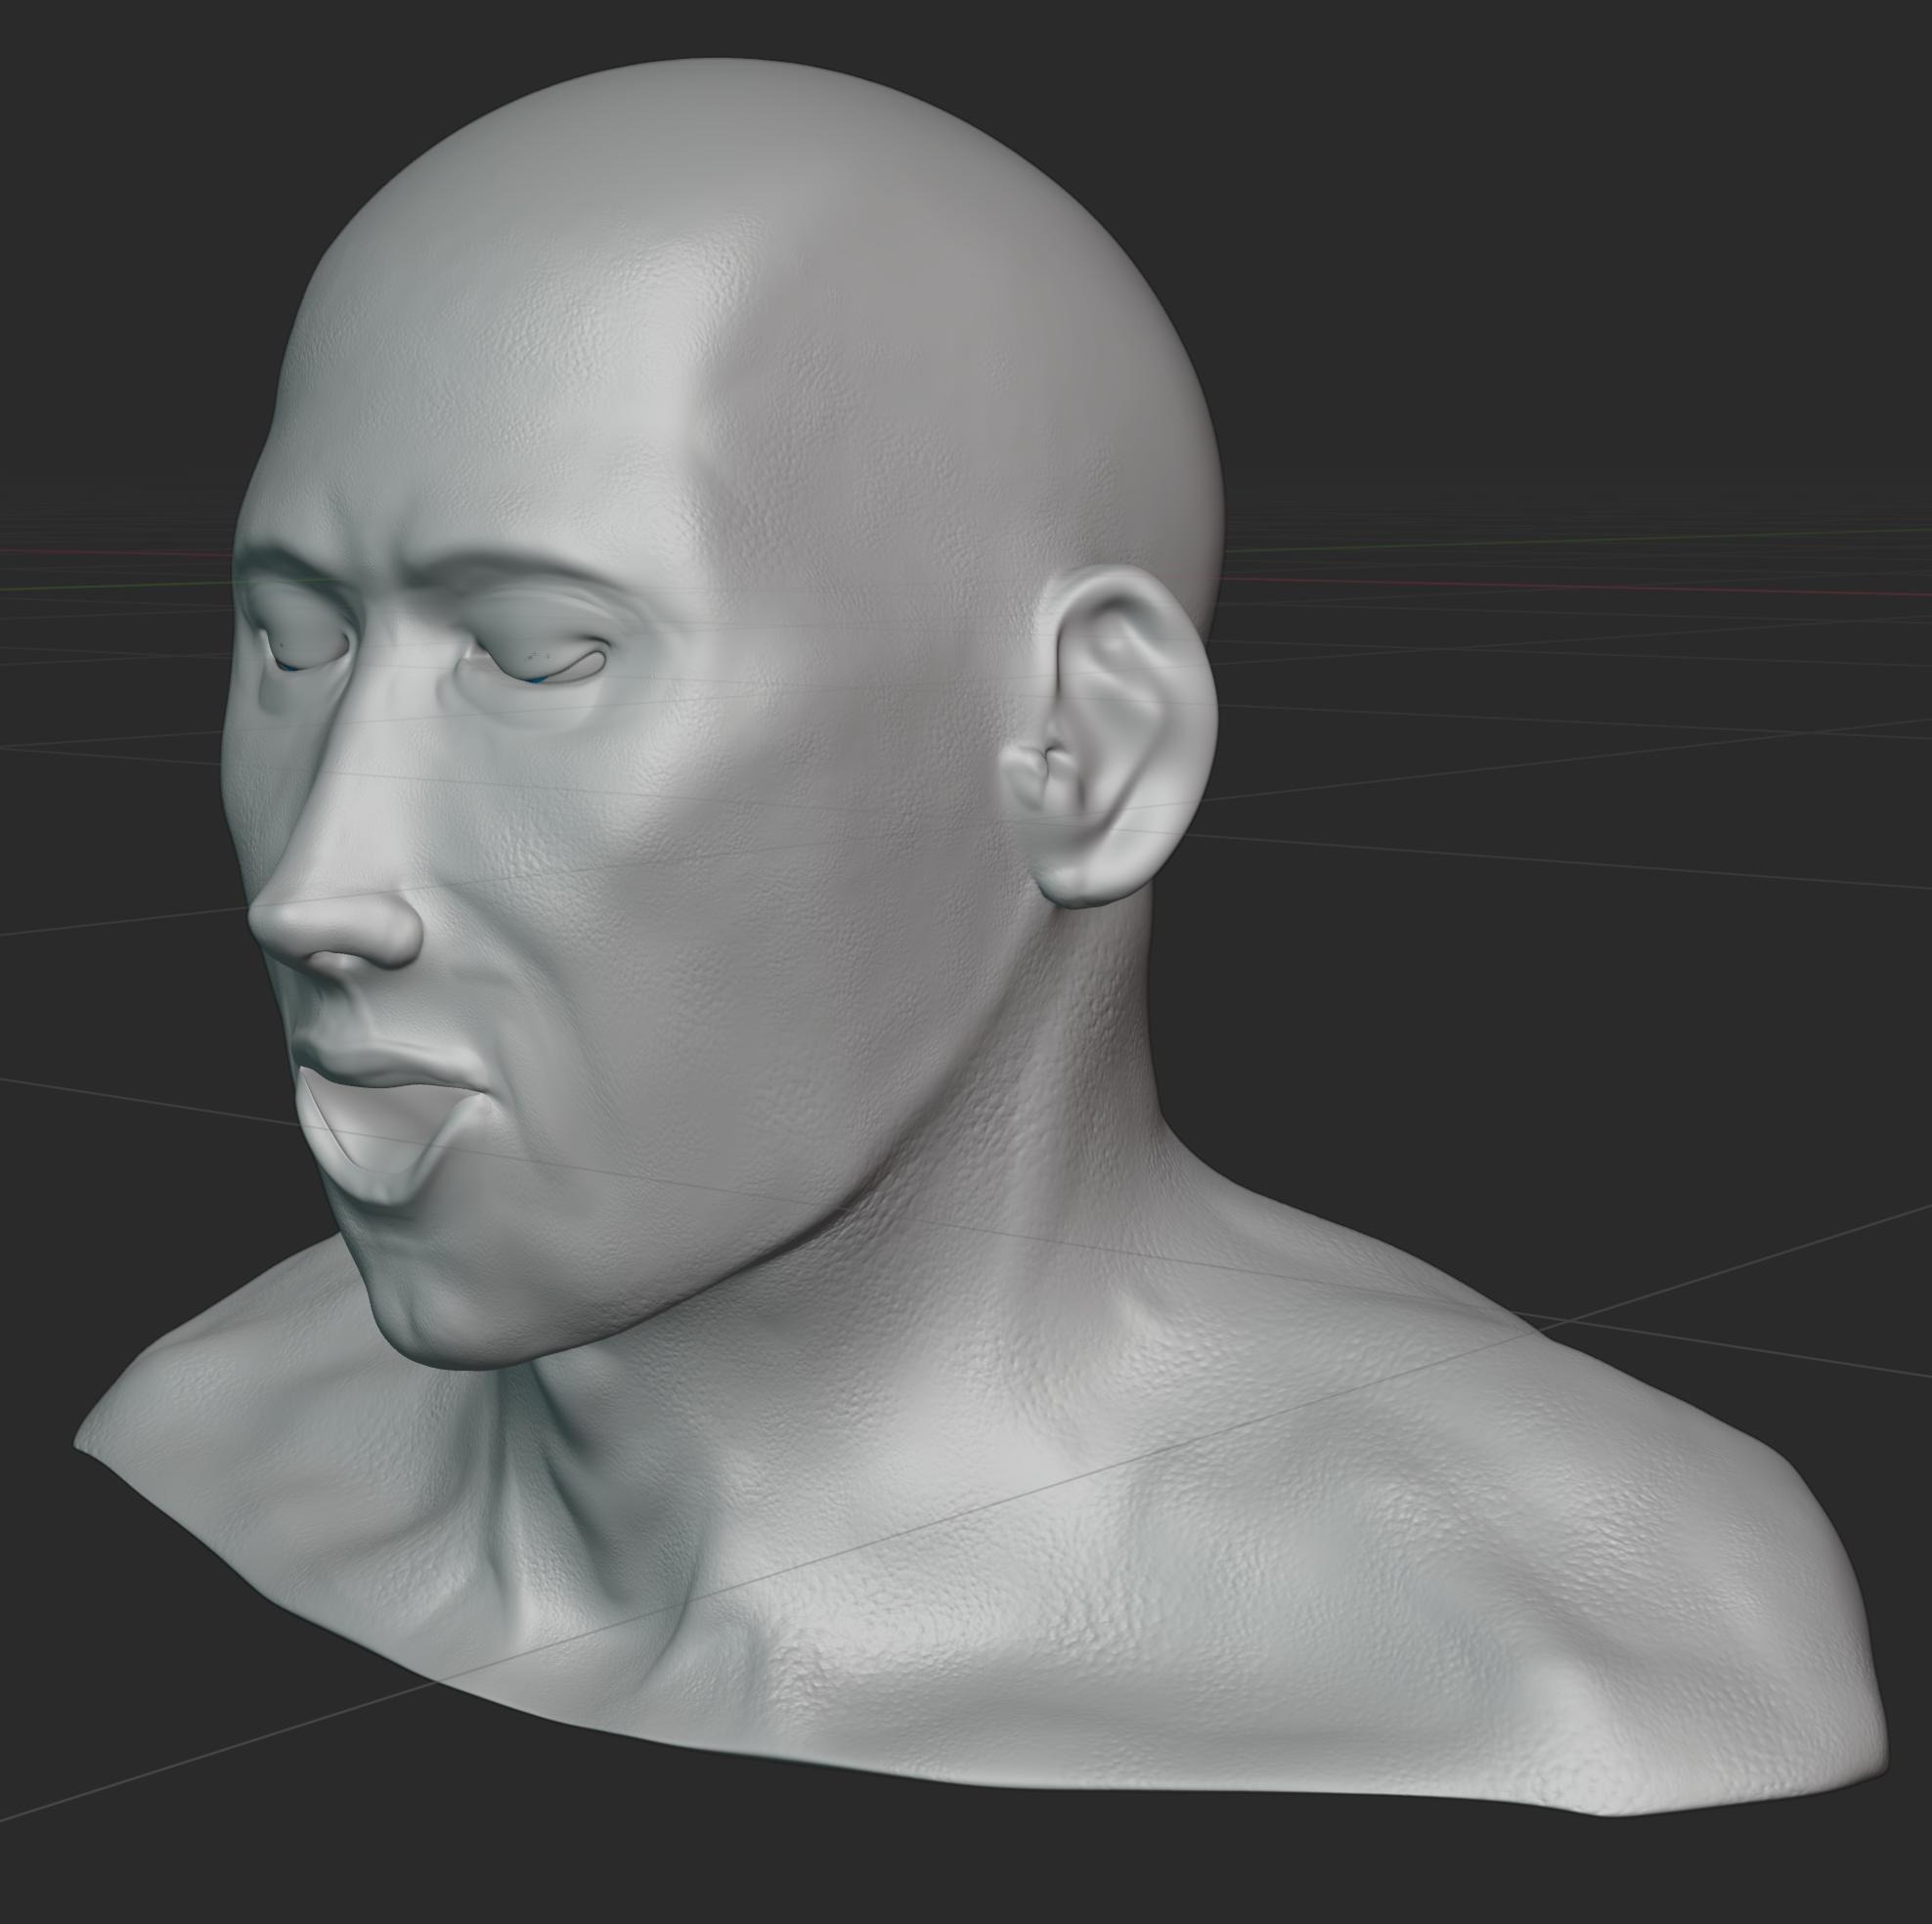
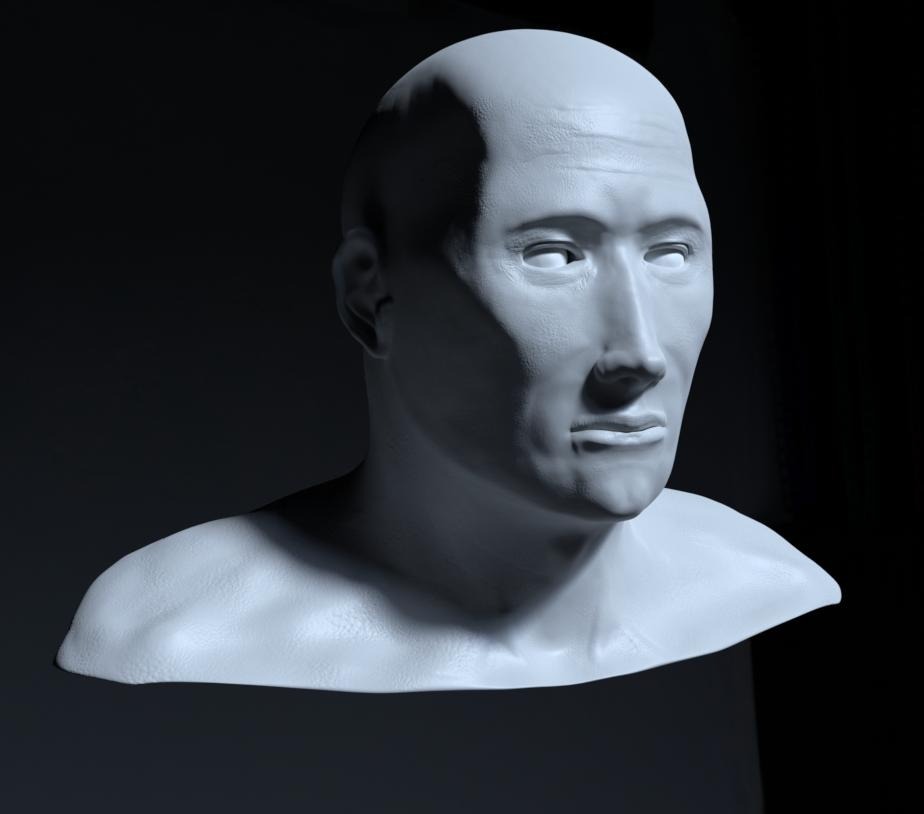
Next, we sculpted actual topology for lips, nose, and eyes (in that order). At this point I started calling him “Mr. Uncanny” since he kinda creeps me out.
Cupid got cannier with the addition of pore detail, ears, and features of the neck defined…
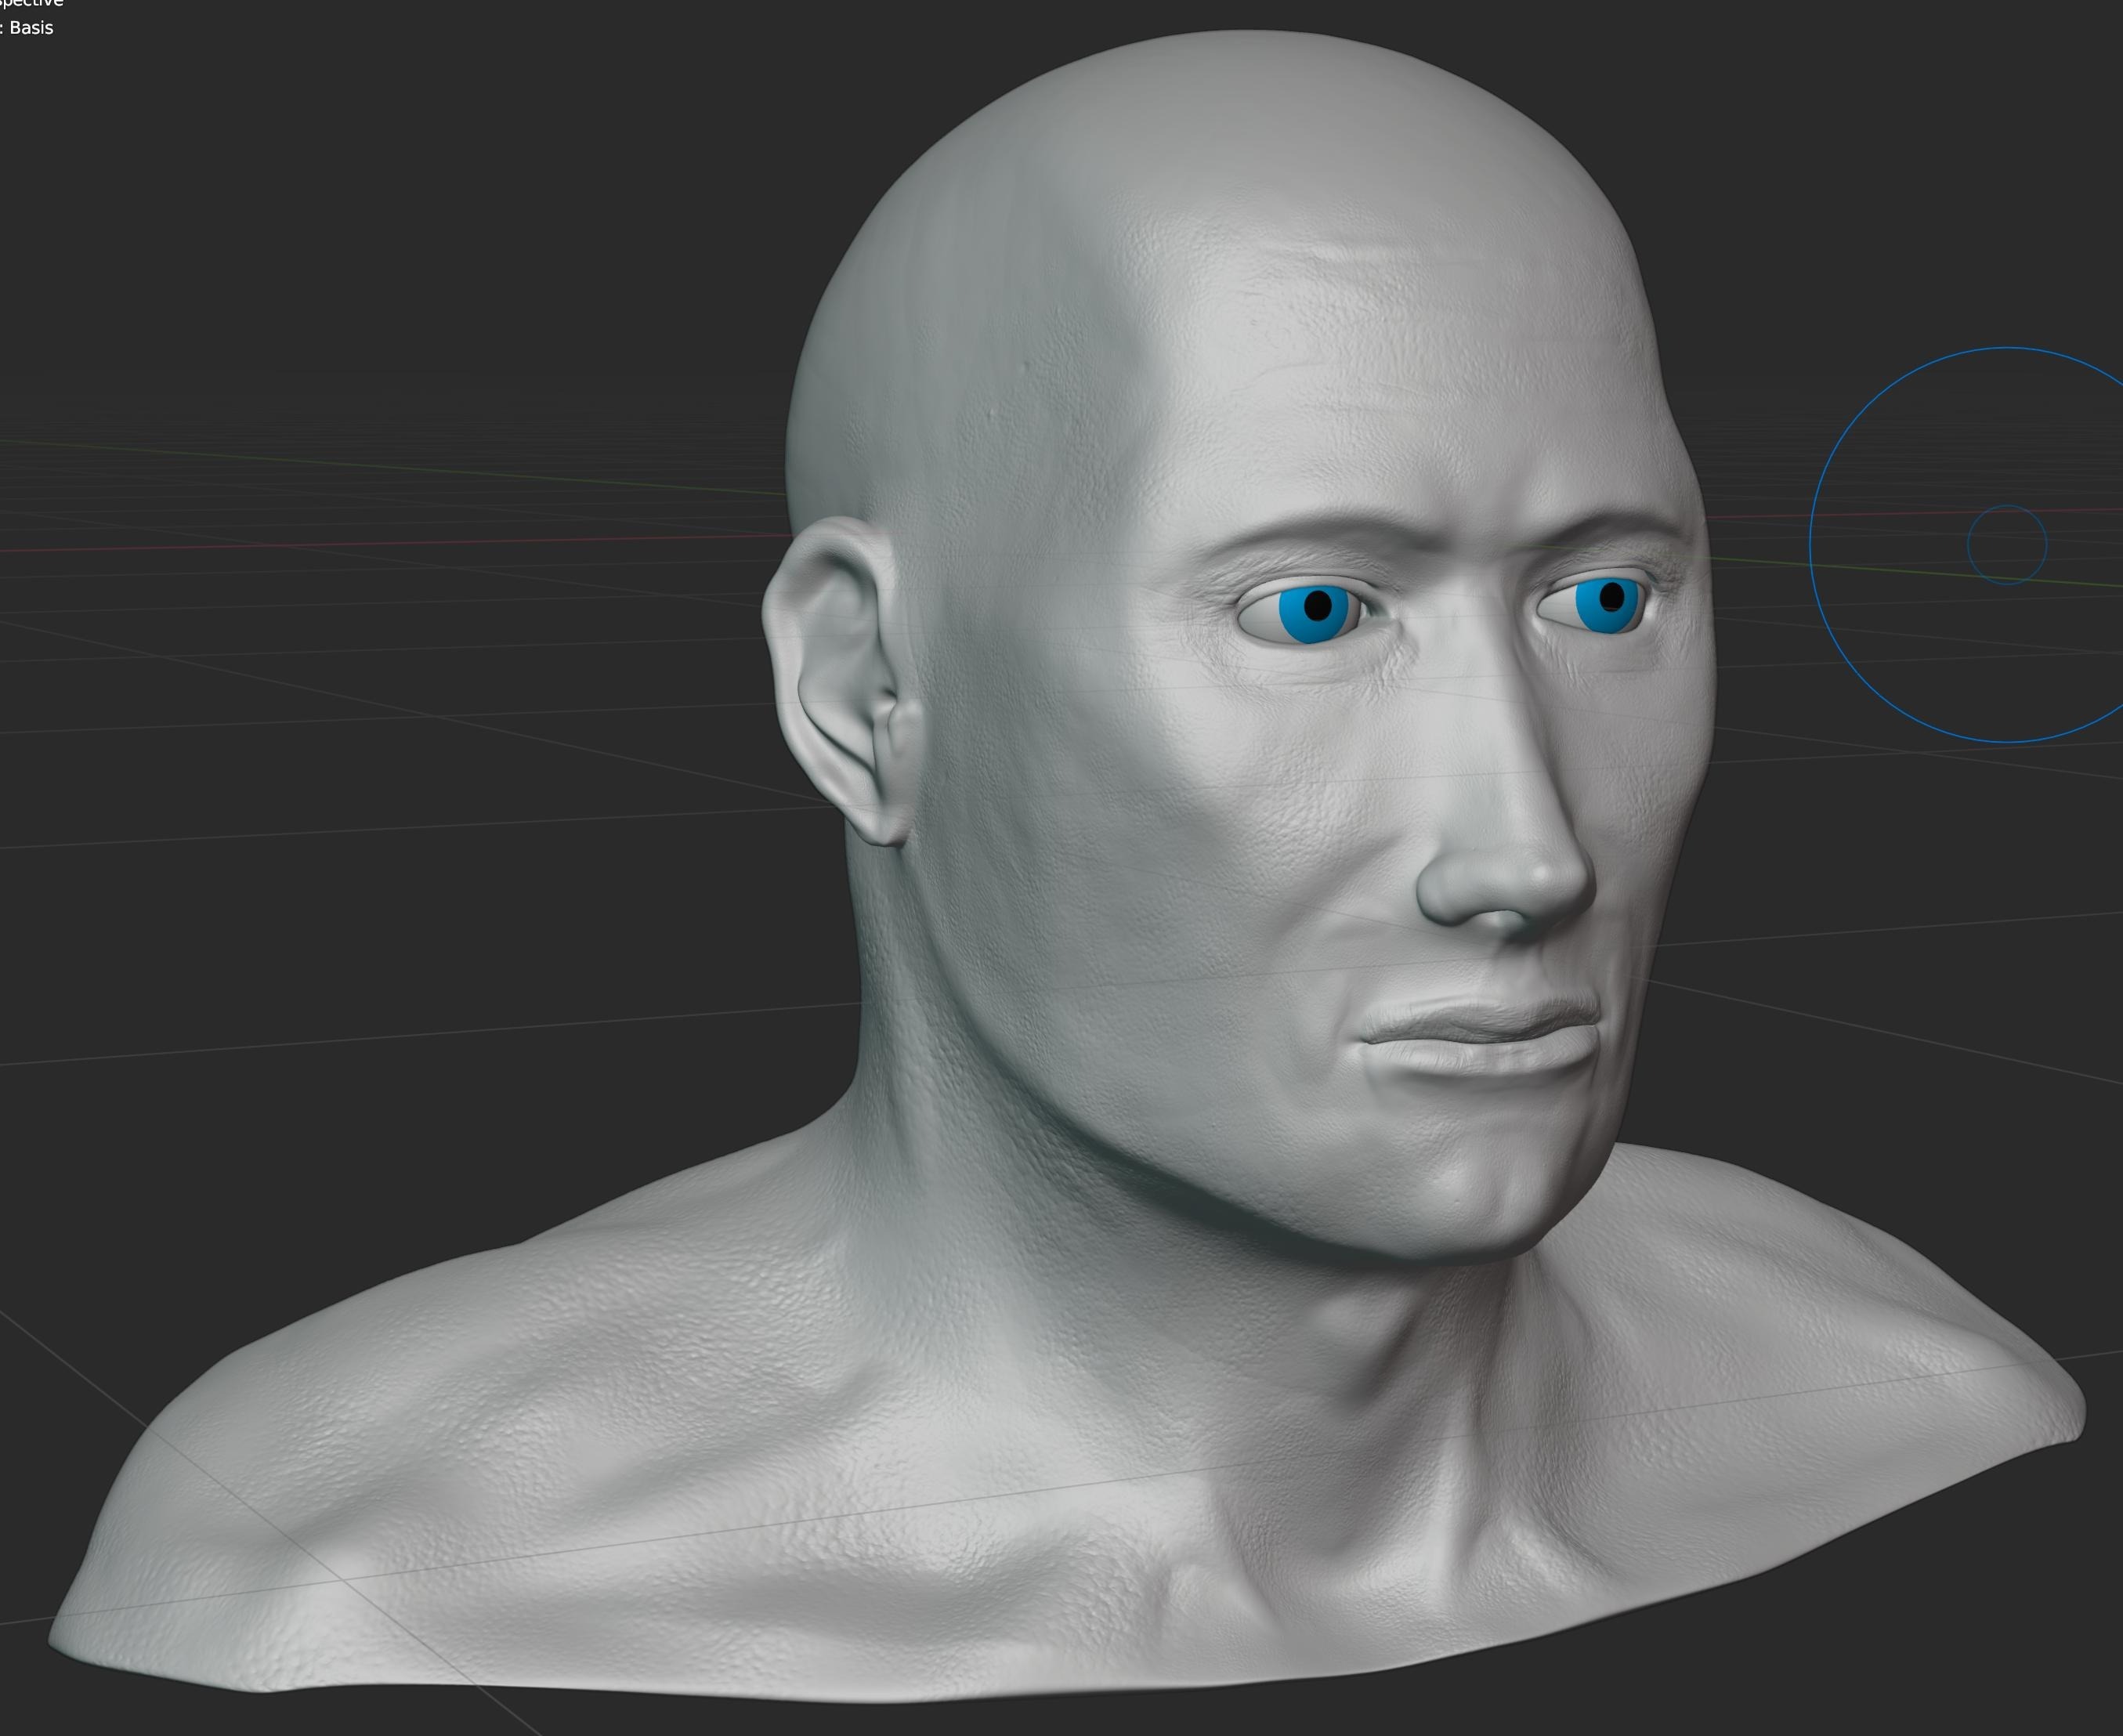
…but once again got creepier with the addition of eyesockets and a mouthbox, neither of which track real life very closely. I learned about multires as a technique.
We added a shape key to control whether the eyes and mouth were closed/open, to make it easier to paint on textures. This was my first time learning what shape keys are (as well as vertex groups, weight painting, and a slew of other Blender features).
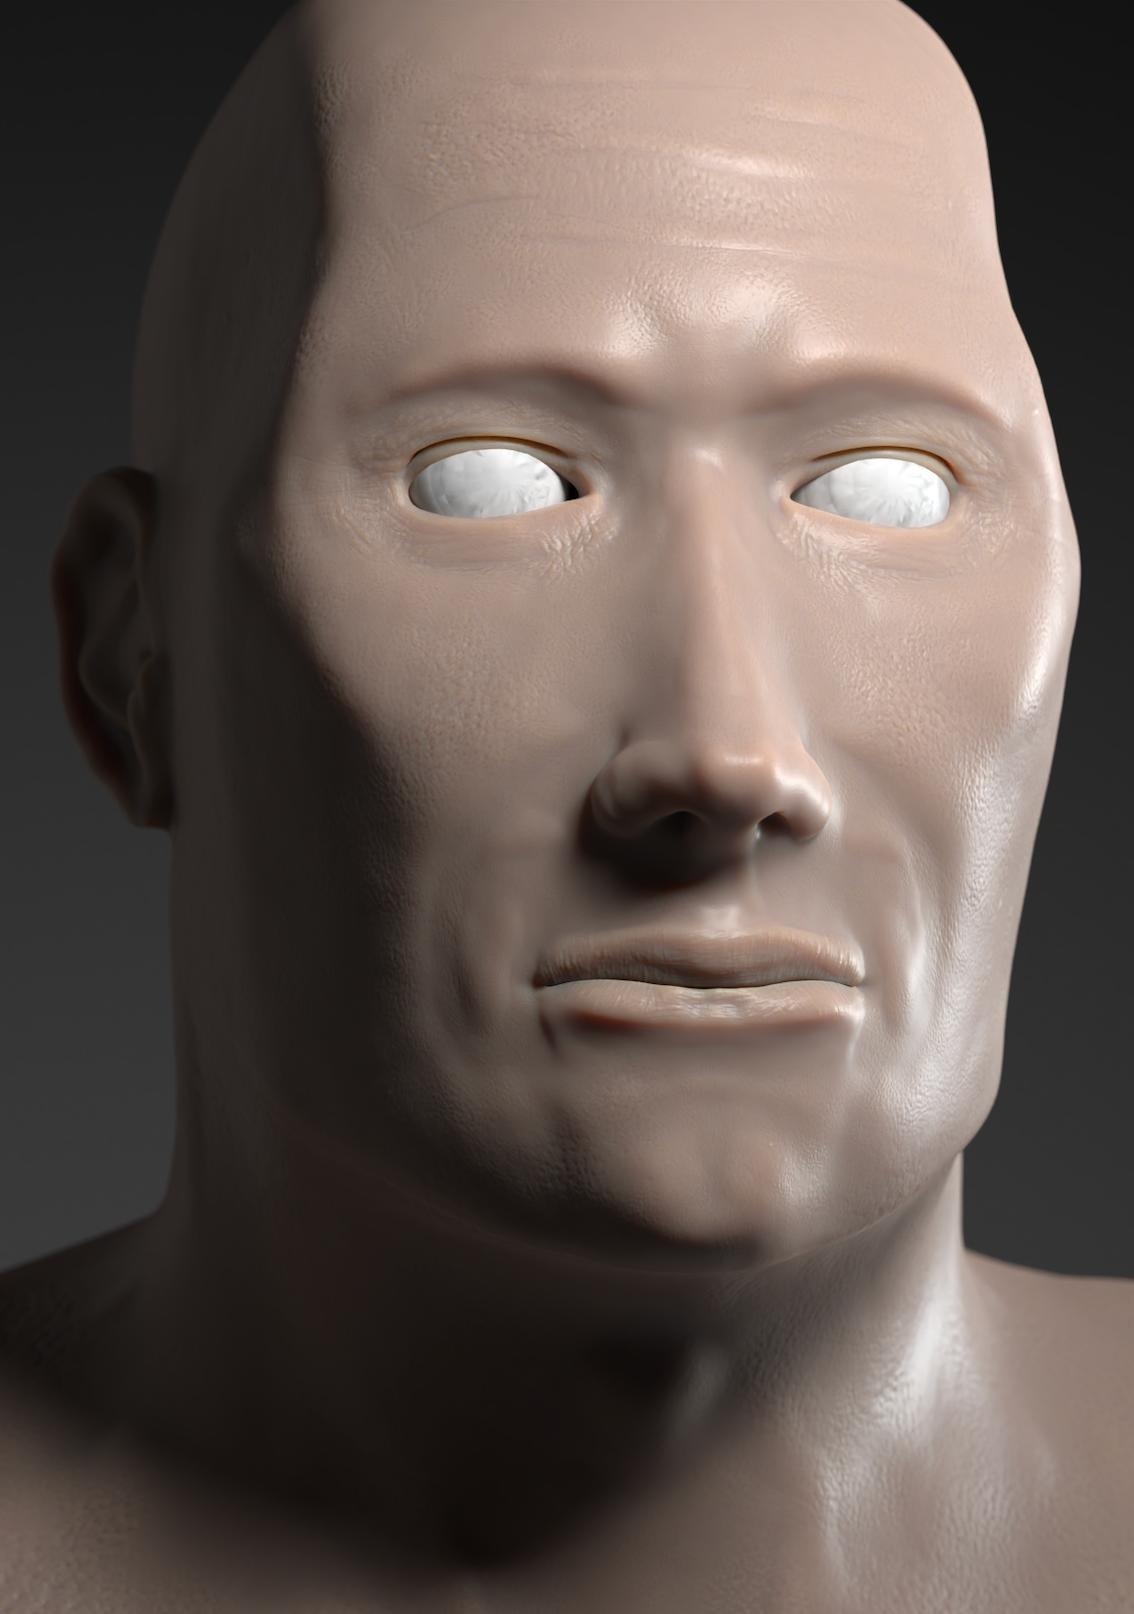
An initial skin material test brings us to possibly the creepiest image of all.
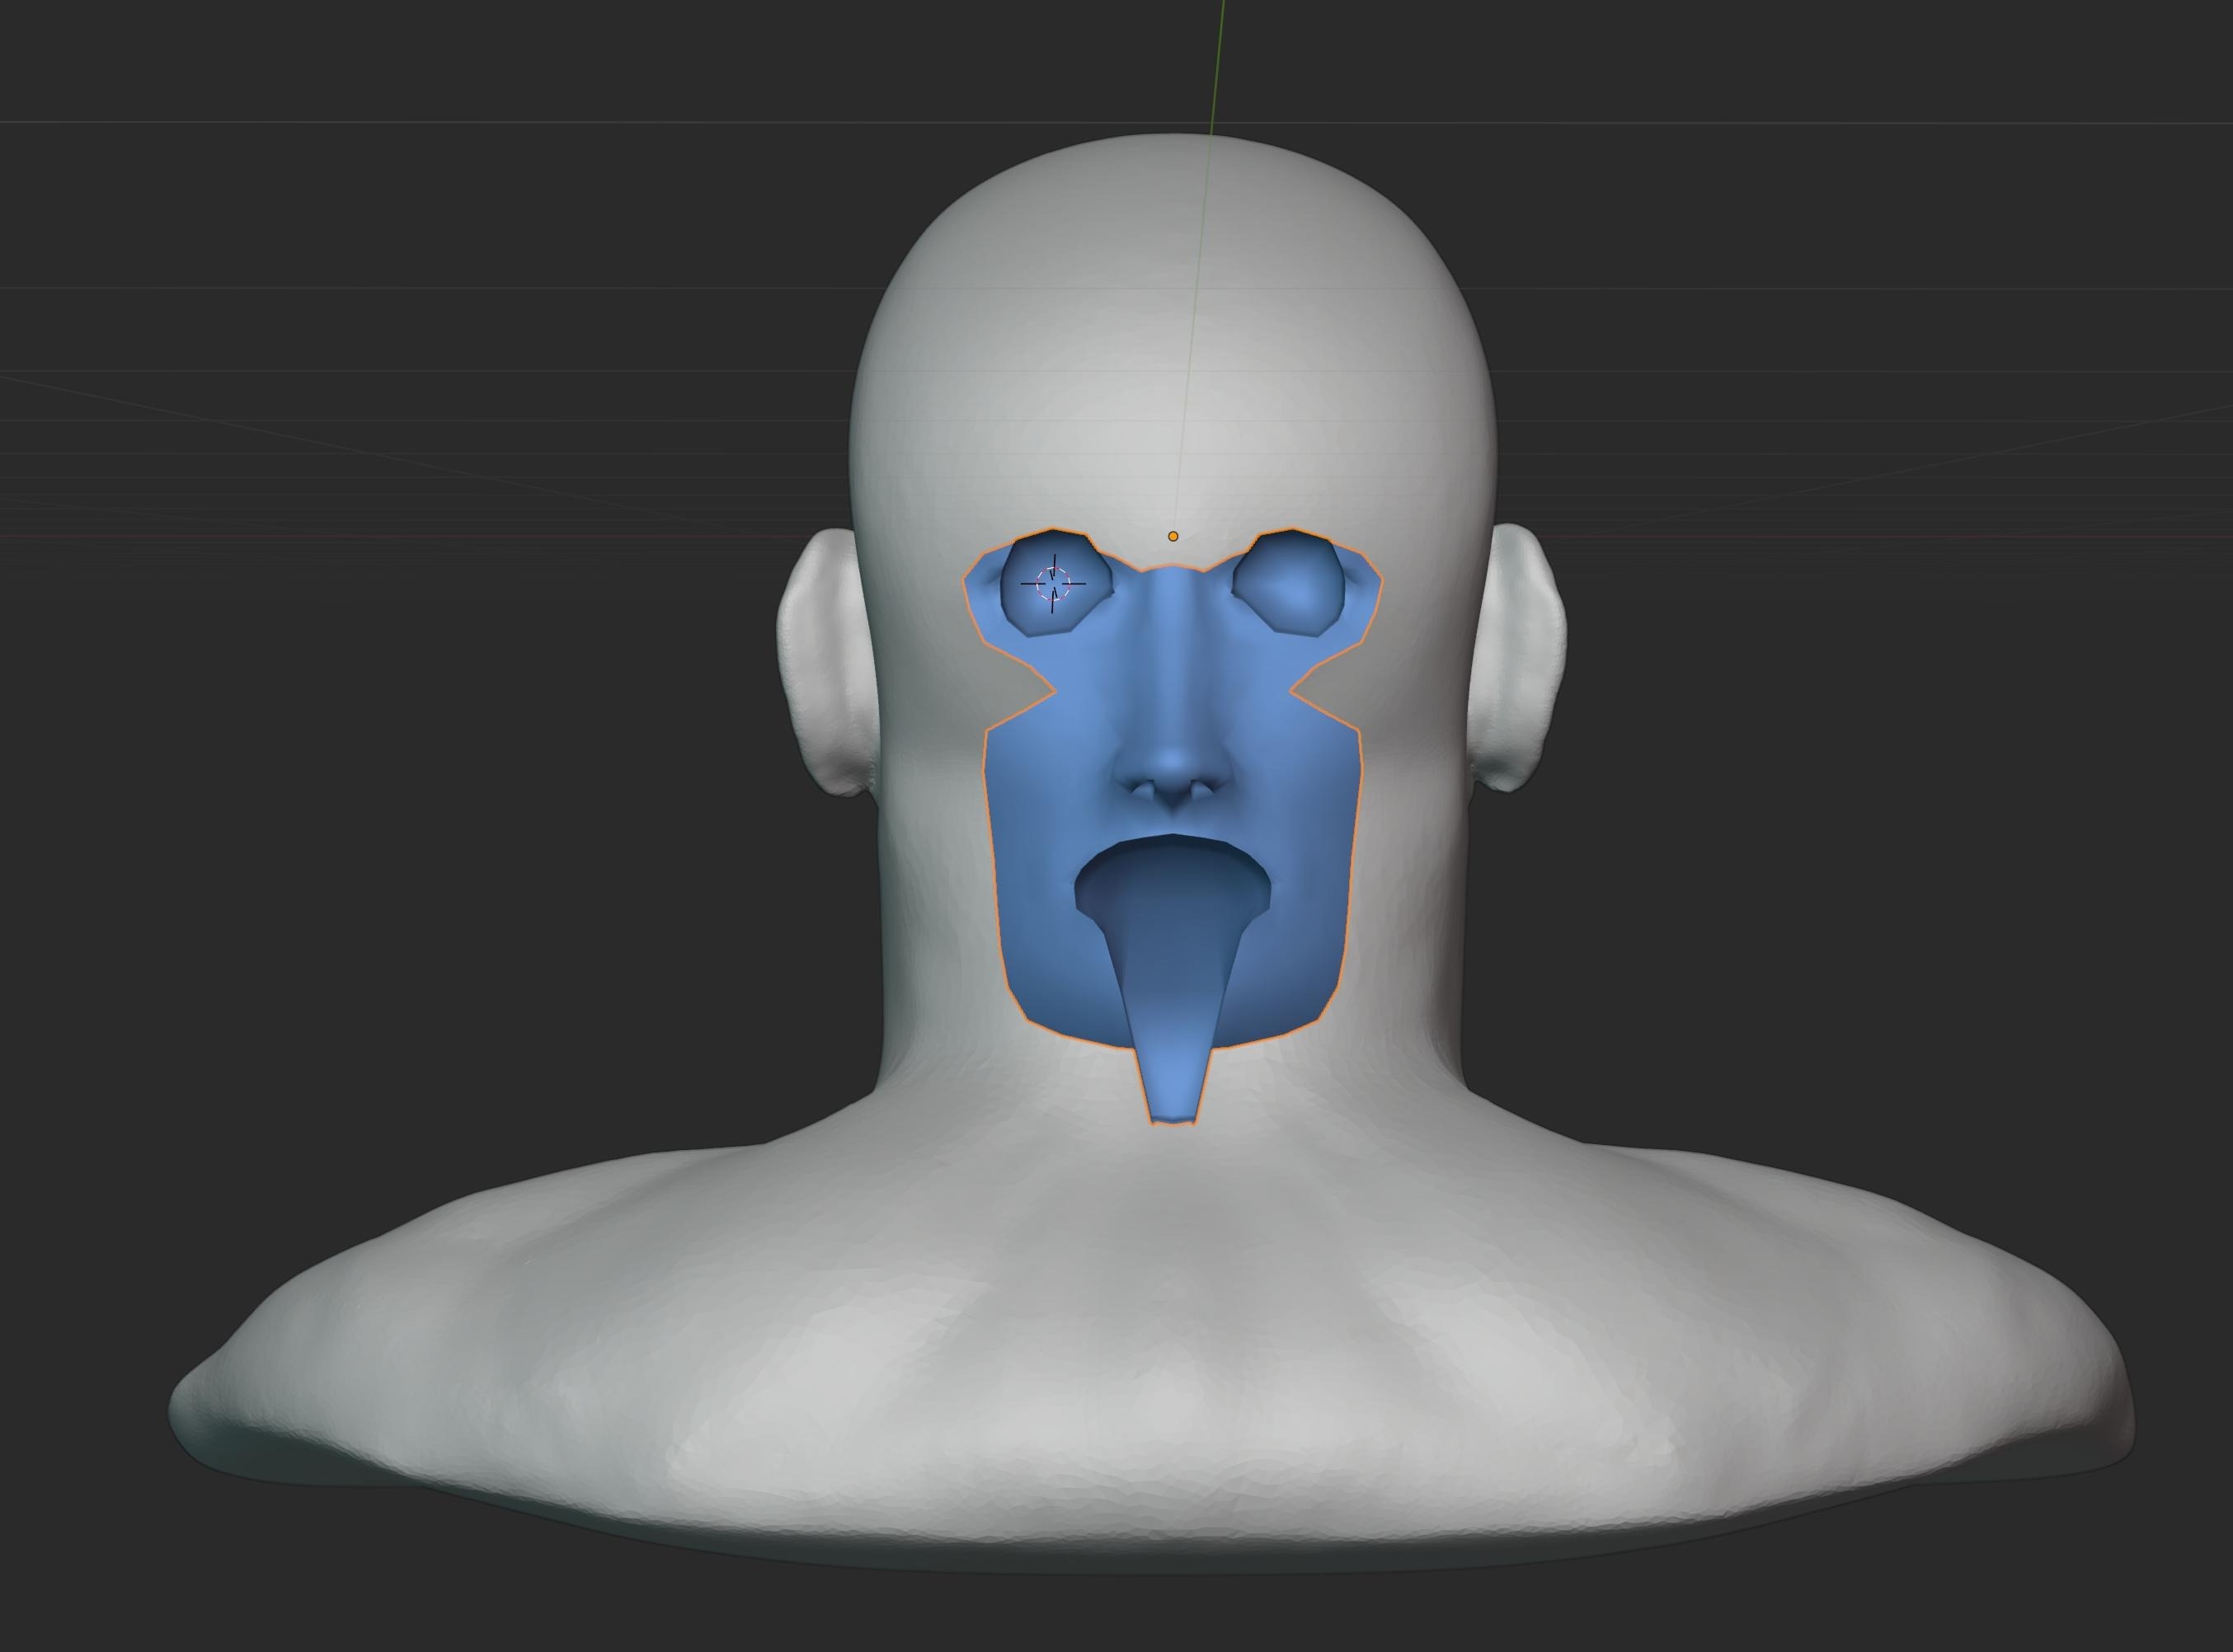
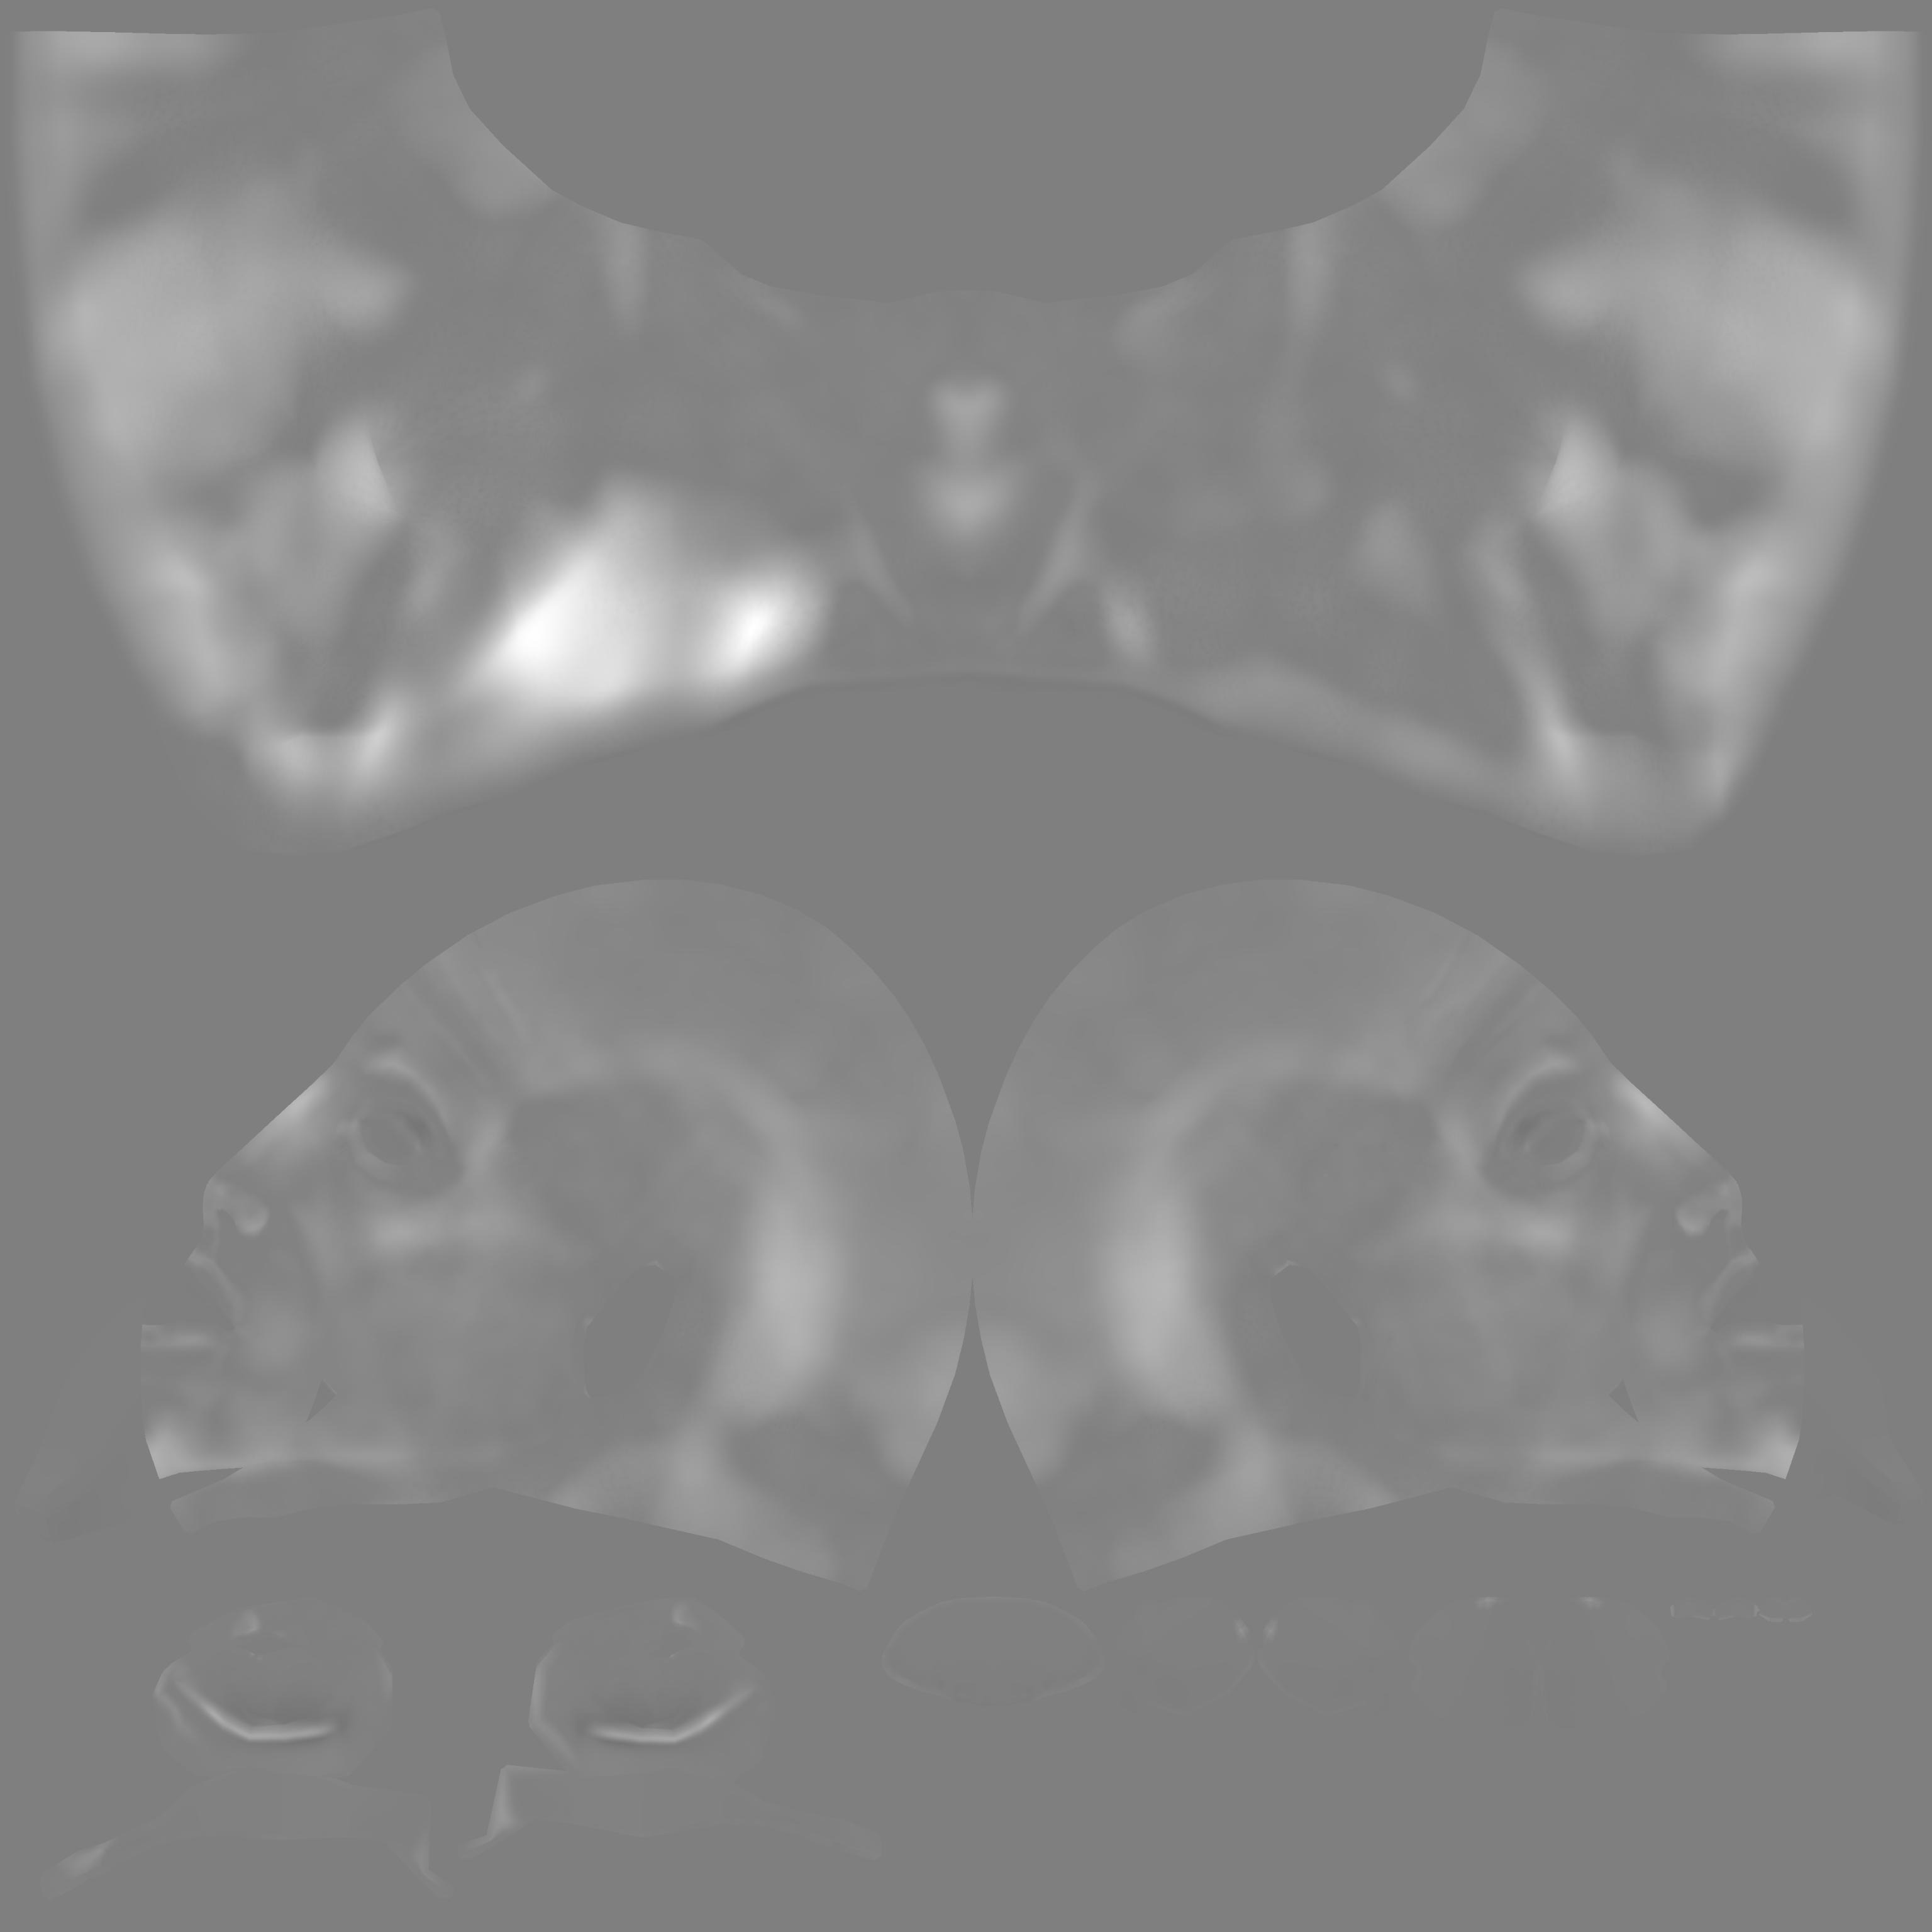
Next up was UV unwrapping. We learned how to mark seams, scale islands to get nice amounts of detail, and paint on textures. This was the most complex UV unwrap I’ve done, and didn’t get it quite right (the back side of the head has some sketchy patterns after painting textures with Occlude turned on/off repeatedly).
However, it was very fun to work with the shader node editor to emphasize details like pores and wrinkles based on existing data built into the mesh.
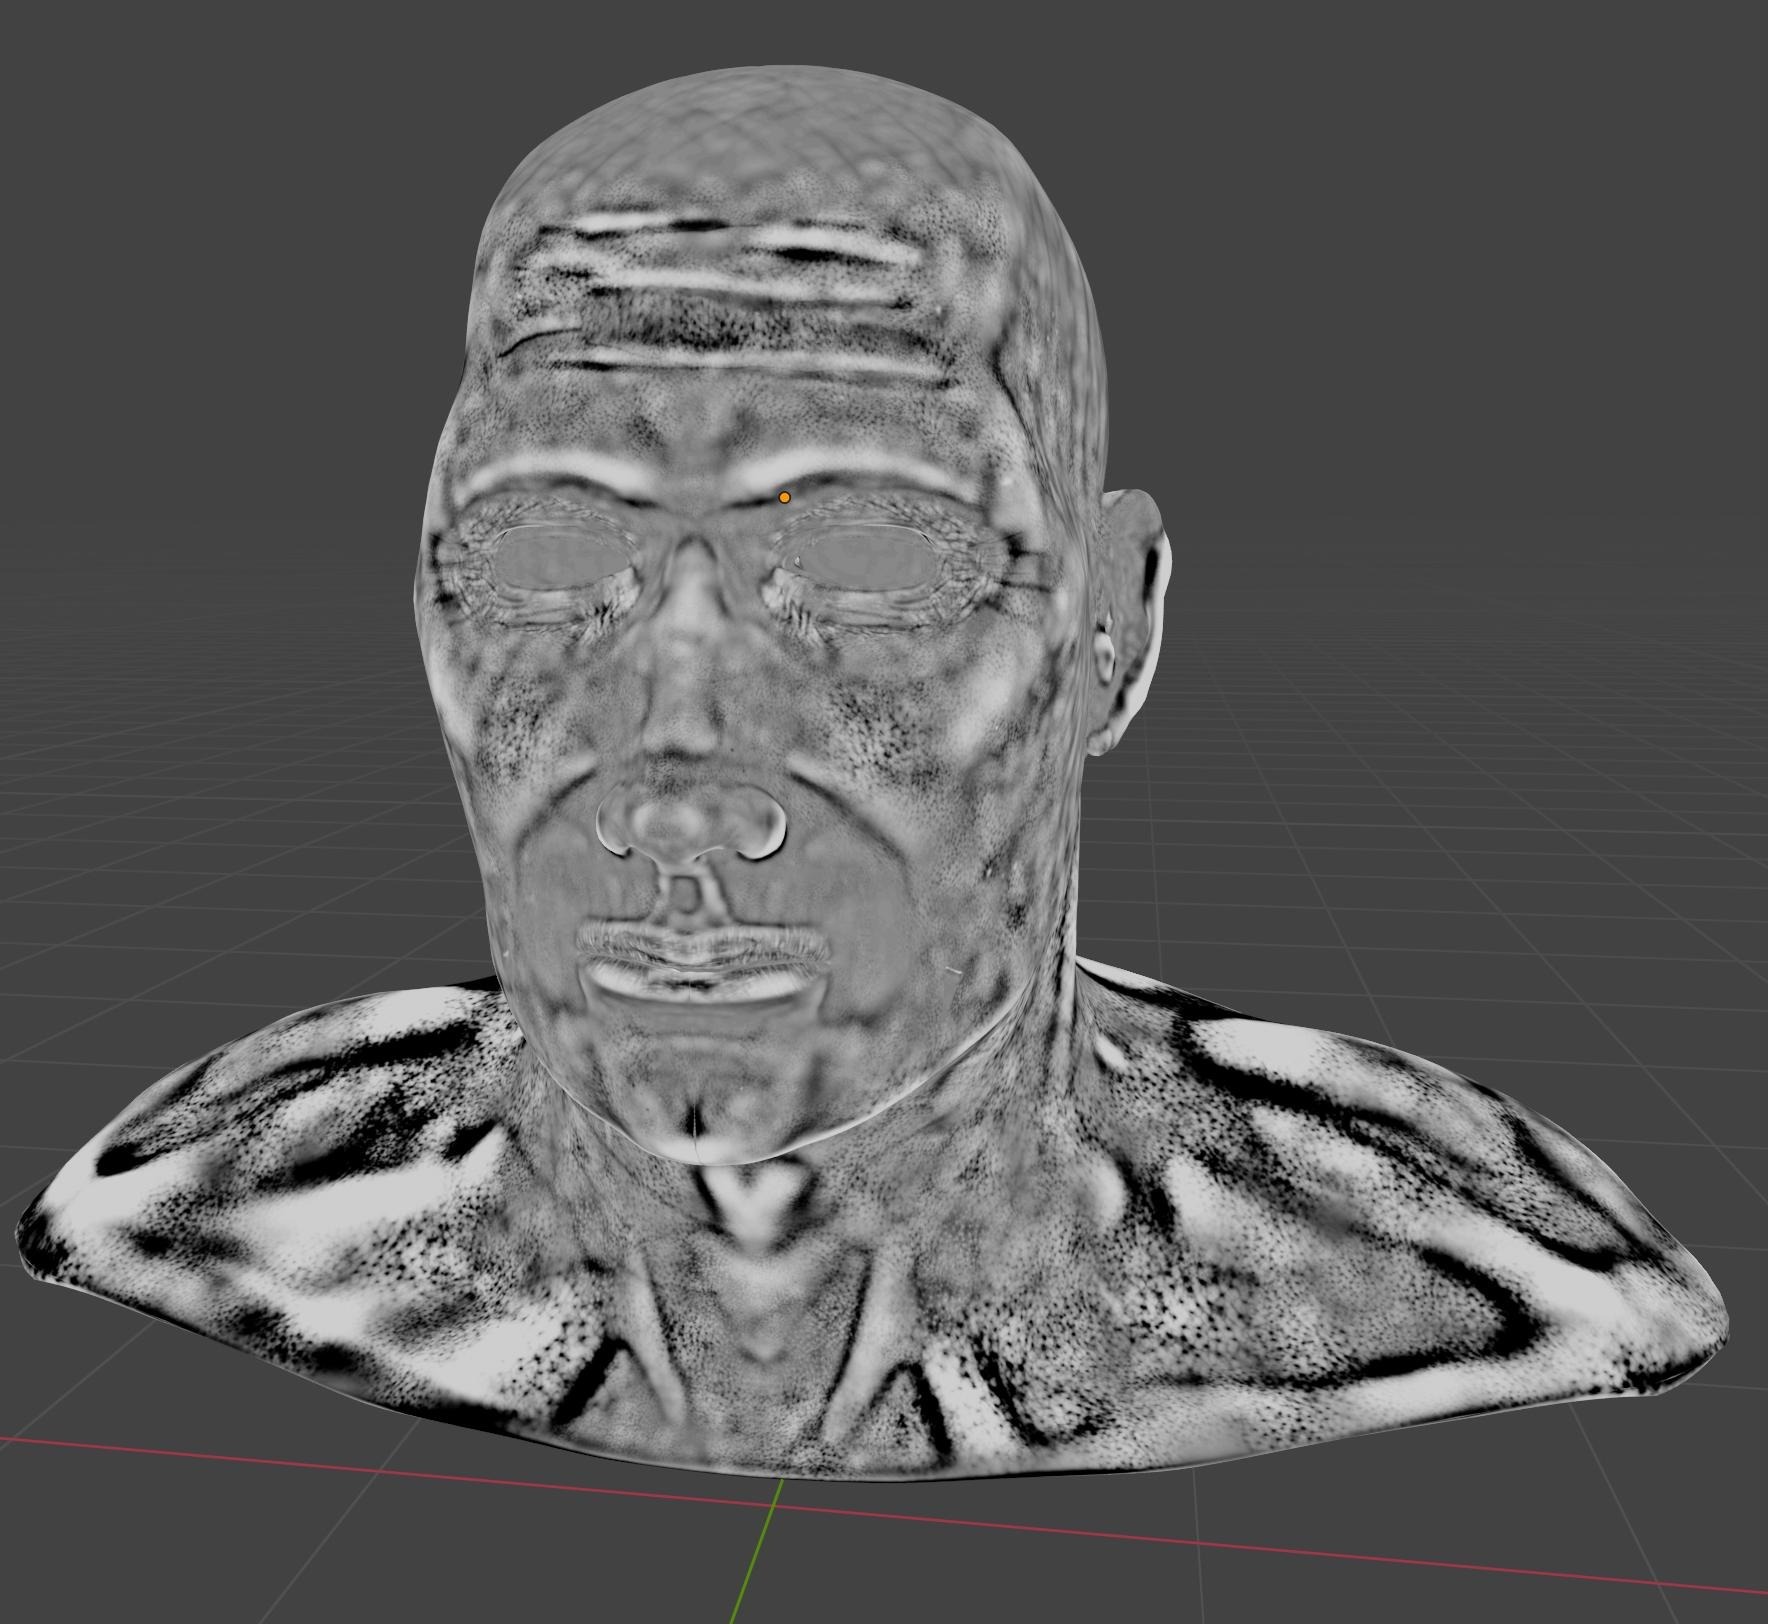
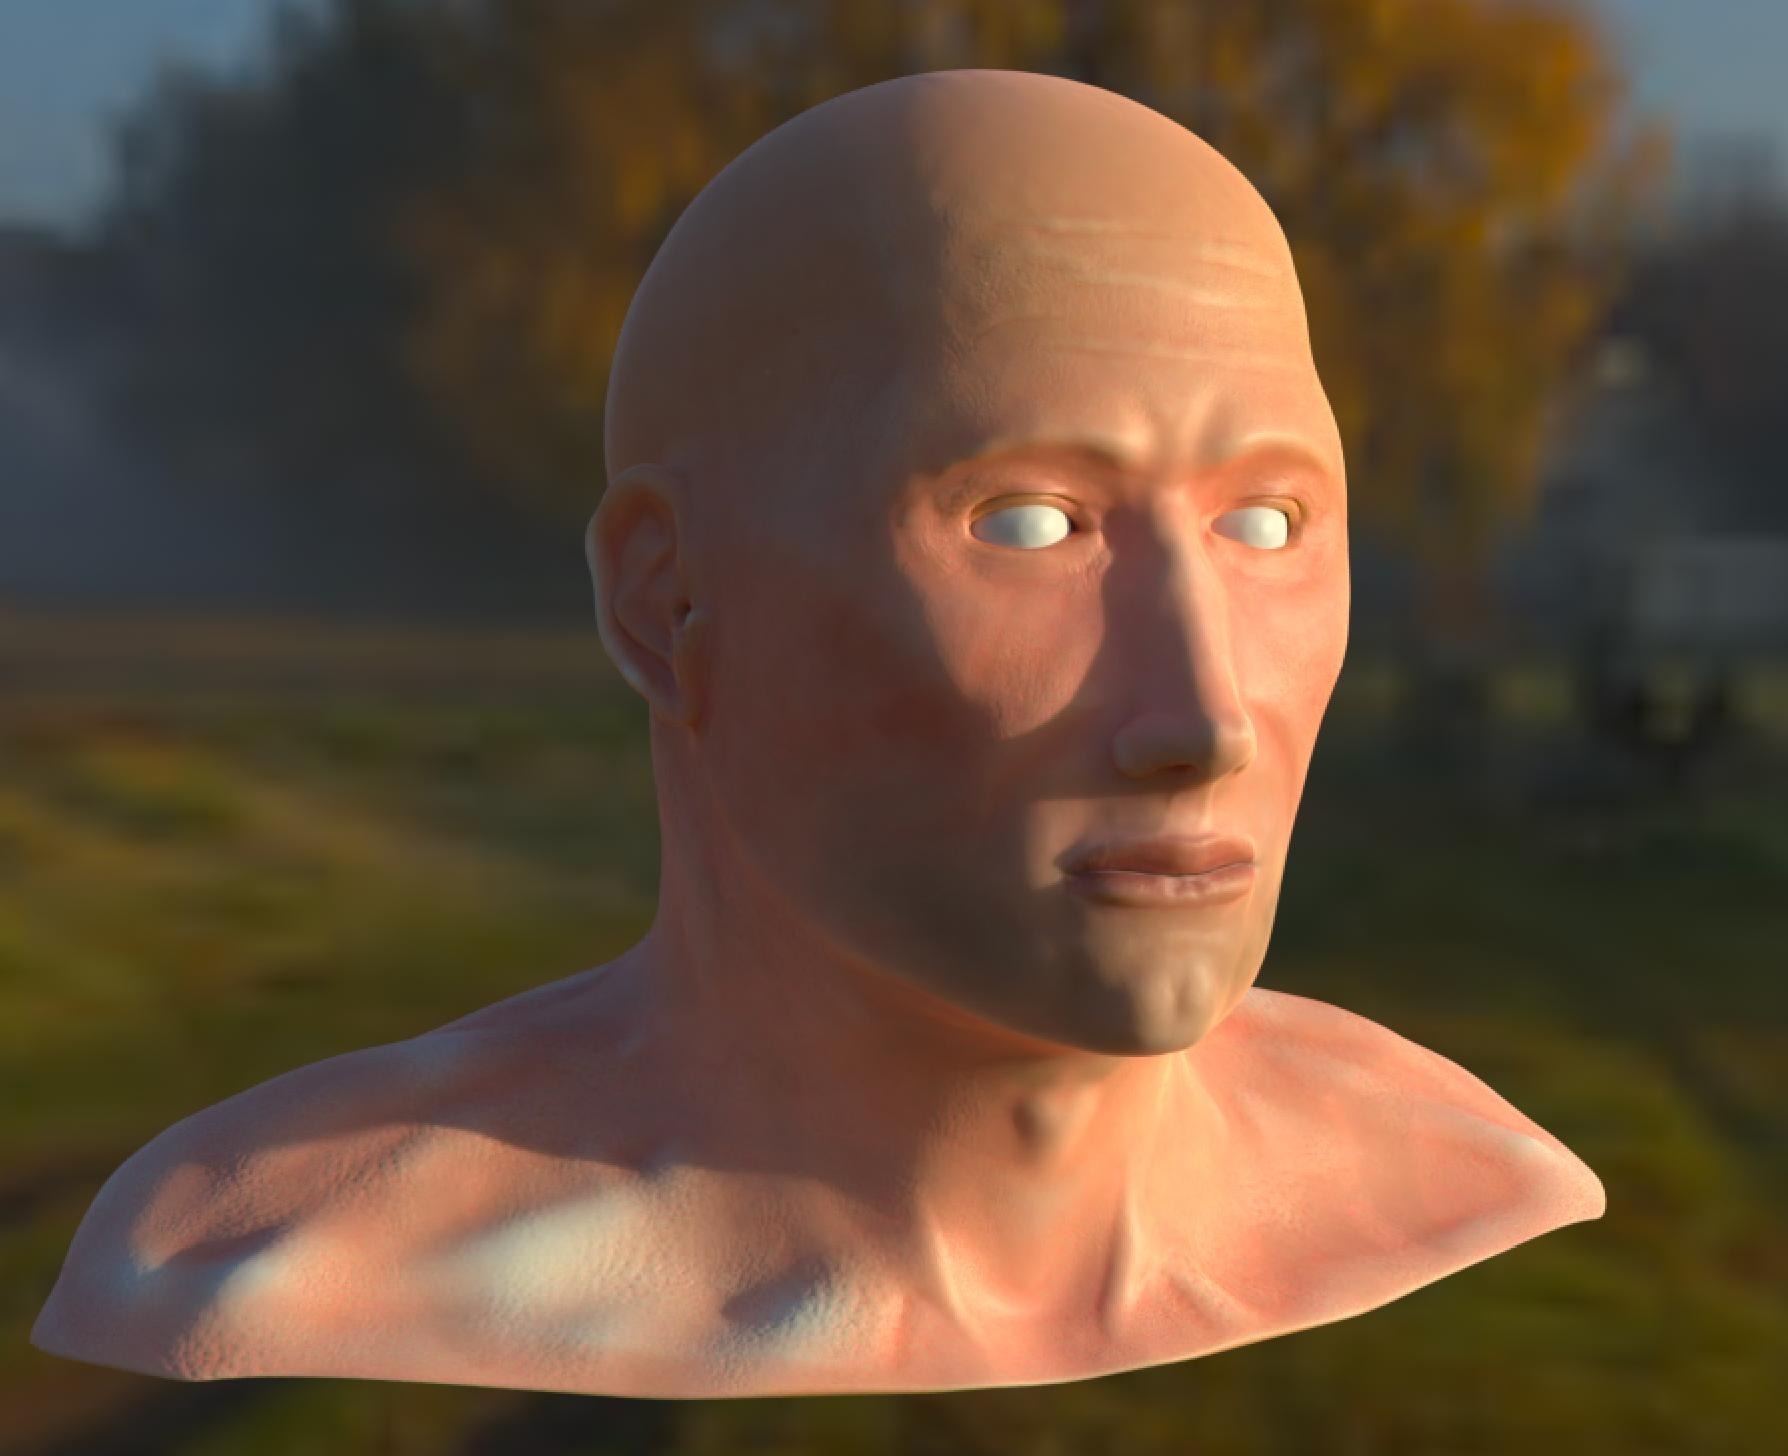
Next up was testing out various lighting conditions. Learned about HDRIs and how to manipulate them. Here’s an untextured model with Studio lighting:
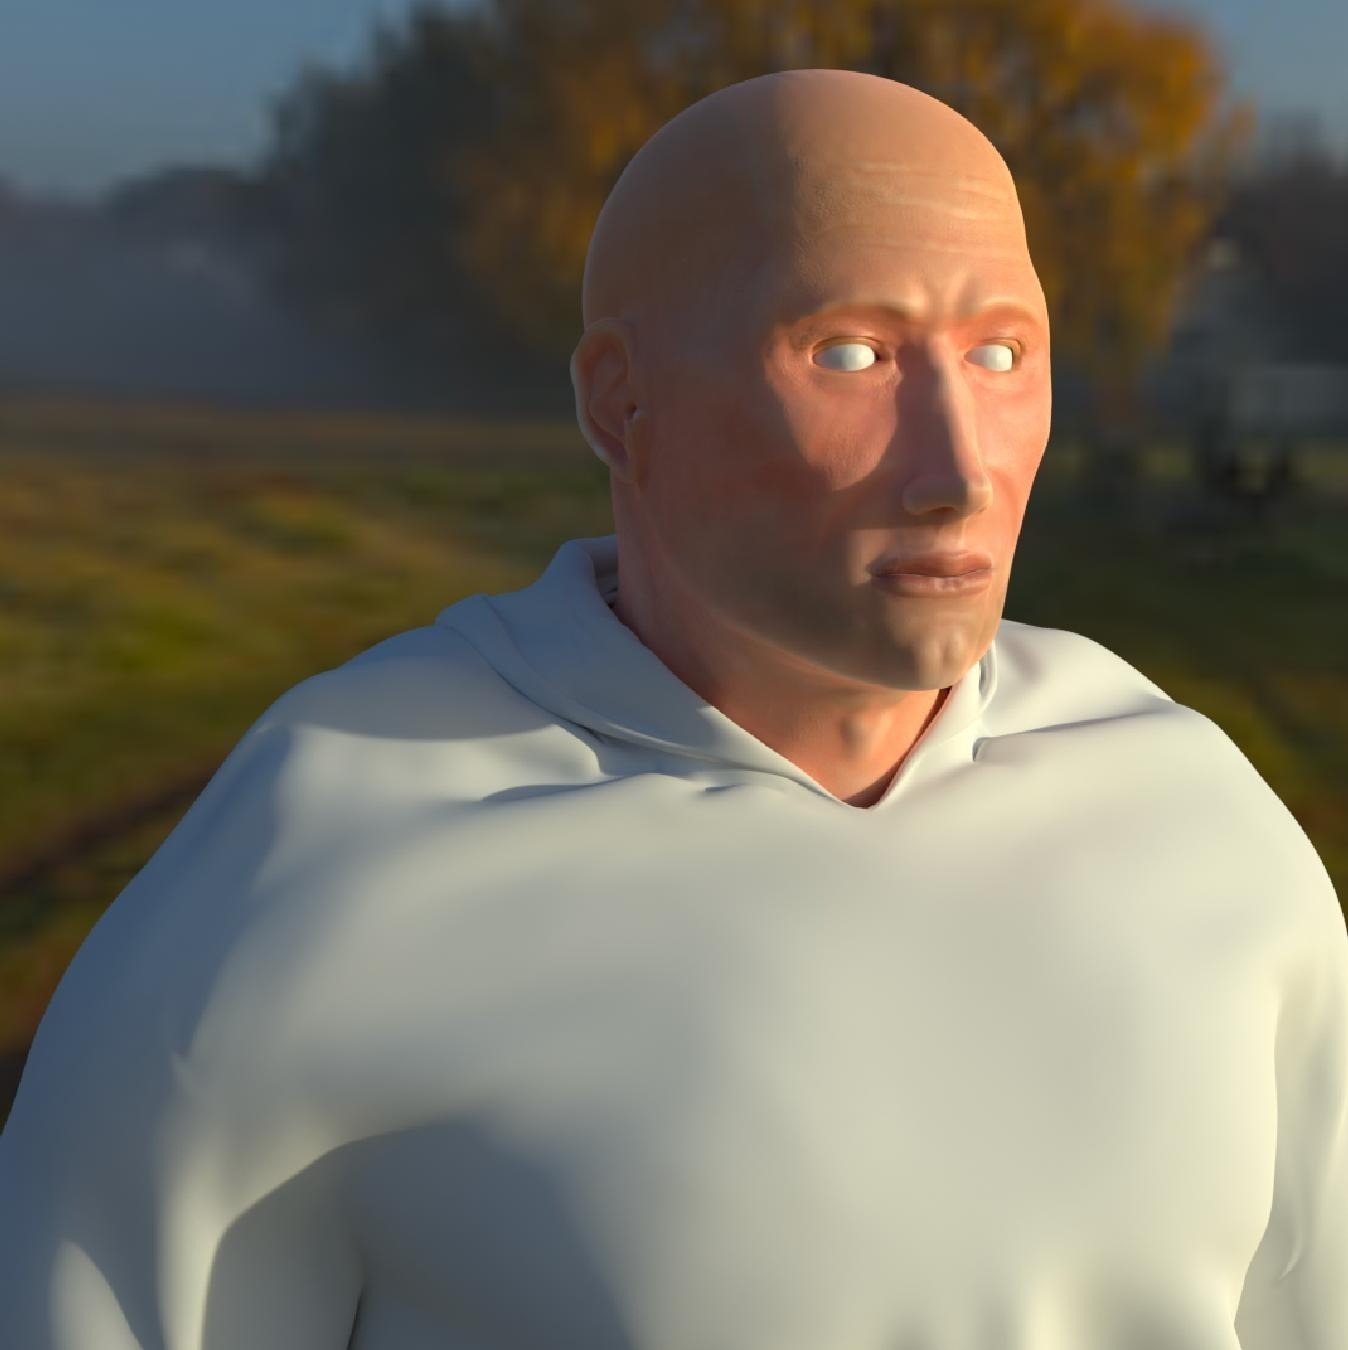
And a render in the outdoor sunrise-y environment I would eventually use for the final render. There are some pretty obvious splotches of textures I missed on the ear, that I would have to go back and fix later. One thing I learned is that it’s important to have a workflow where touchups are always possible, but balanced with the ability to make decisions and move on.
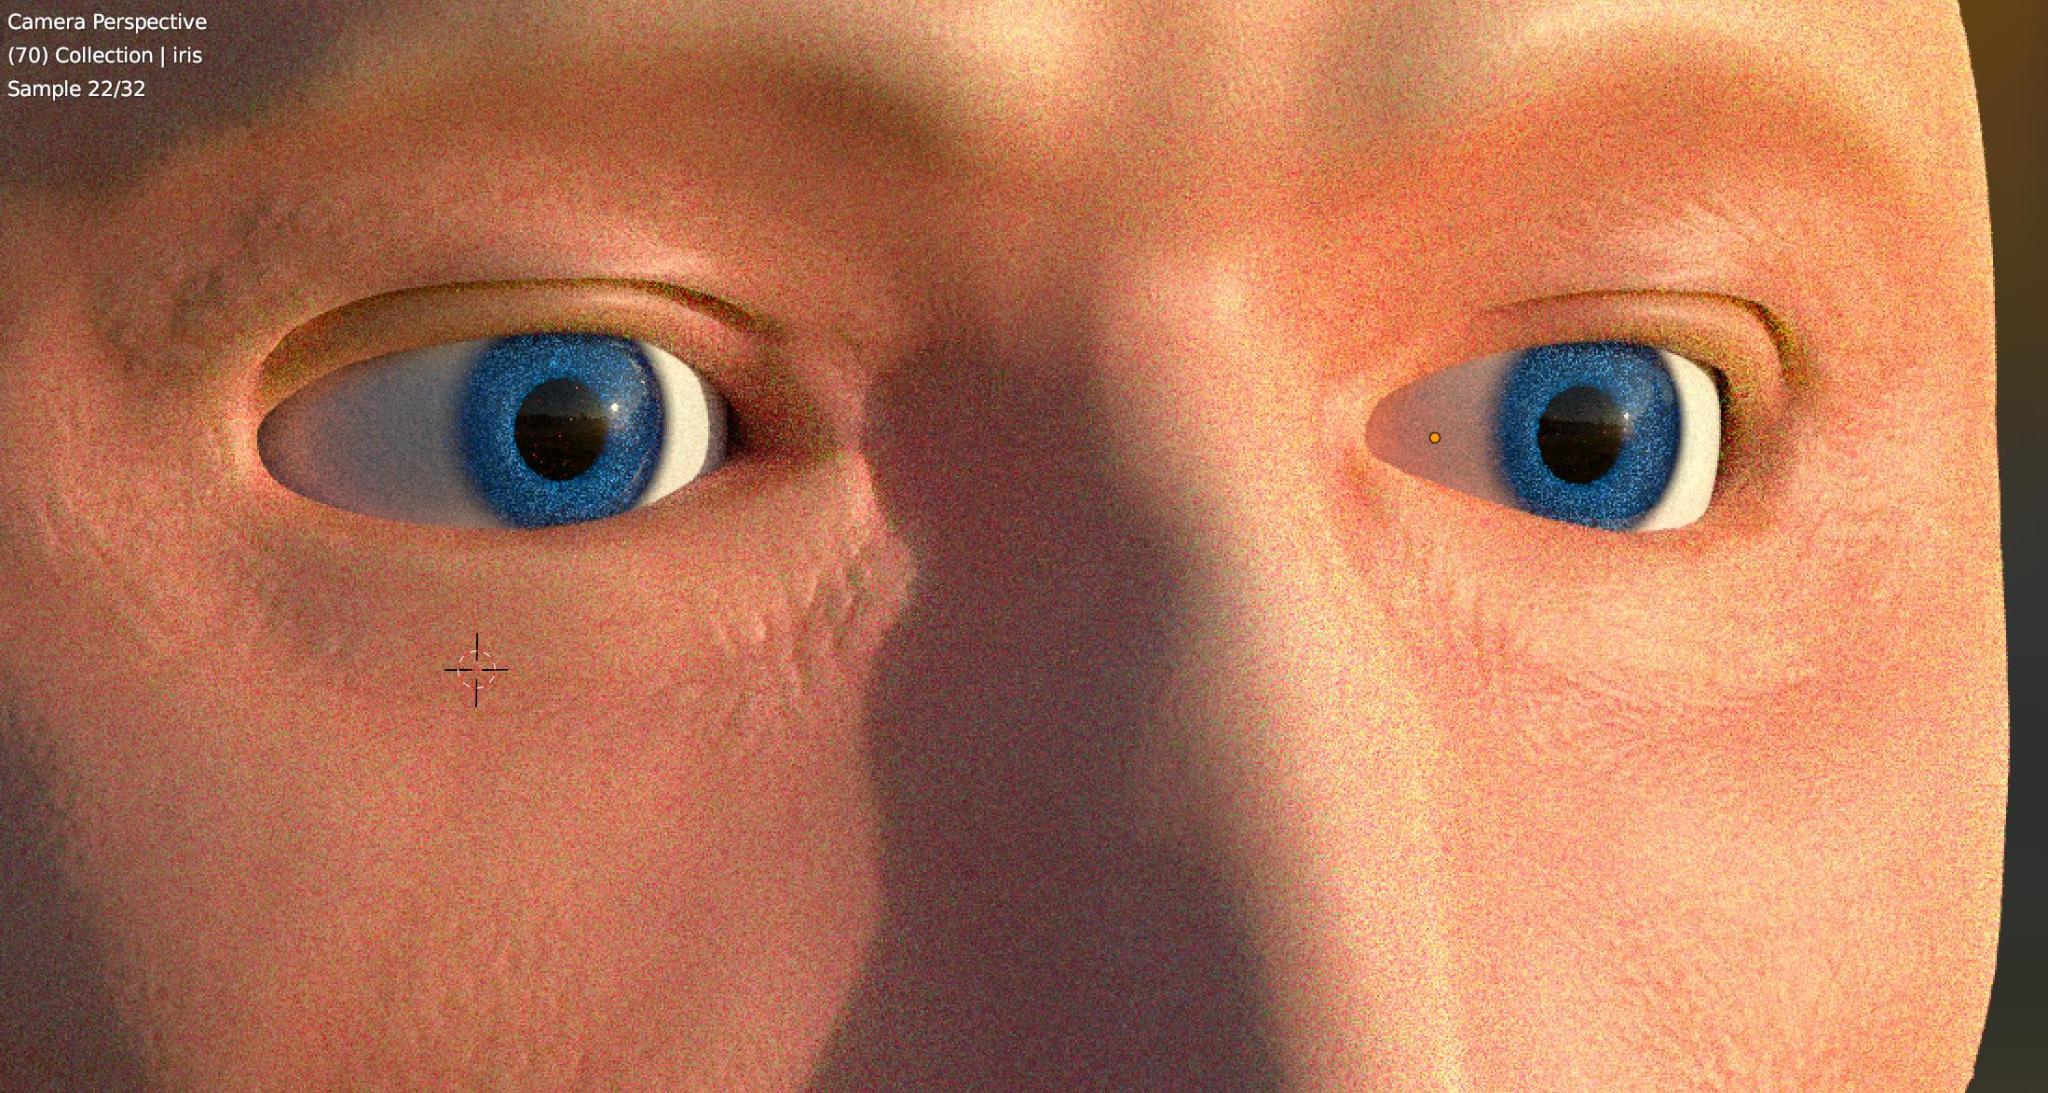
At this point we started working on small details that are extremely noticeable when missing, but don’t make or break the rough idea of the picture. I thought the eyes were fun to make. They’re not just spheres, but have a transmissive mound for the cornea, hole for the pupil, and an internal circular shape defining the iris. (I learned a lot of anatomical terms throughout, but forgot most of them except the basics. I’ll probably remember “caruncle” and “vellus” though.)
We stitched together a simulation that would eventually become a hoodie.
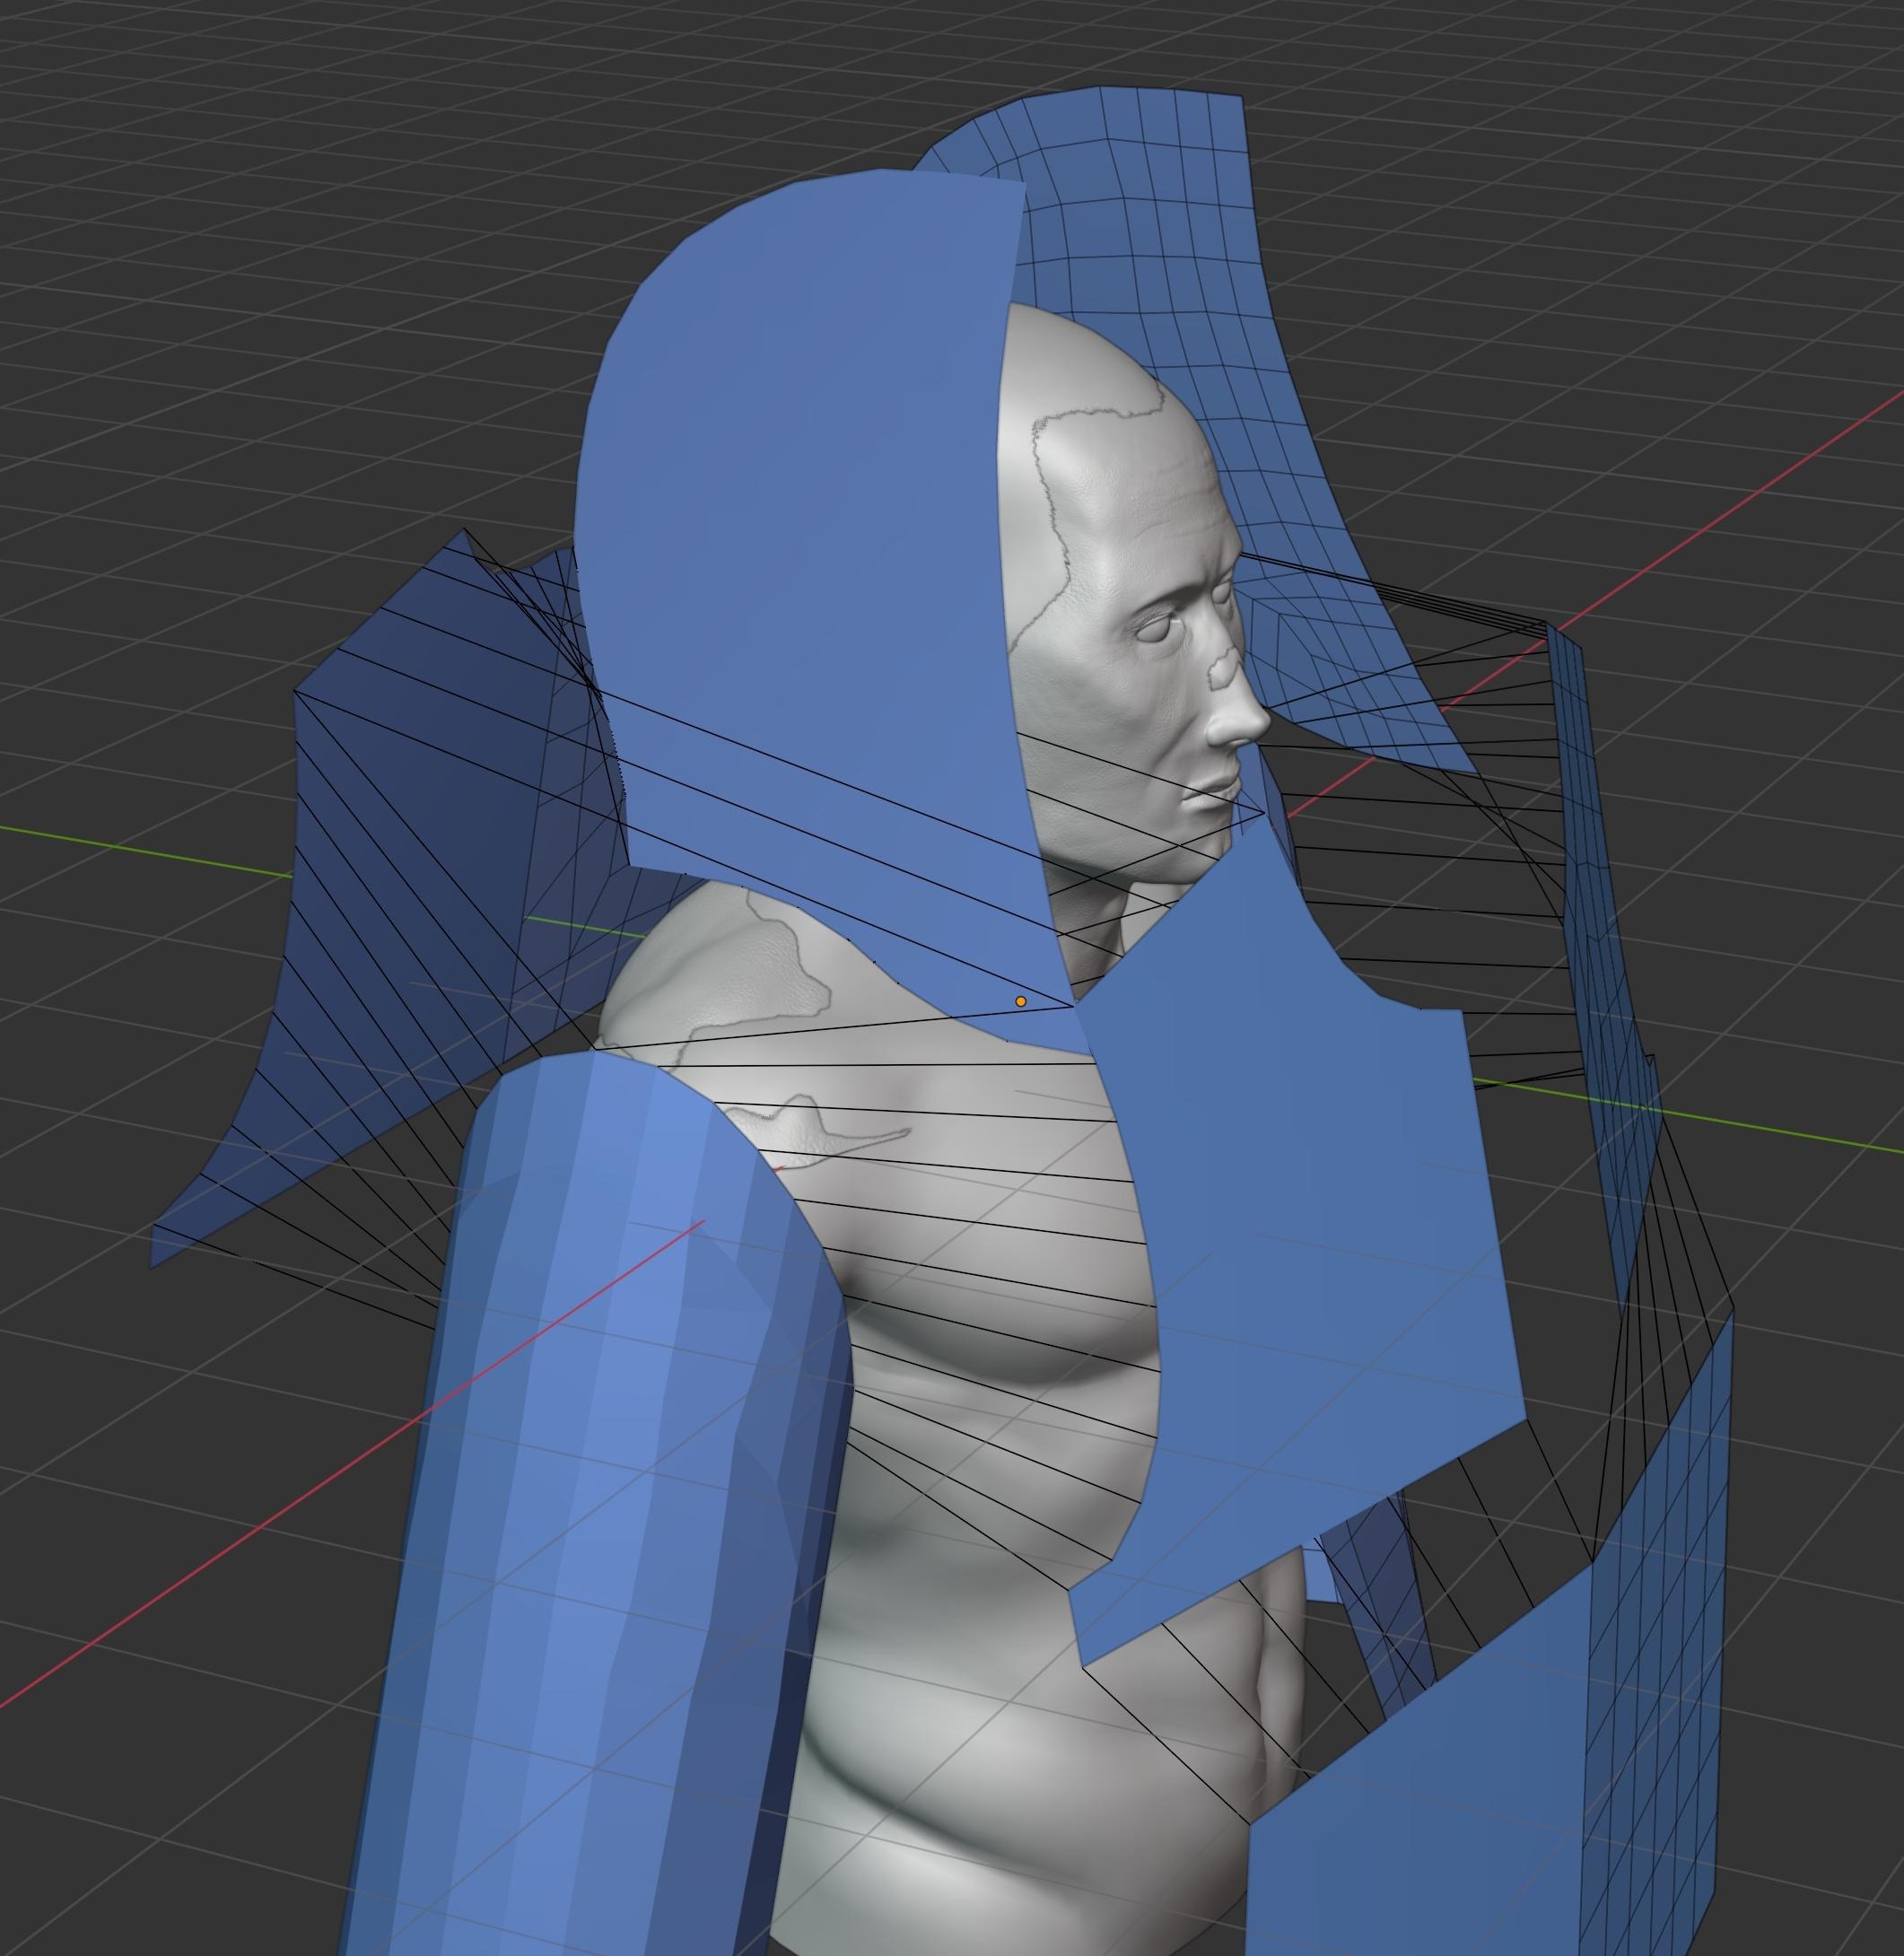
I think the next couple pictures really show the power of subdivision. We can start with an extremely blocky shape and by cutting it into smaller pieces, get something resembling a real clothing shape.

At this point I learned how to fix the broken/janky results of a cloth simulation…more or less. (There are still noticeable issues in the final render).
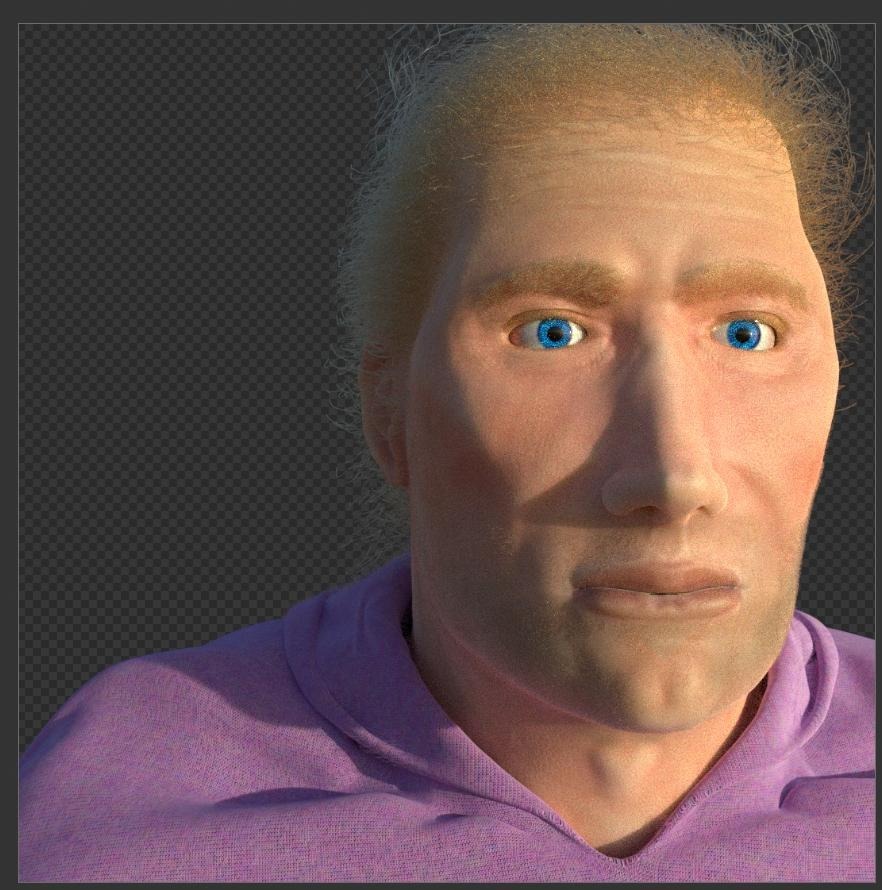
There is quite a lot of hair throughout the render. Even the sweatshirt has hair on it, to produce the “fuzzy” look. I found my computer starting to drag a bit during these sections, and the little errors I’d made in previous stages along the way (e.g. UV unwrapping) started to show up in small ways.
Hair in general was pretty tough for me to fully understand. Some of the intermediate results were pretty atrocious:
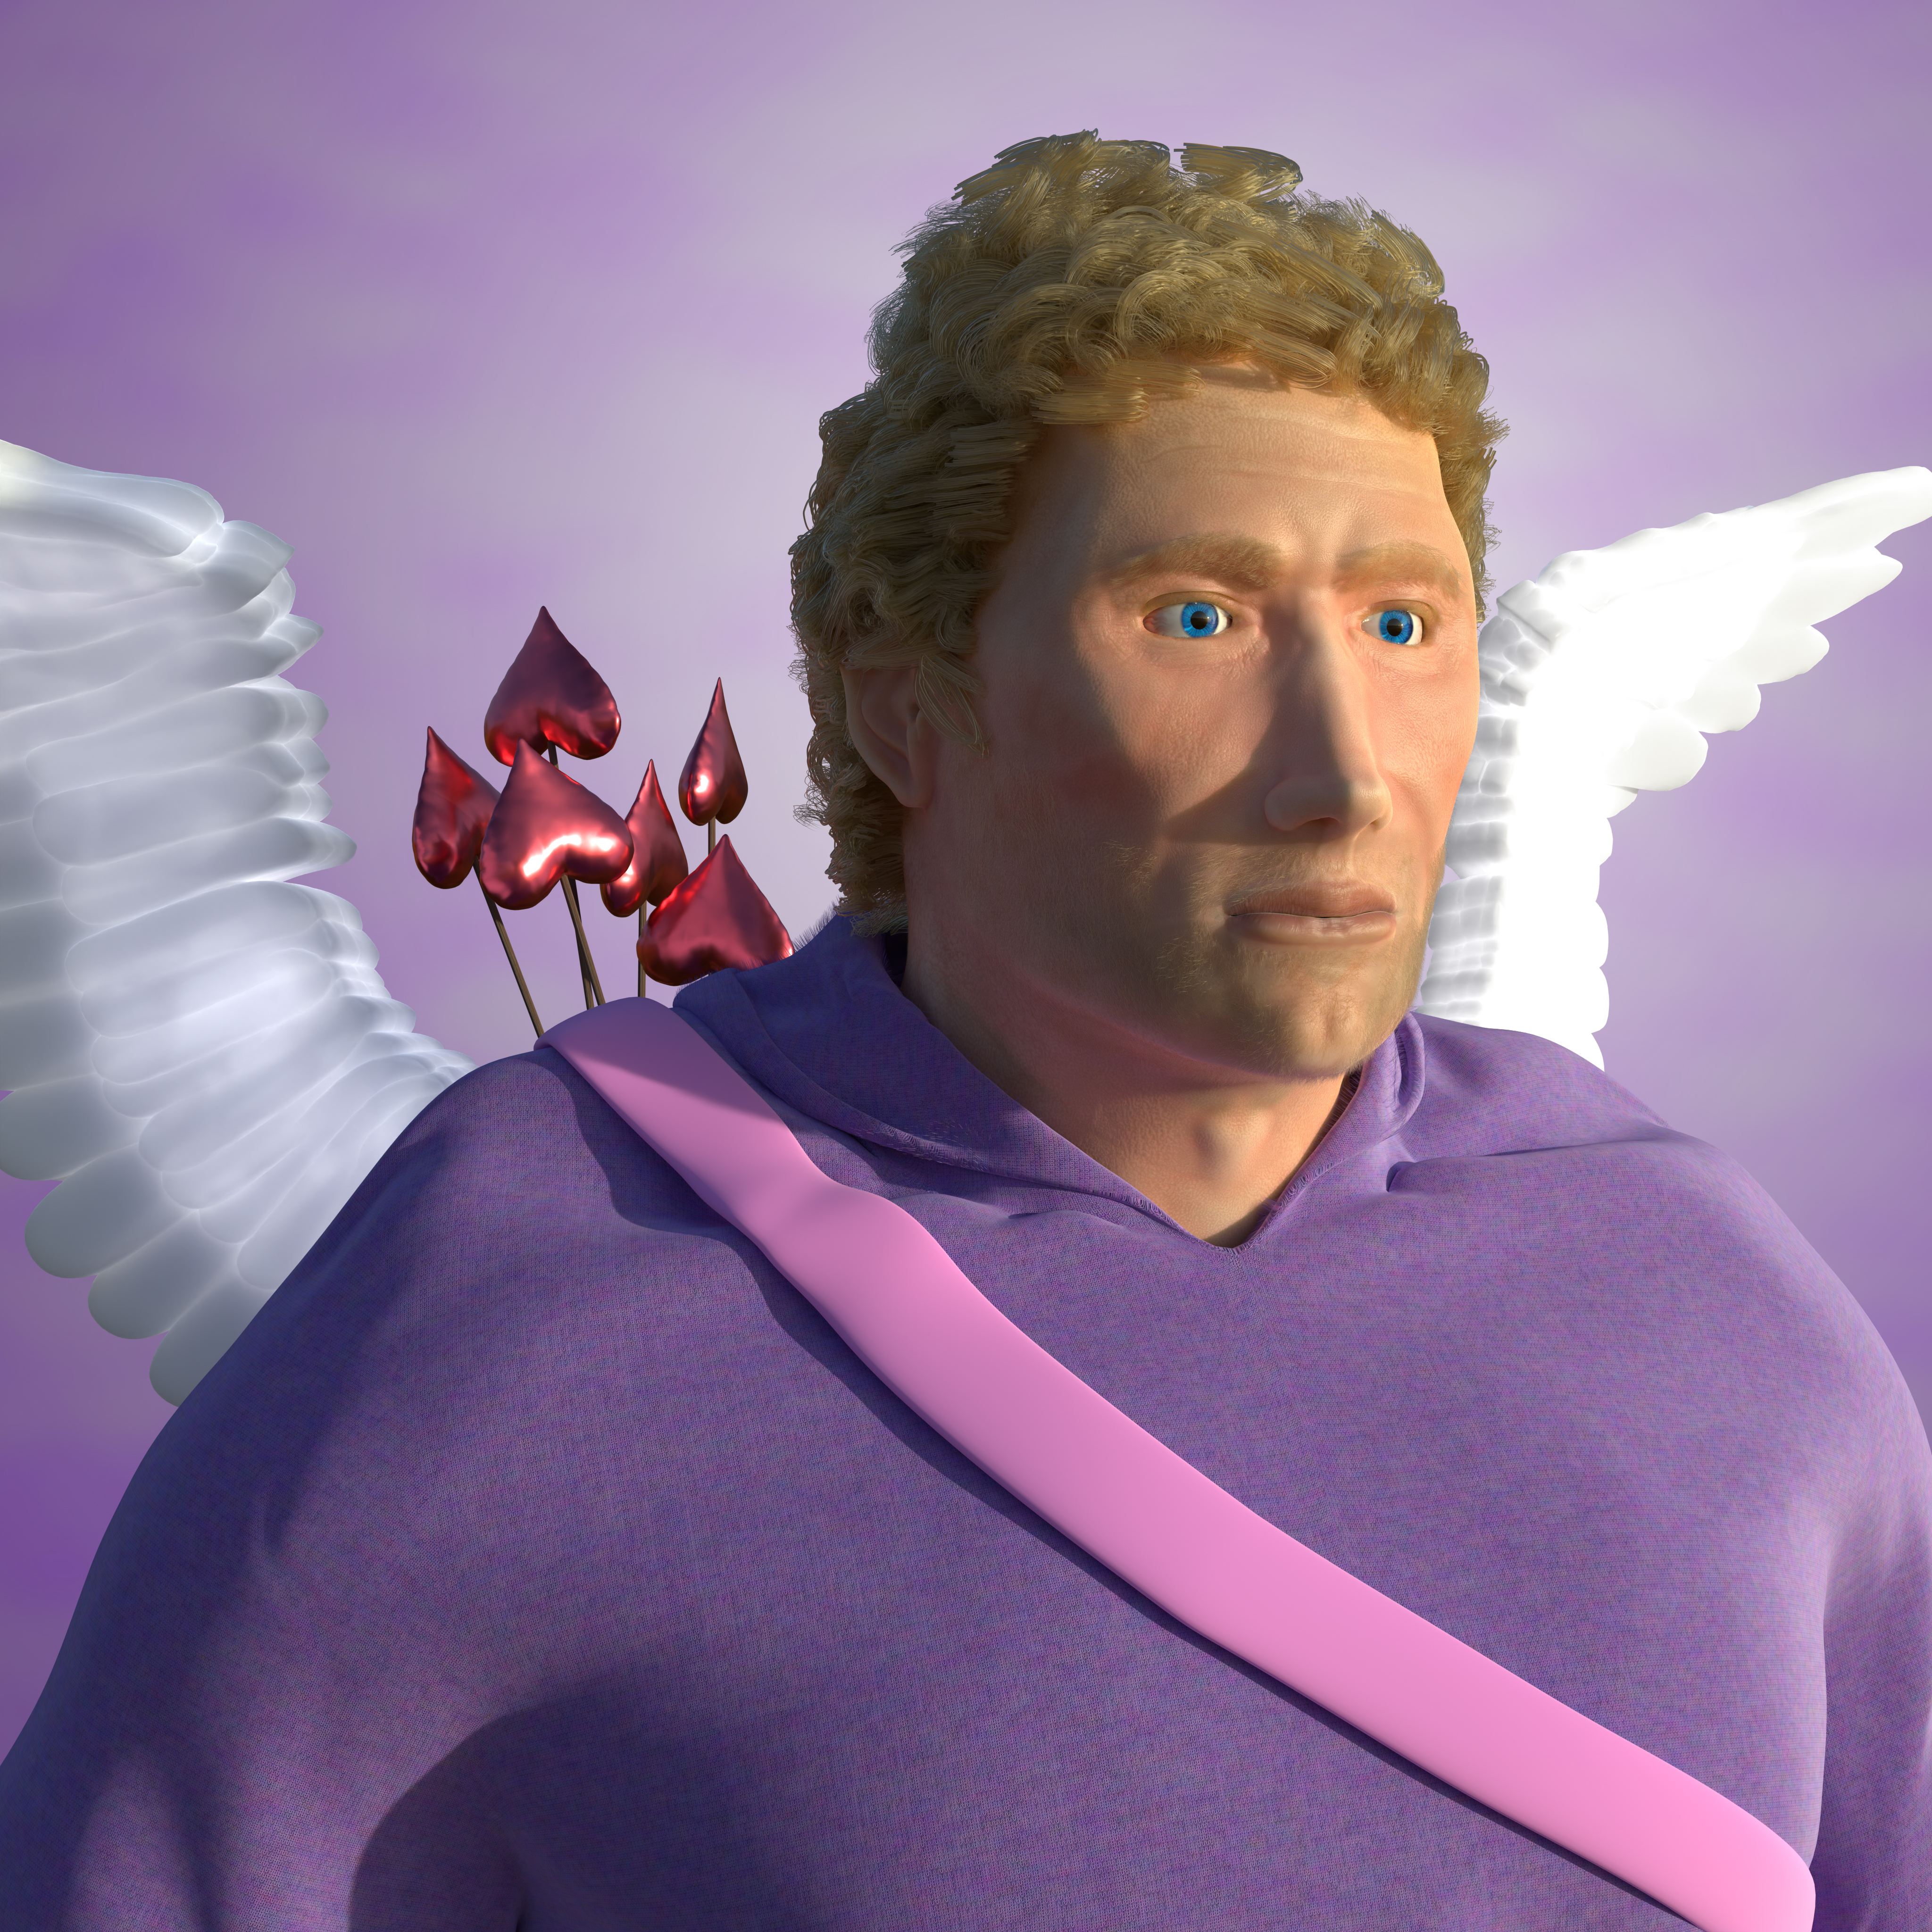
I added some wings (with a slightly emissive material), hearts (mostly a metallic red), and arrow shafts (stretched noise texture mixed with light brown) to put together the final result, compositing over a simple purple-and-white noise texture with a gradient.
Final Render
The image below is 1080p, but I also did a 4k render.
