Clean Face Topology
One really good idea in 3d modeling is to separate topology (the specific flow of shapes across your model’s surface) from defining the actual 3d shape itself. A common way to do this is a two-step process of sculpting, followed by retopology. However, retopology can be somewhat tedious.
Another way exists! We can create a clean, simple topology first, and then focus on making our characters through box modeling, rather than sculpting. I originally learned about this technique from this video, which I highly recommend. This method has become my preferred way to model humanoid faces.
Modeling something non-human is possible as well, but will require some thought about how the topology looks “in 2d” (on the surface of a cube) to adapt to any differences. Luckily, I find it somewhat easier to think about proper topology as a bunch of 2d shapes rather than directly in 3d.
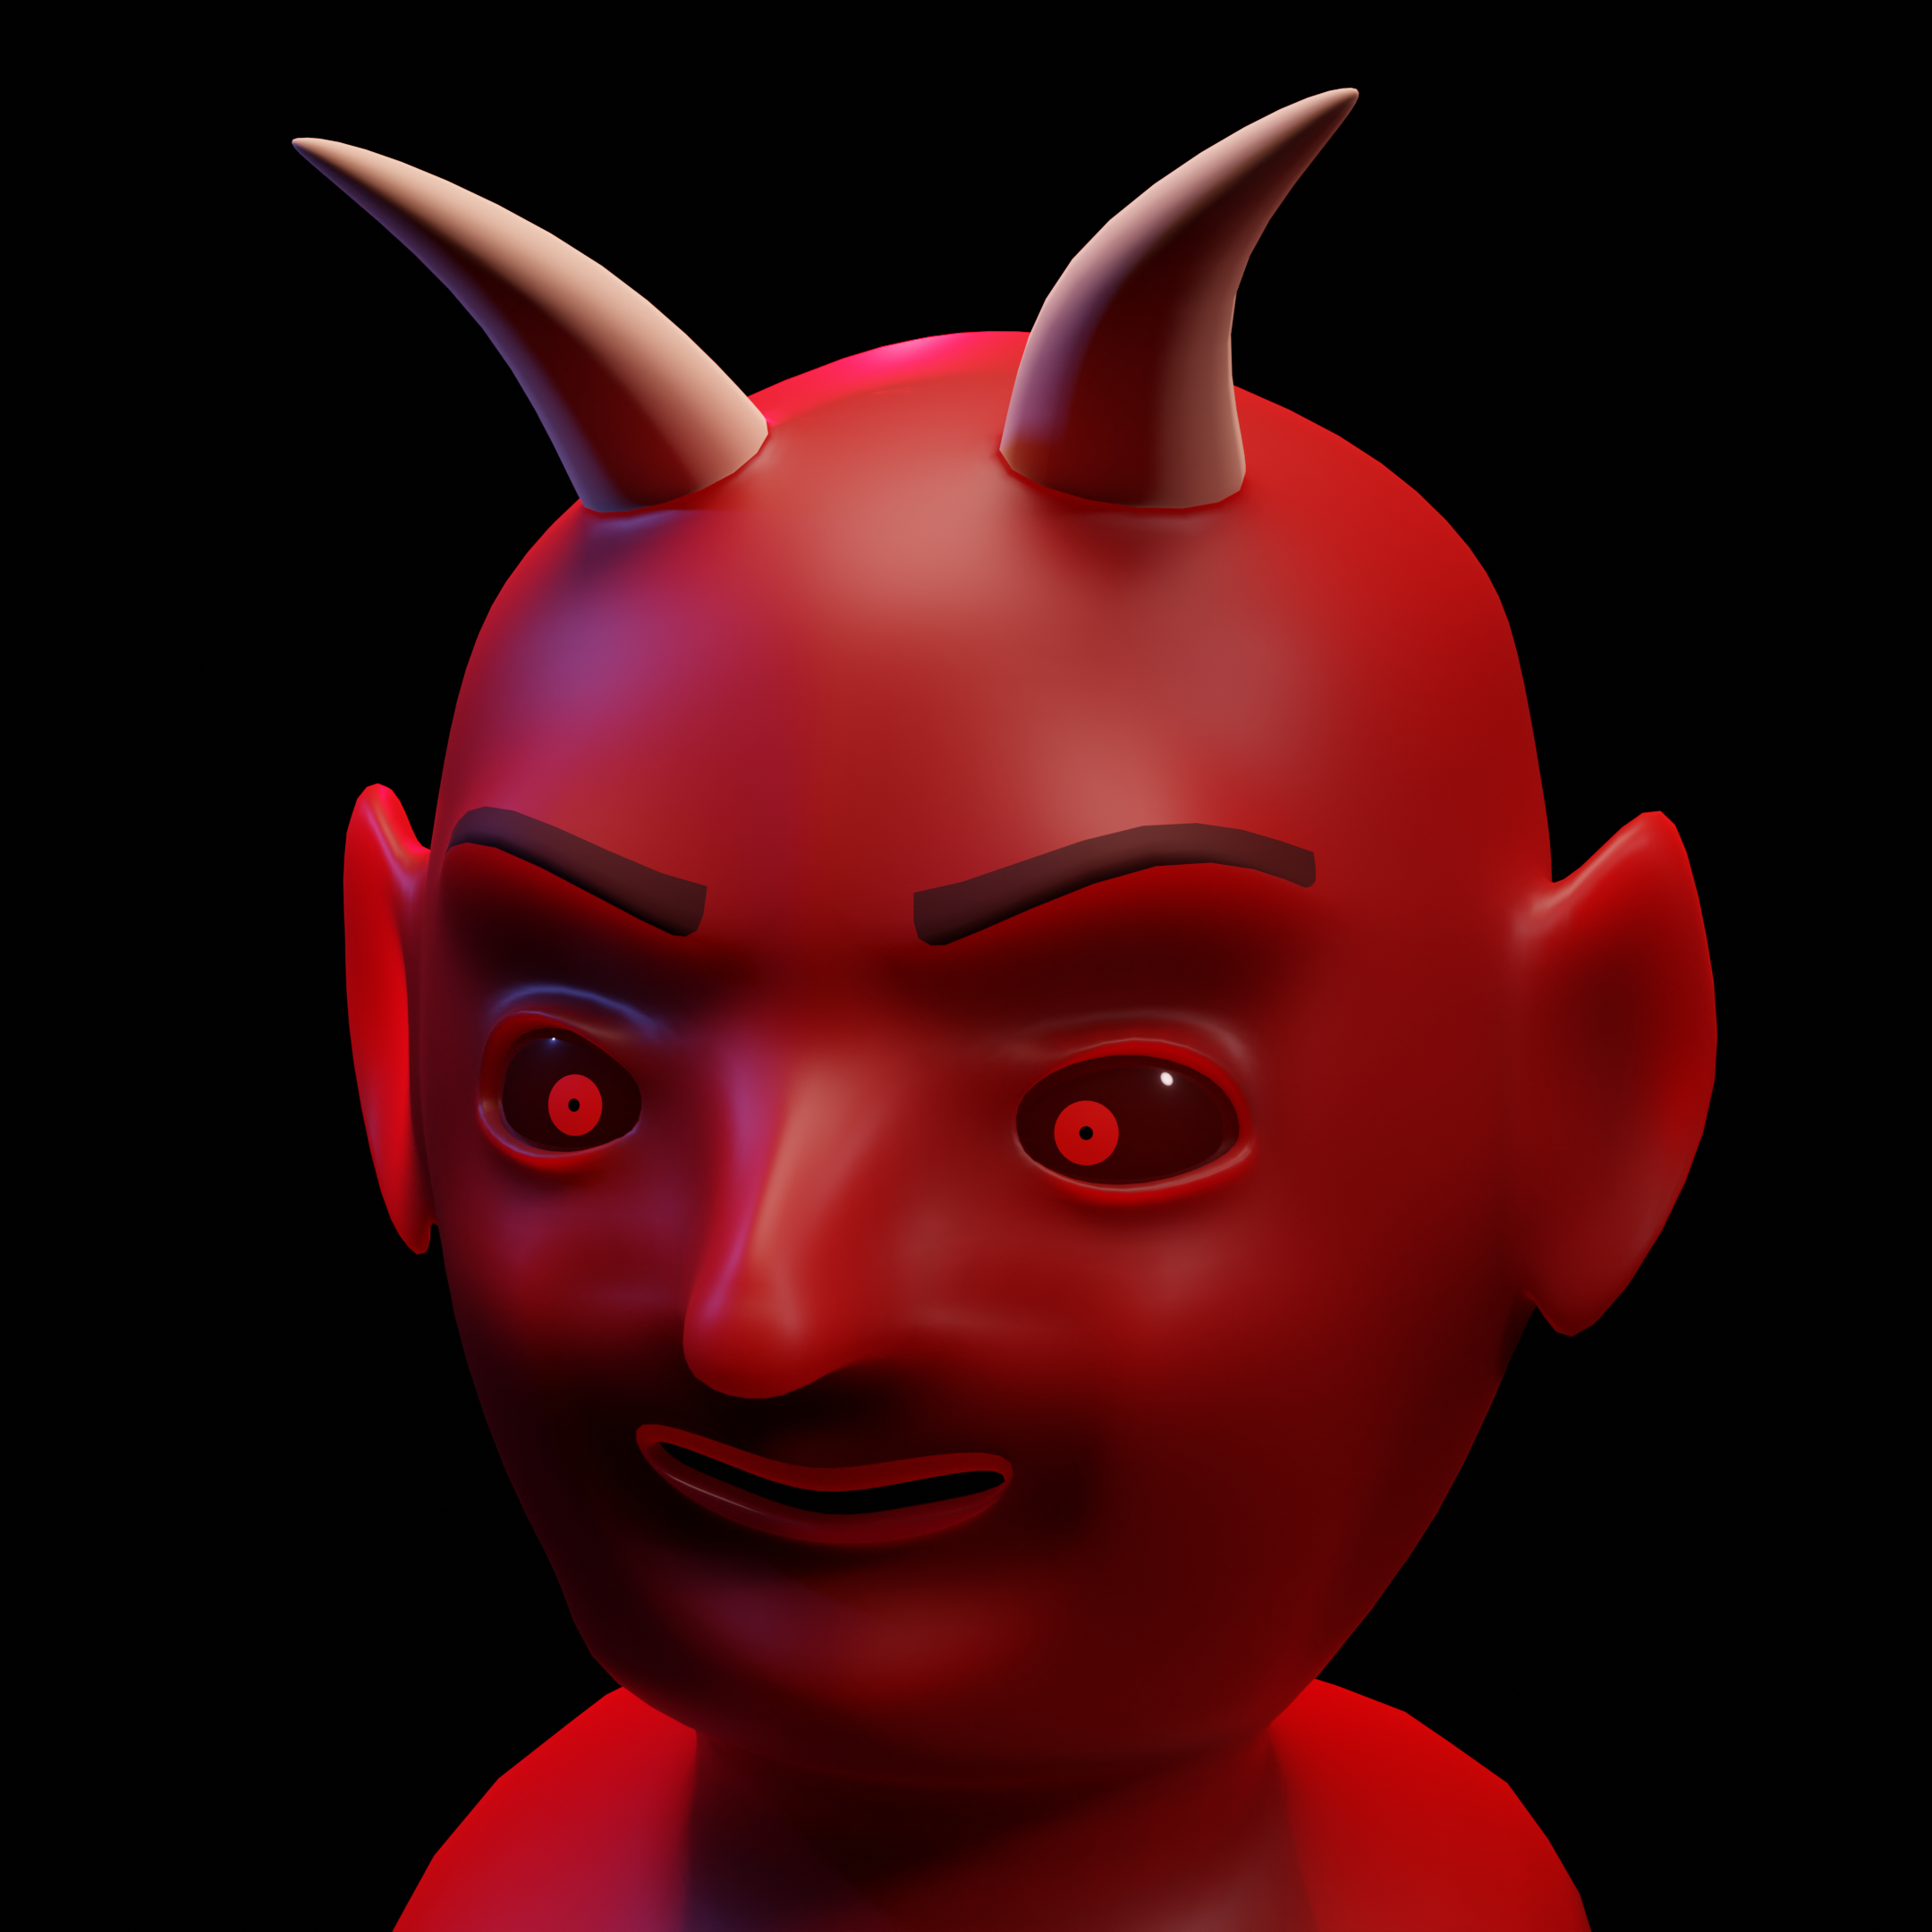
In this post, we’ll be modeling this imp character, while maintaining a clean and simple topology.
Humanoid face topology on a cube
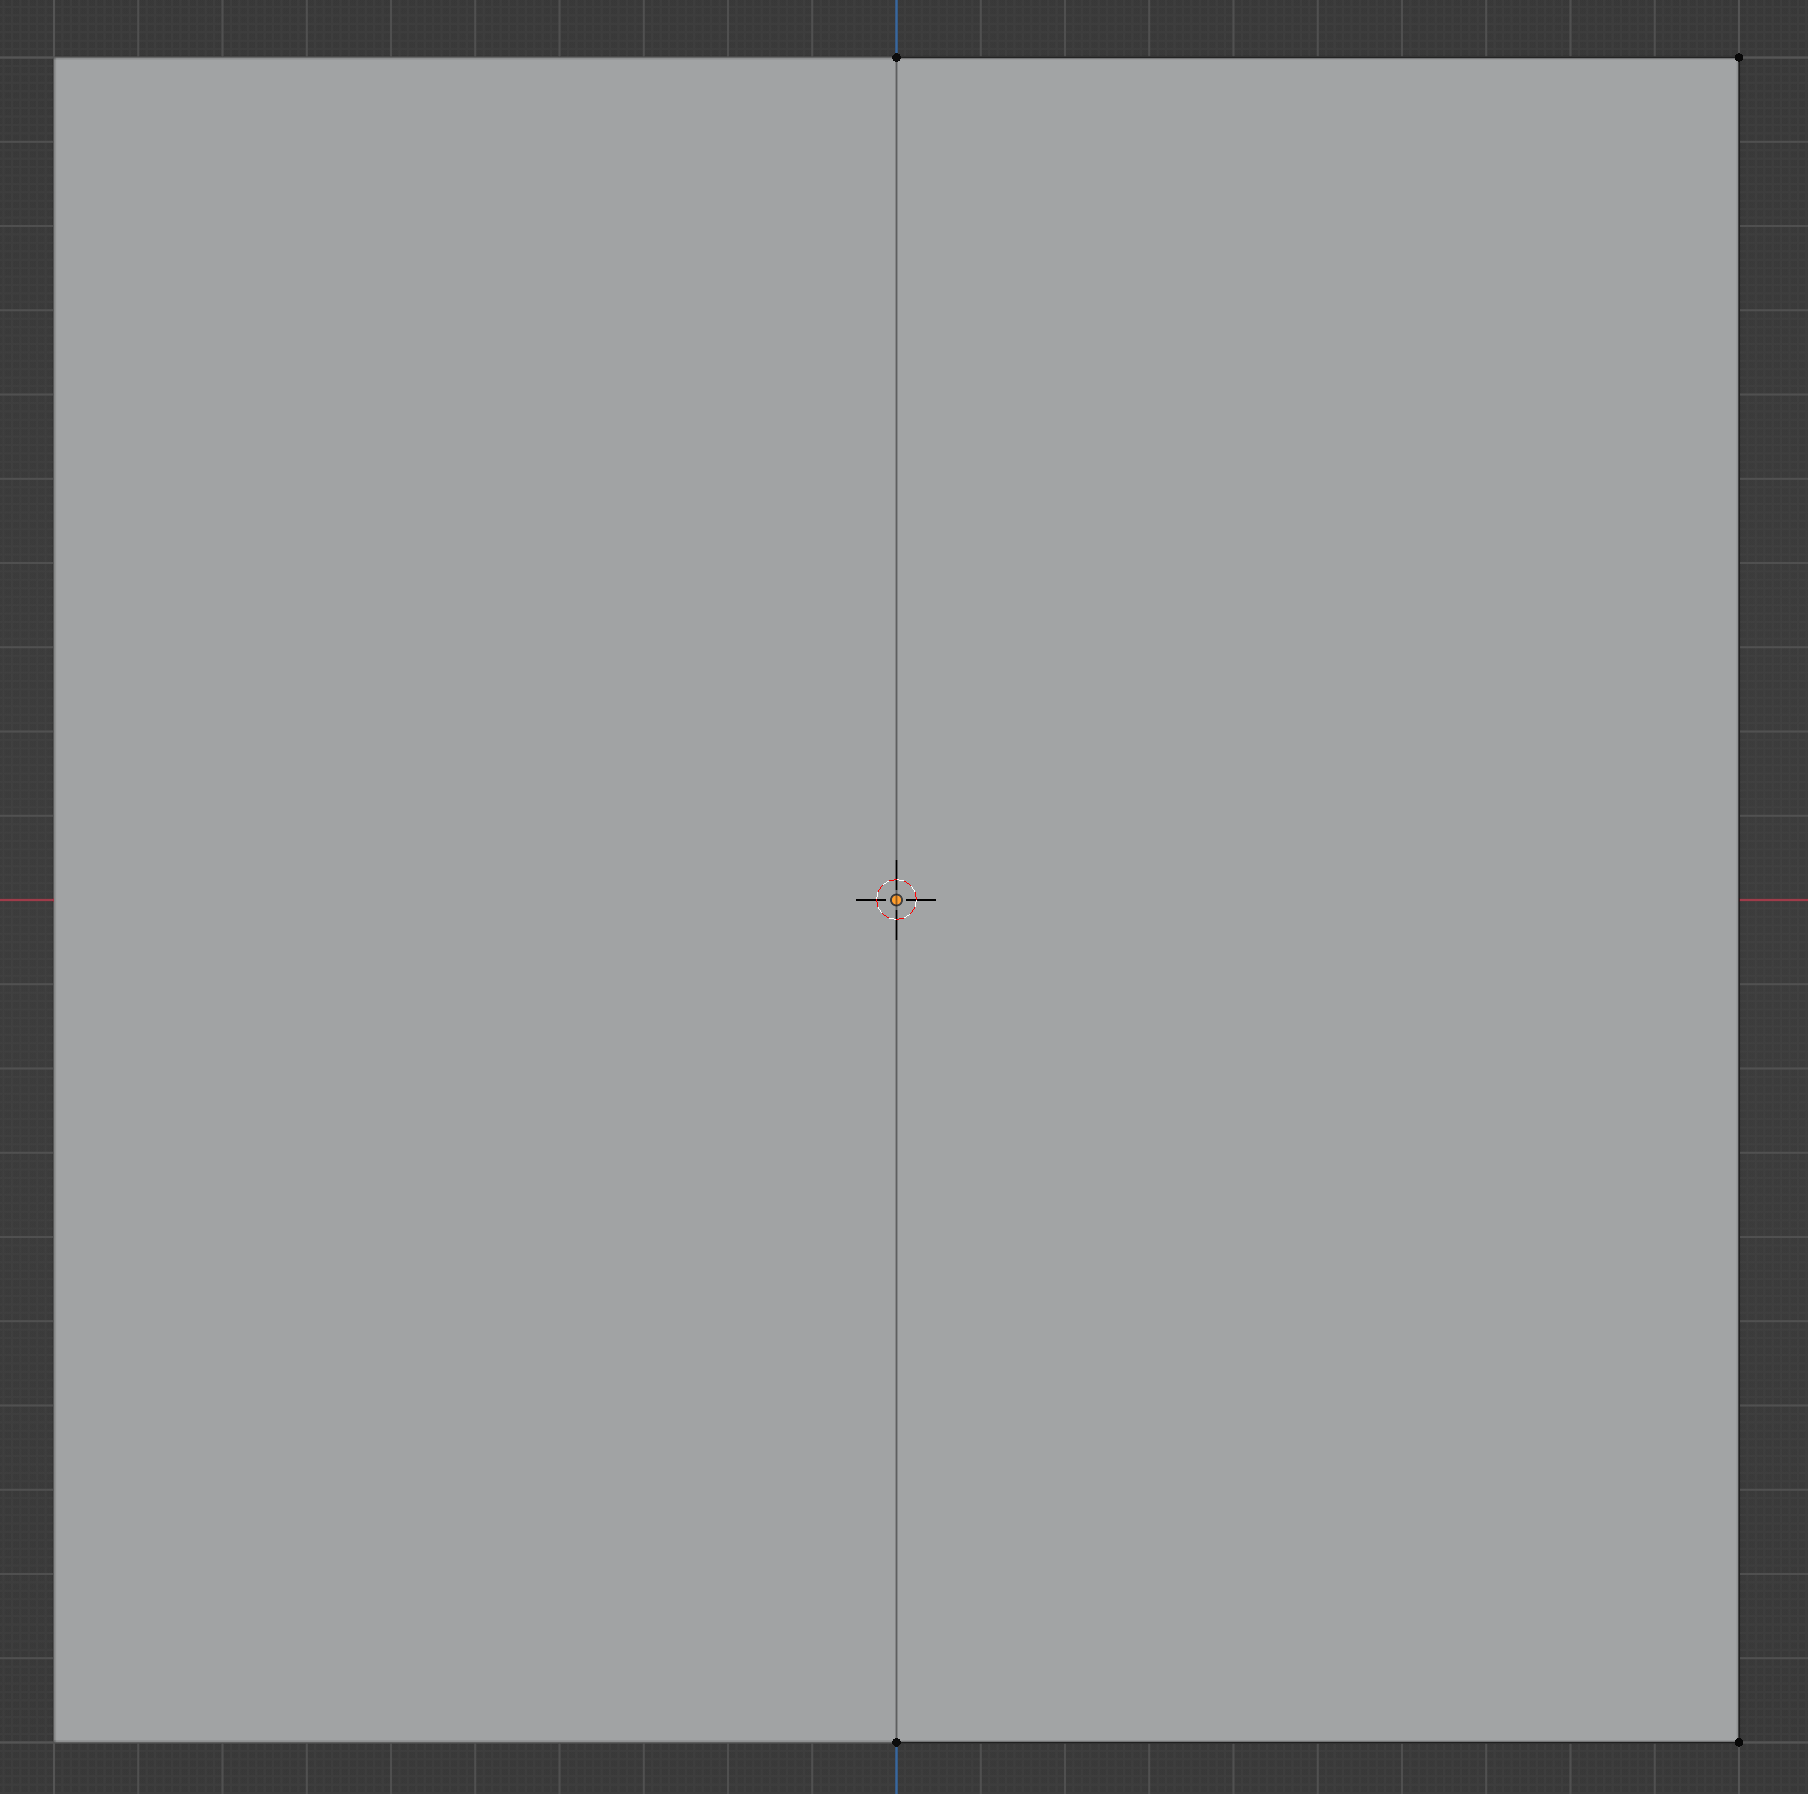
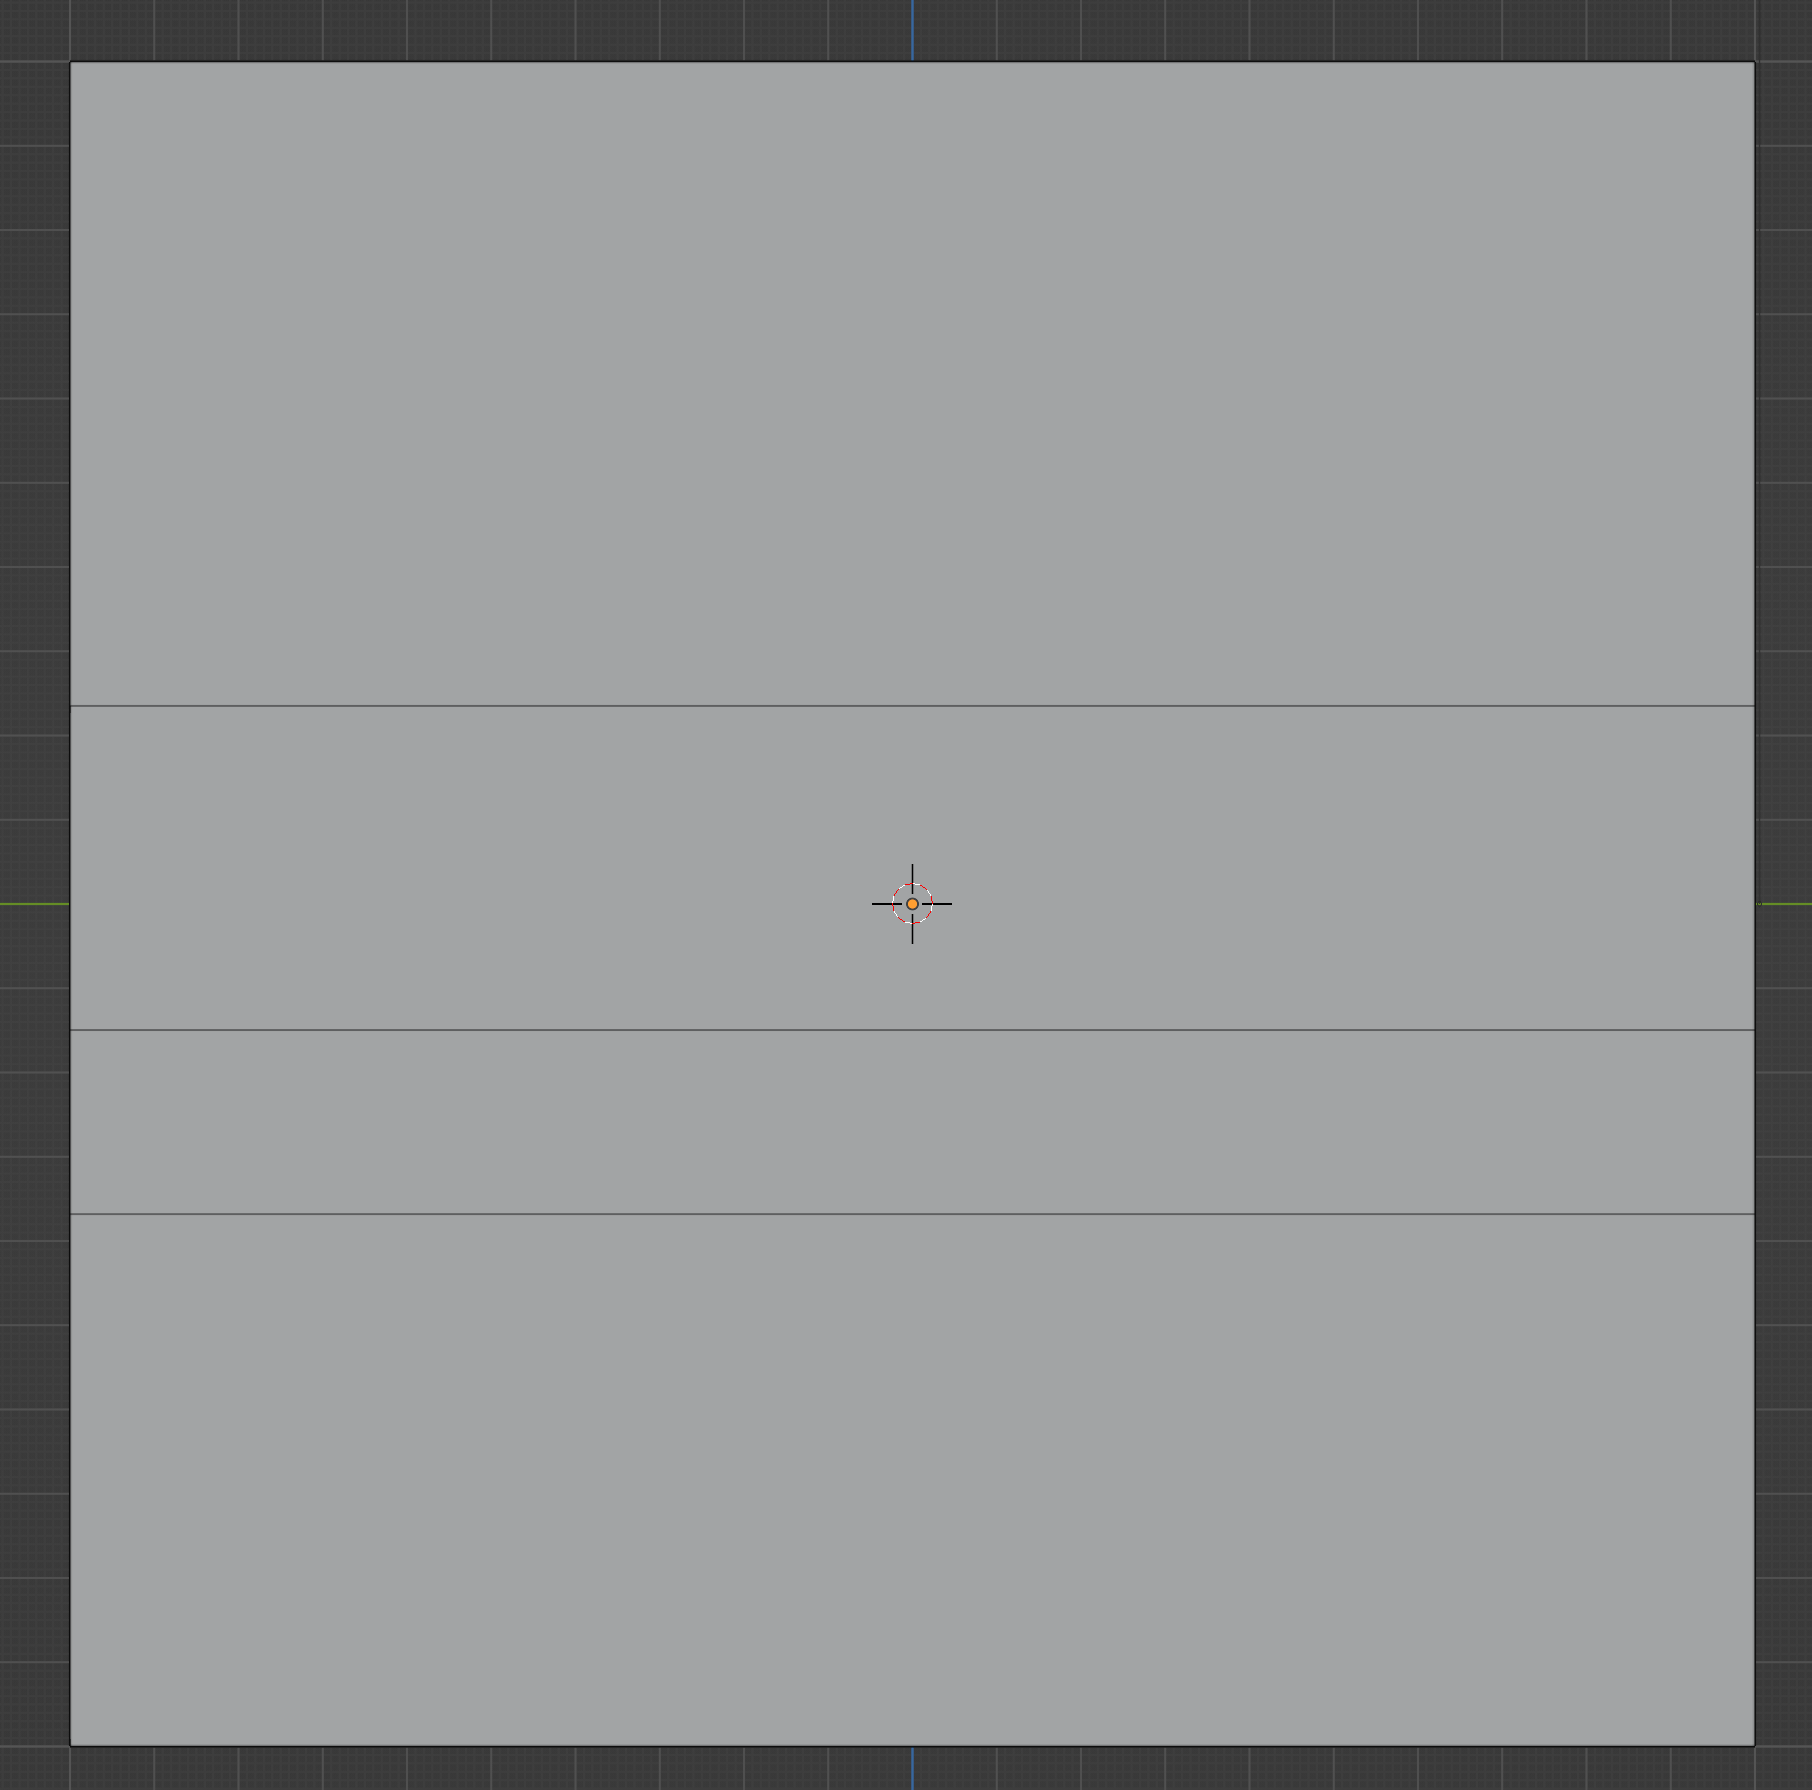
Let’s start with a cube in Blender, in front view (NUMPAD 1). We’ll use the mirror modifier so we only have to worry about creating half the face. It should have a cut down the center as well.
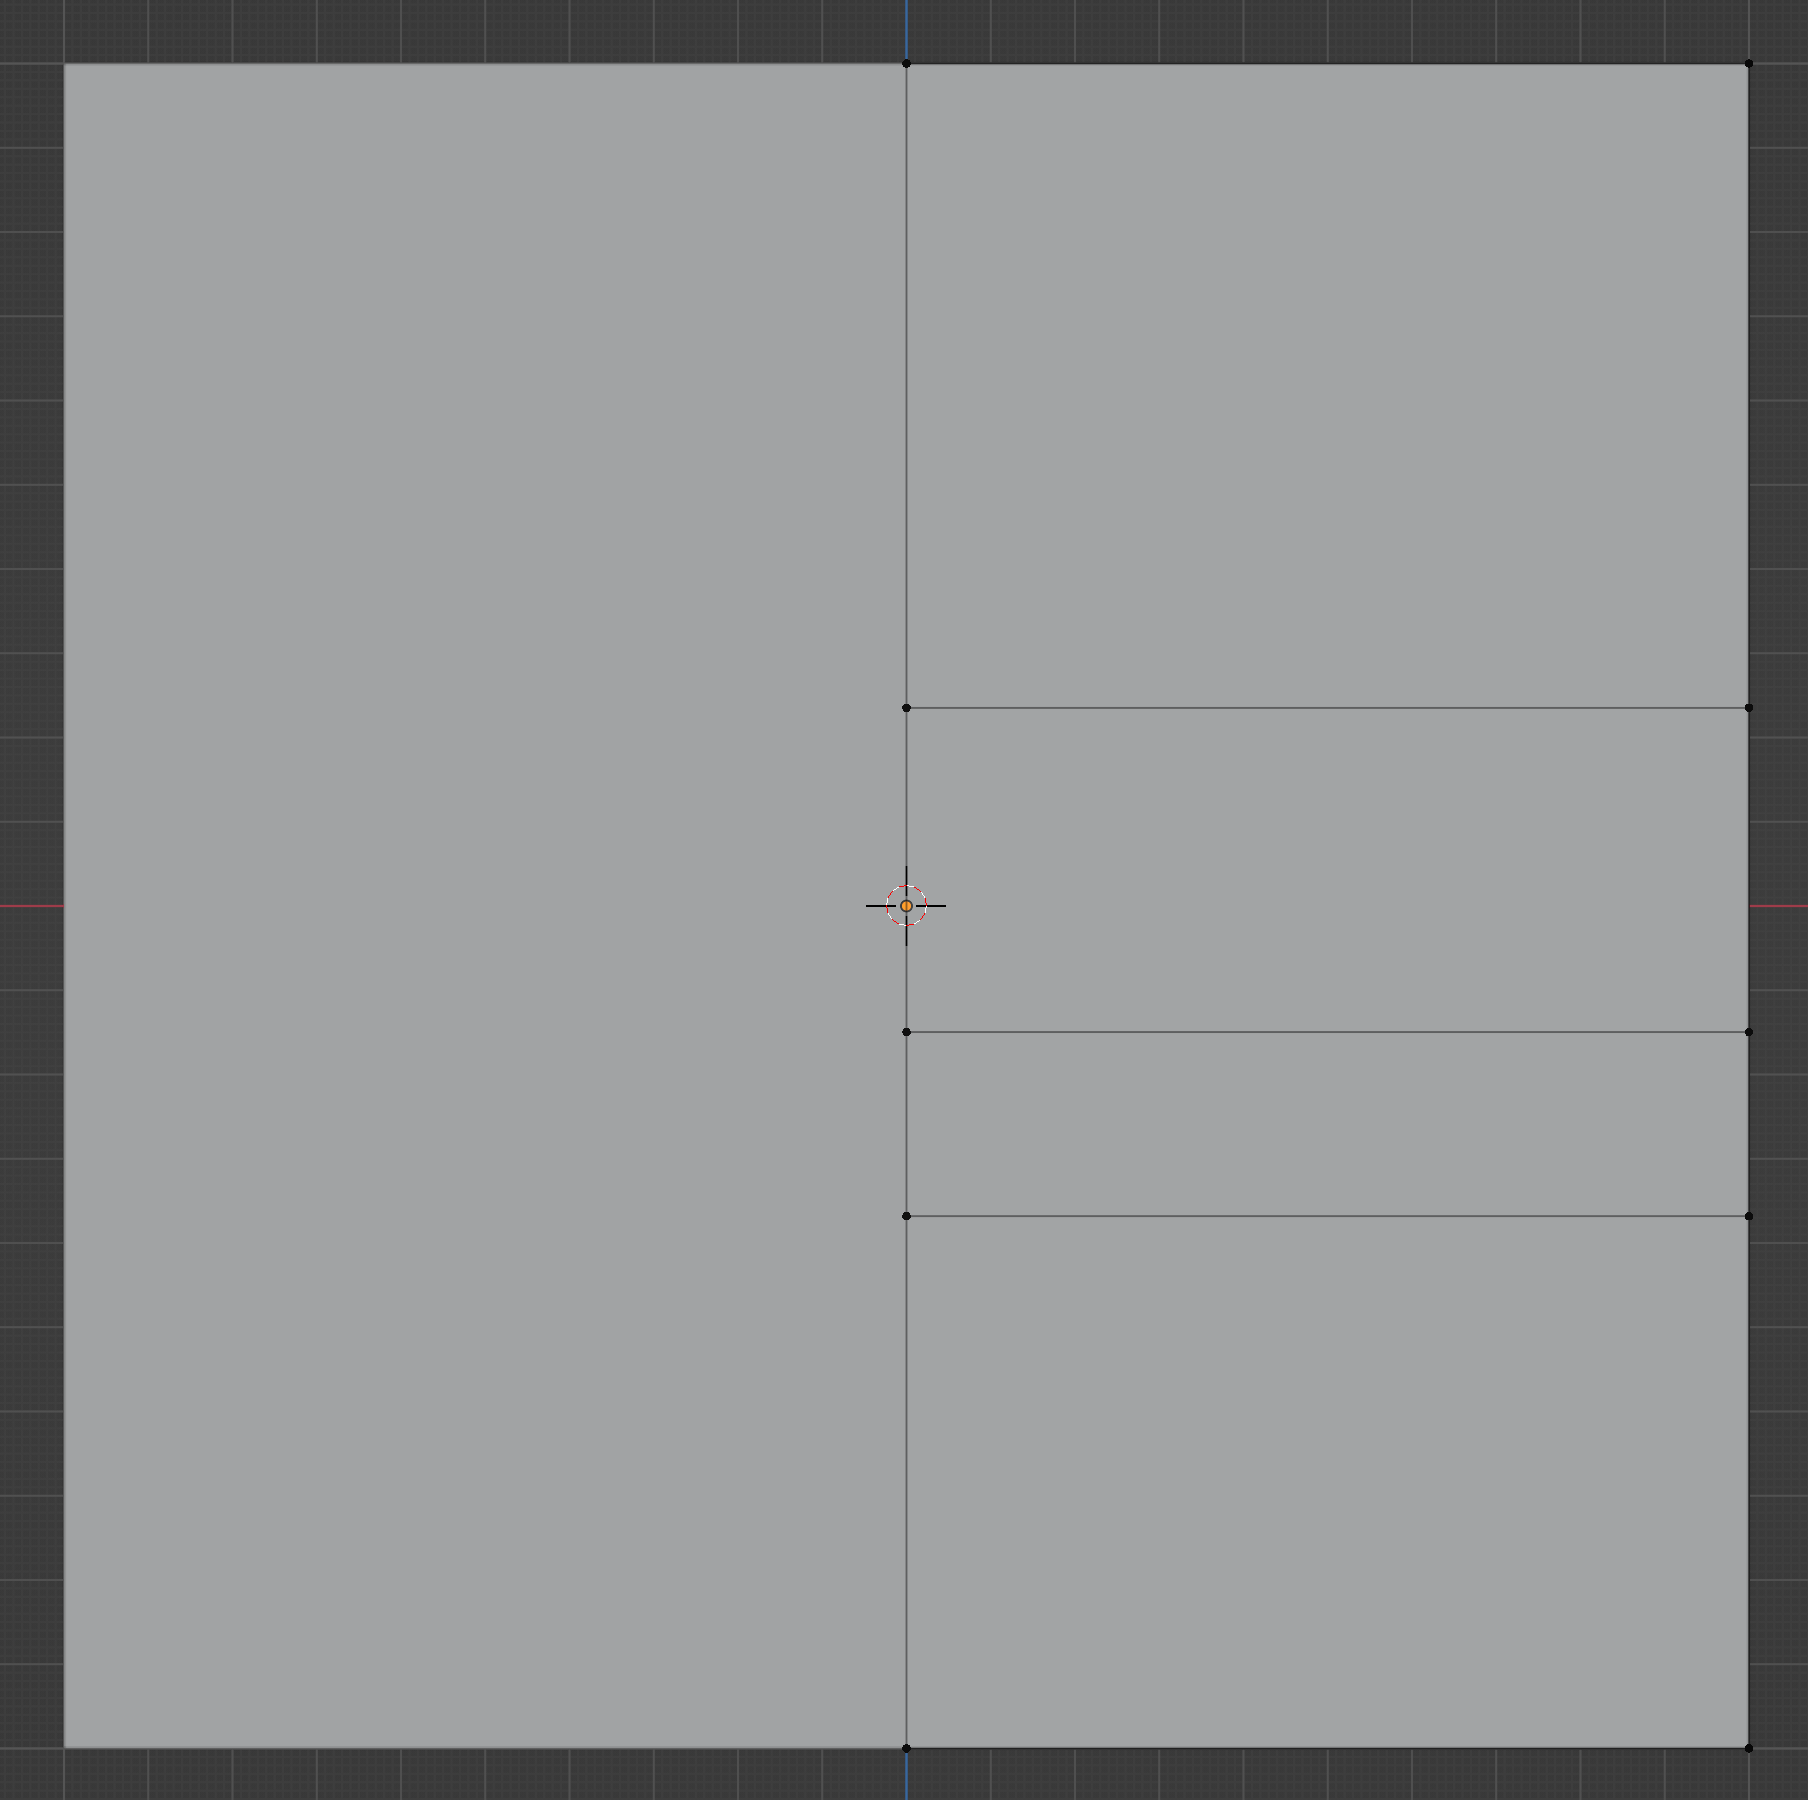
Next we create three horizontal loop cuts with CTRLR (so they wrap all the way around the cube). From top to bottom, these will become the top of the eye socket, the bottom of the eye socket, and the bottom of the nose.
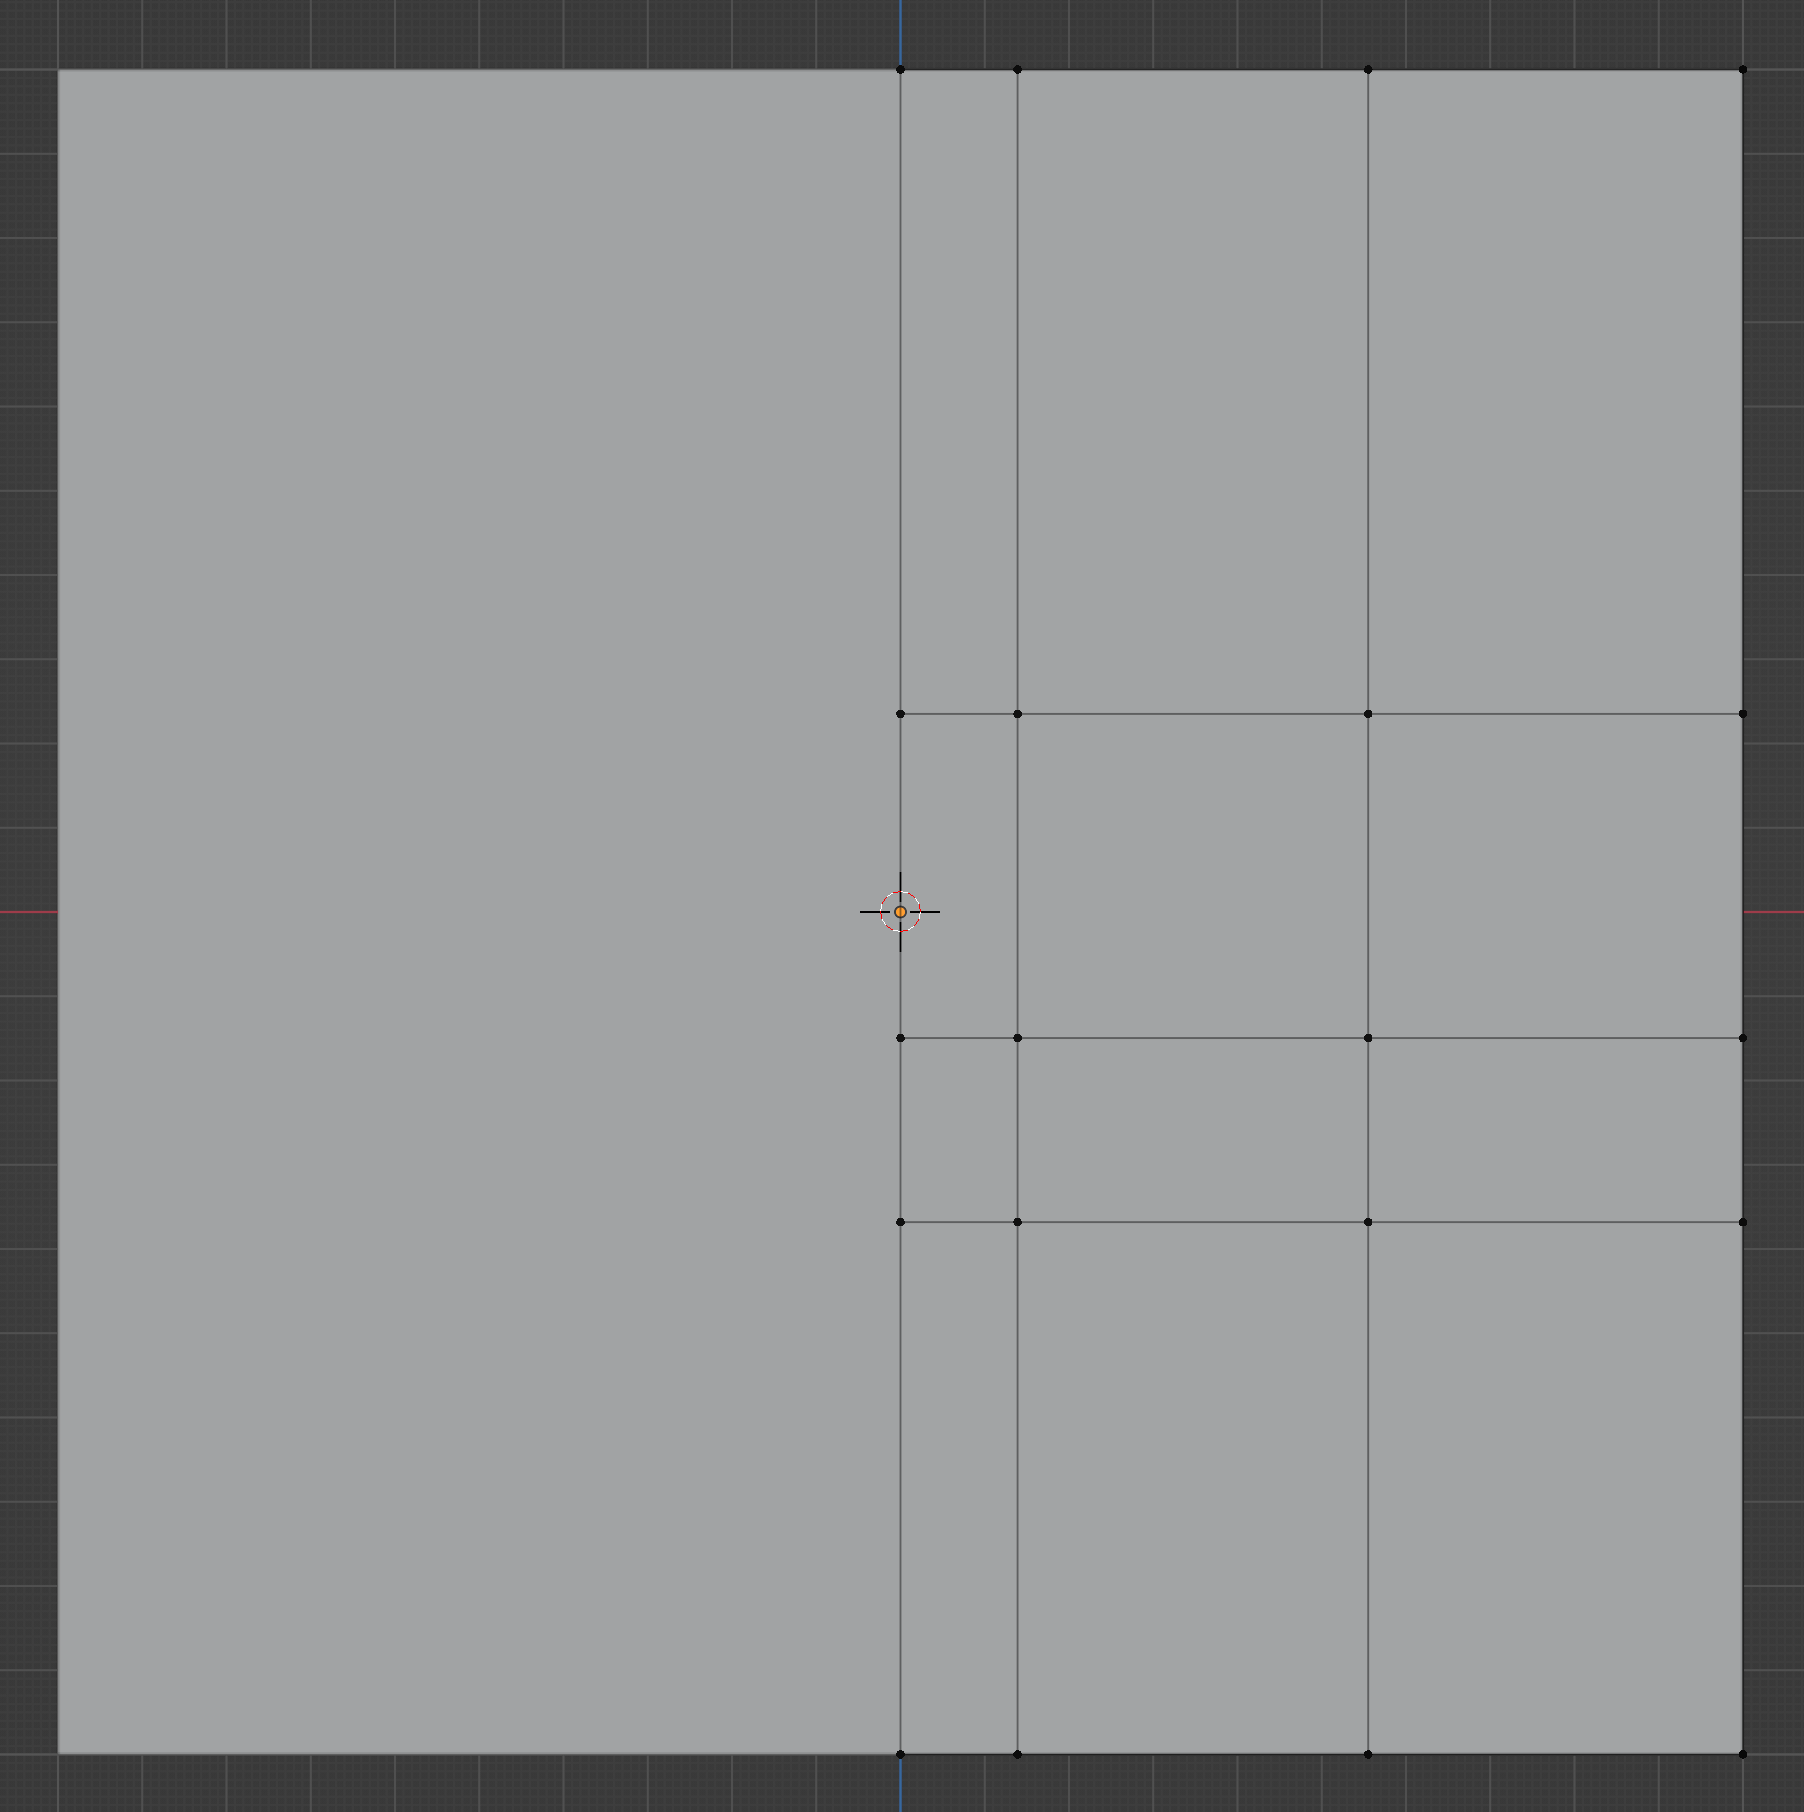
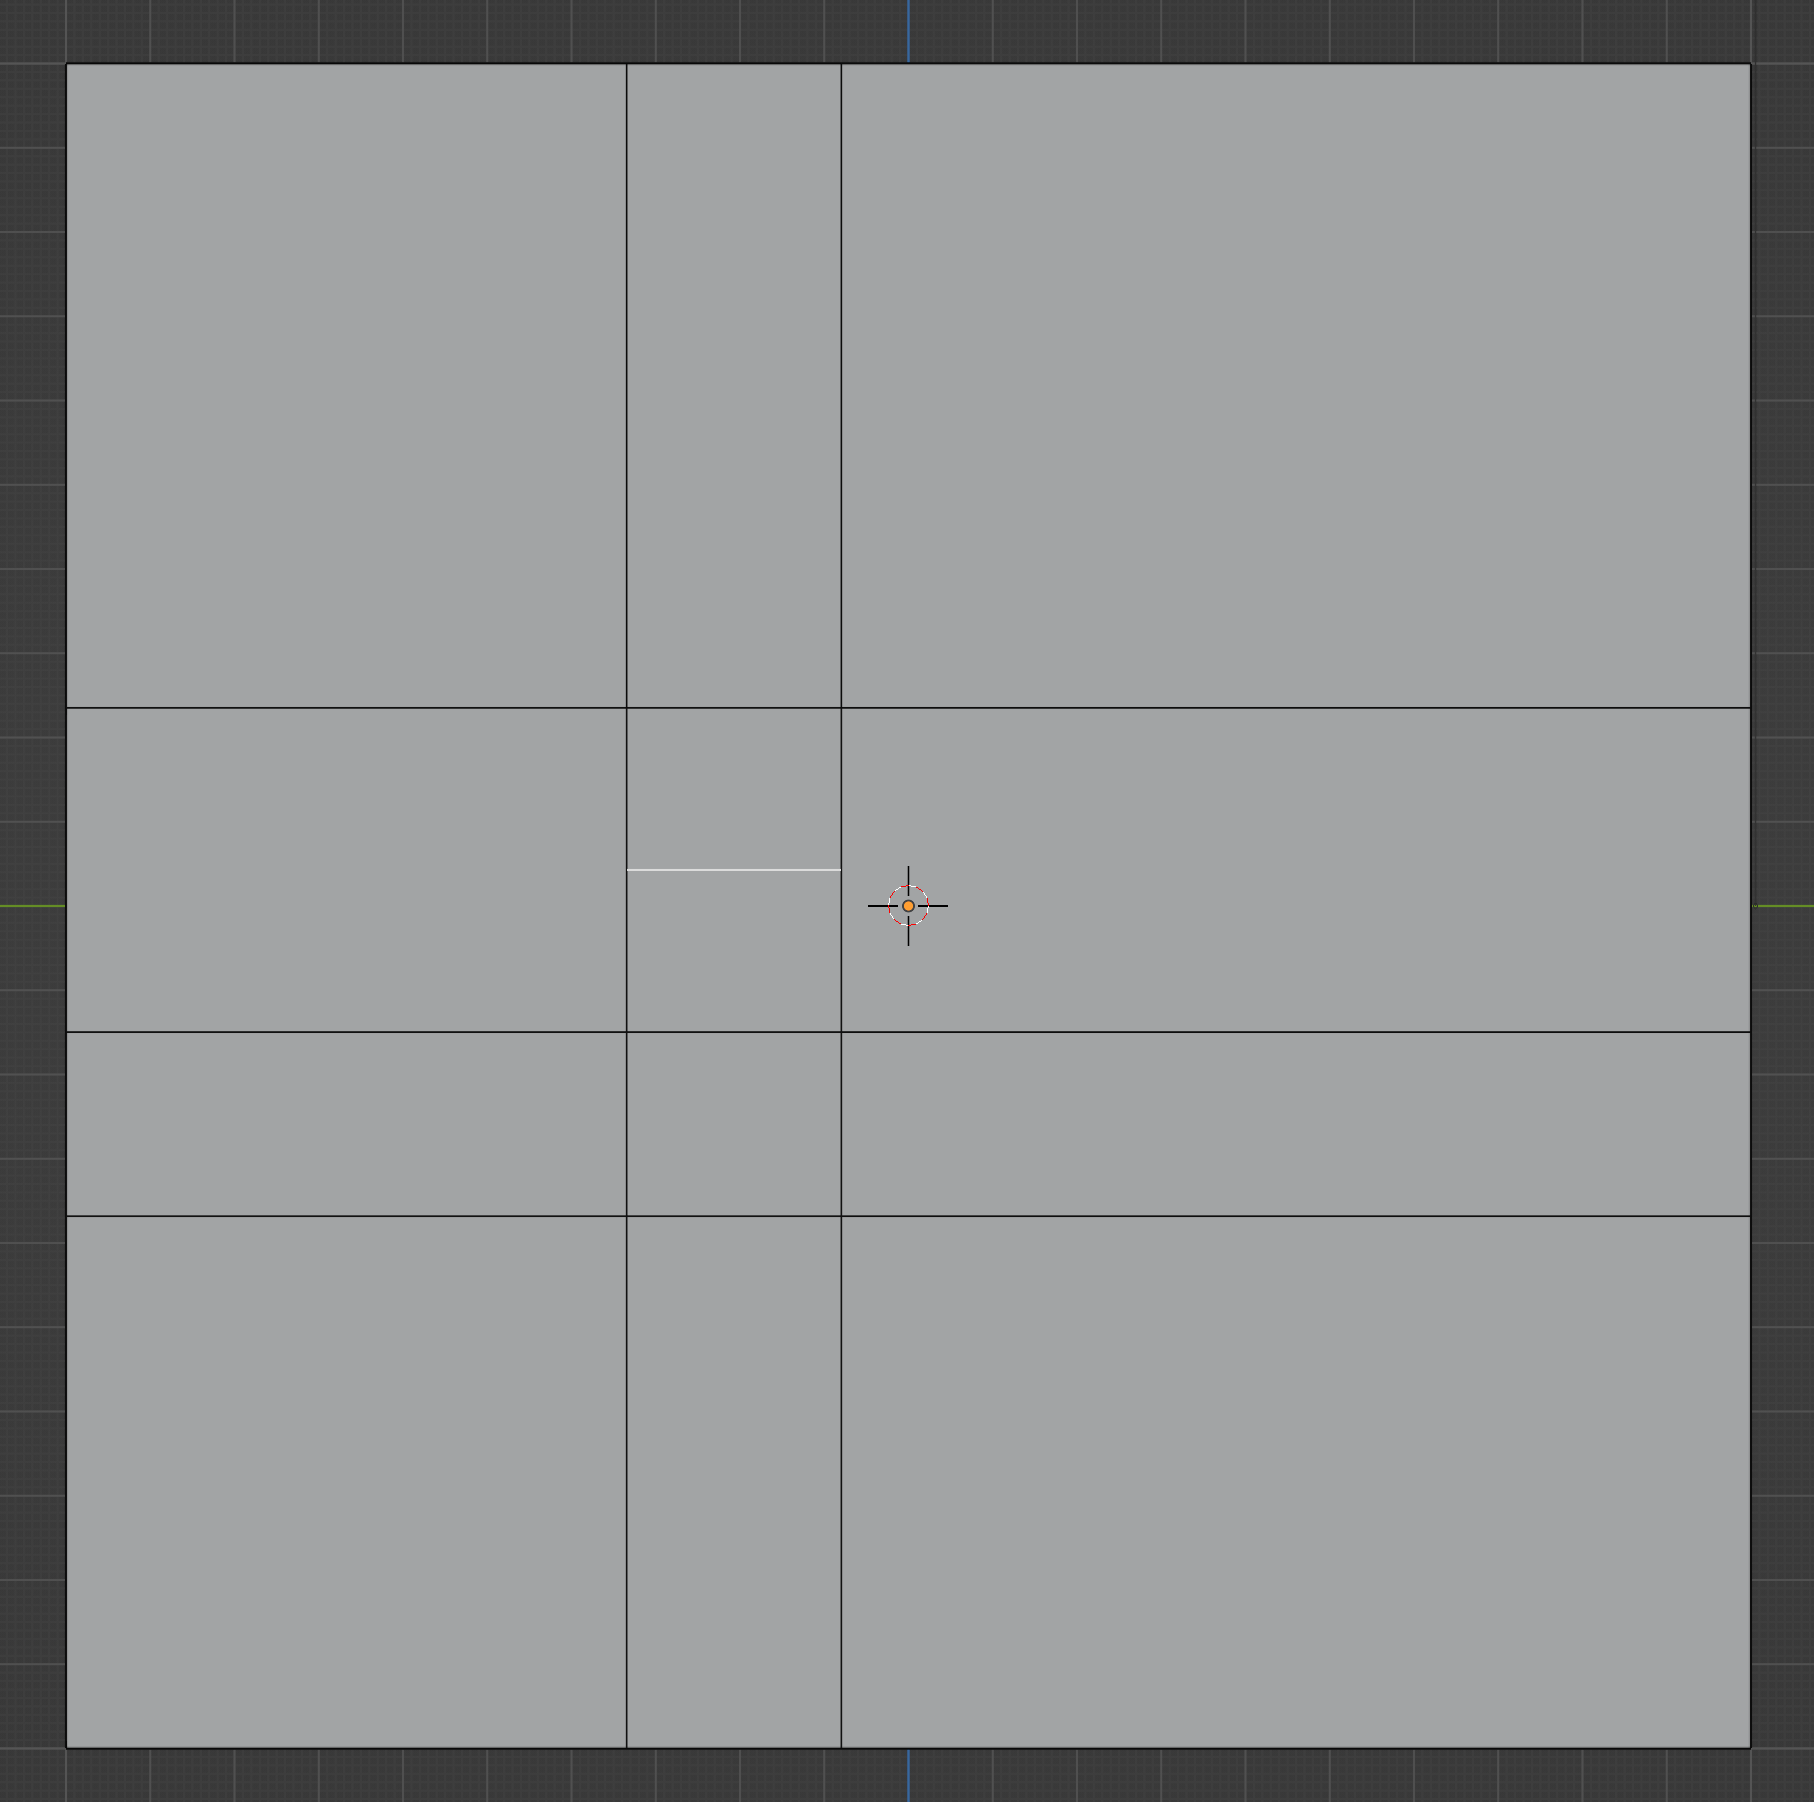
Two new vertical cuts define (from left to right) the side of the nose and the midpoint of the eye.
Select all but the upper row of faces and inset them with I. (Toggle whether the inset affects the mirror boundary with B if it doesn’t look like this). This will become the lower face area, between brow and chin.
Inset these two faces to create the outline of the eye.
Make the eye outline more circular by moving the outside corners in.
An easy way to do this is with the LoopTools add-on
(LoopTools > Circle), but you could do it with the knife
tool (K) or by manually dragging around points (G)
if wanted.

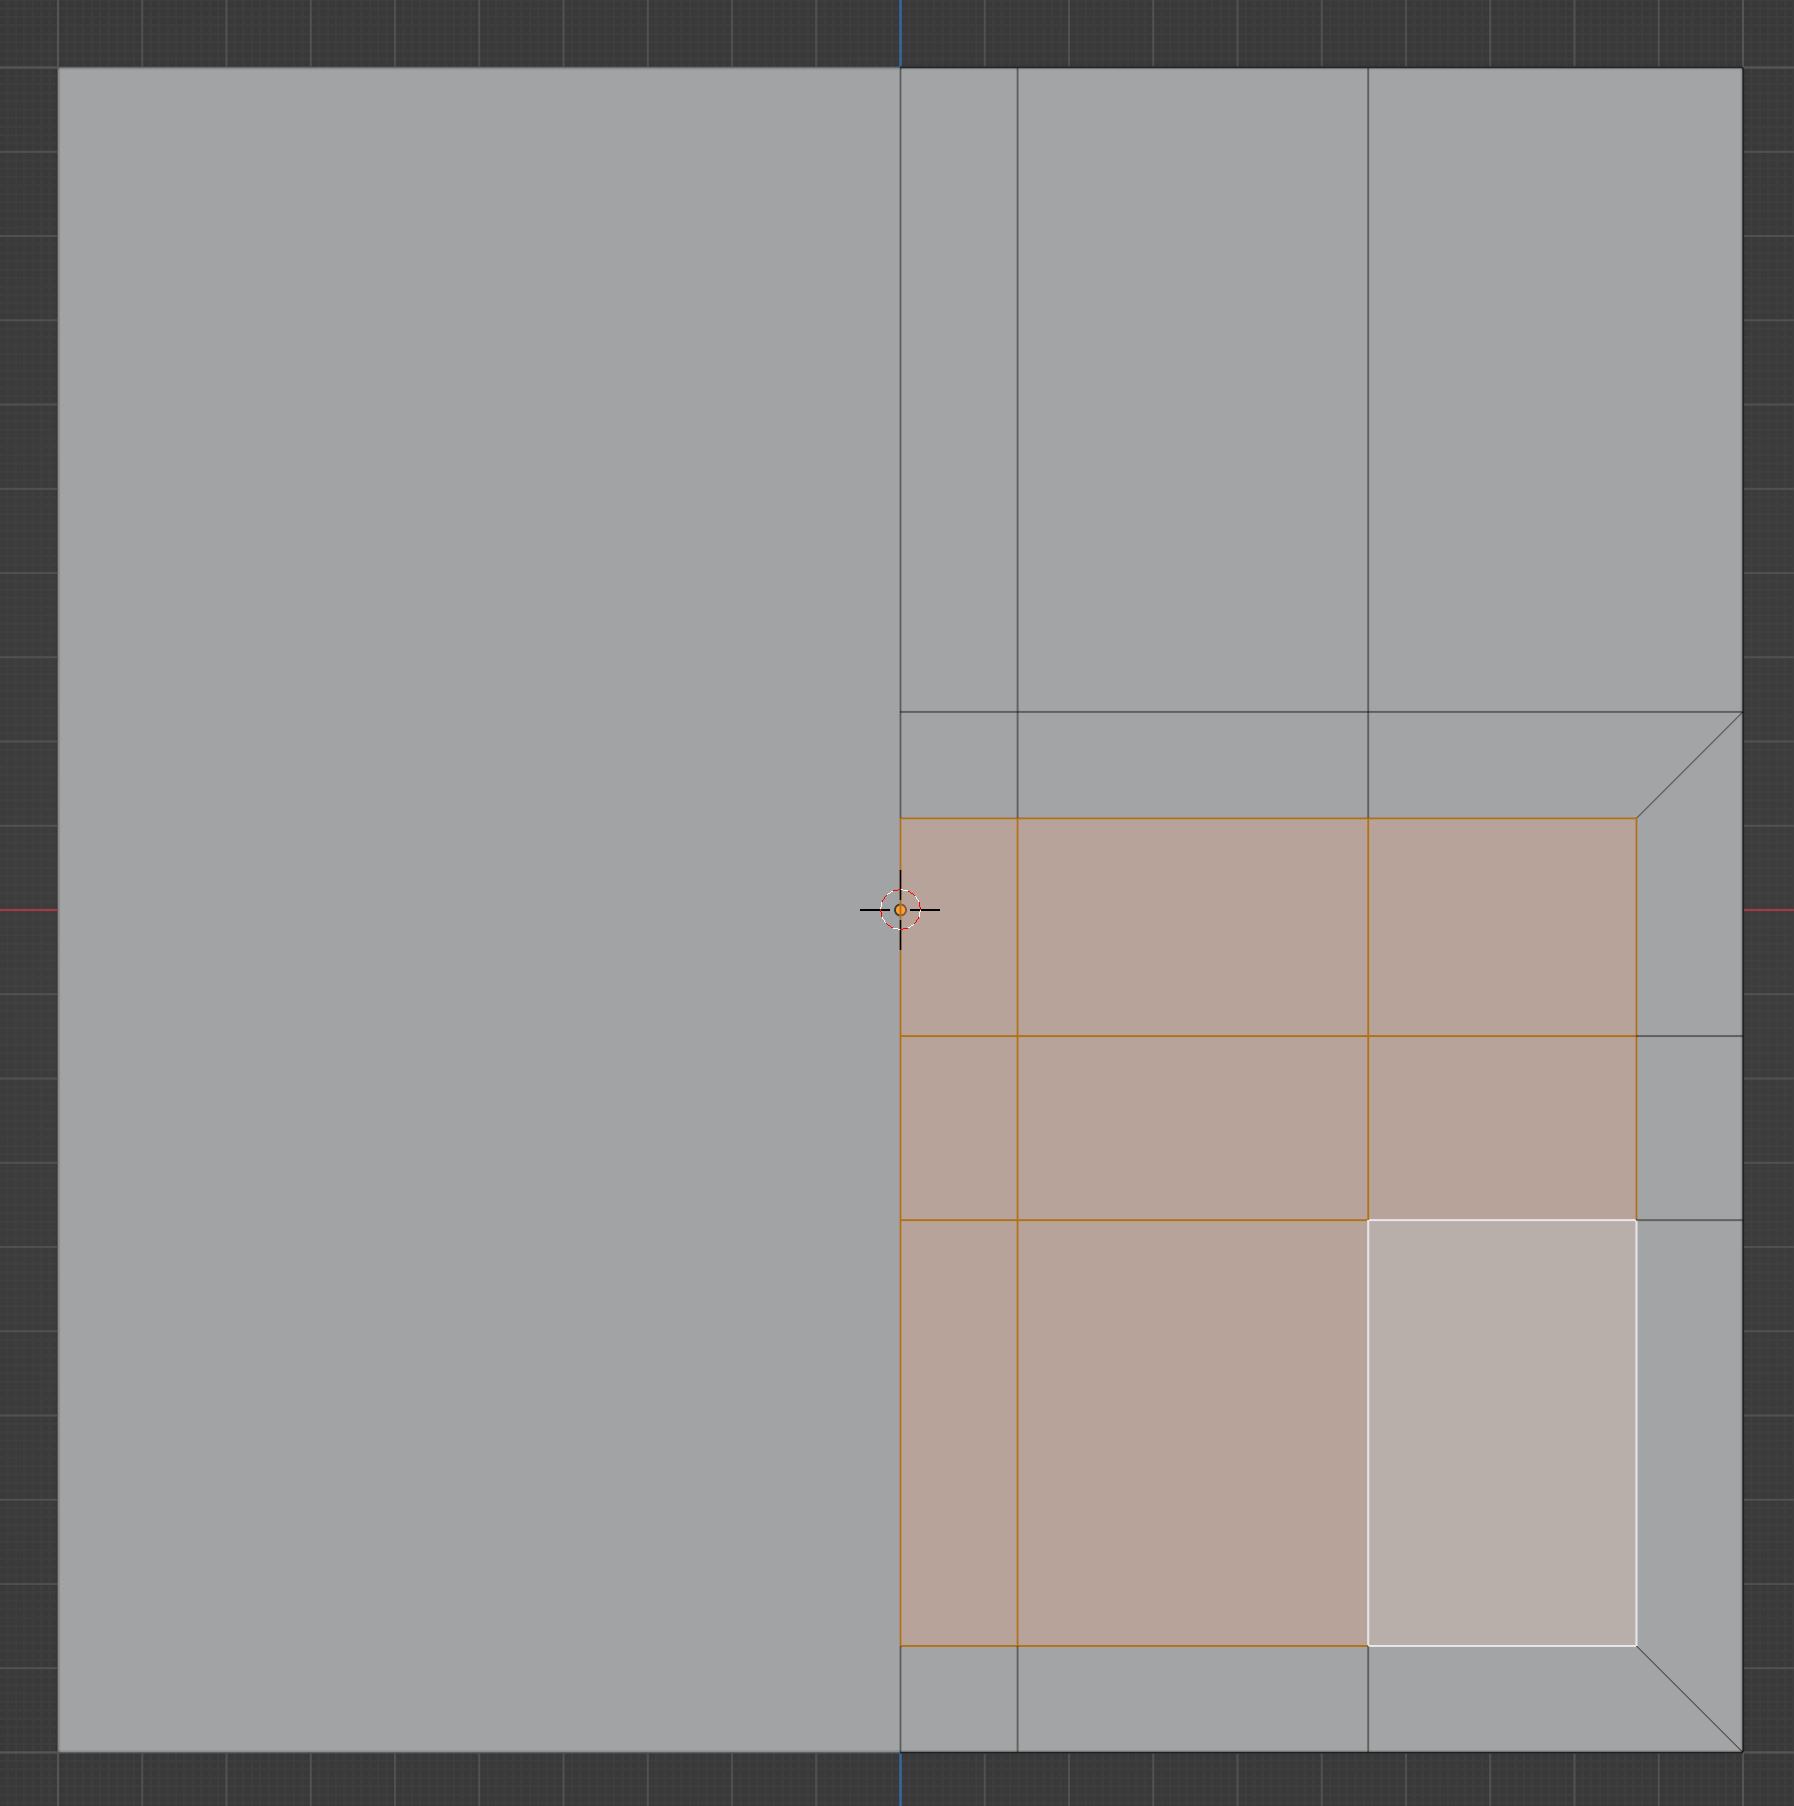
Inset these faces to create the area around the mouth.
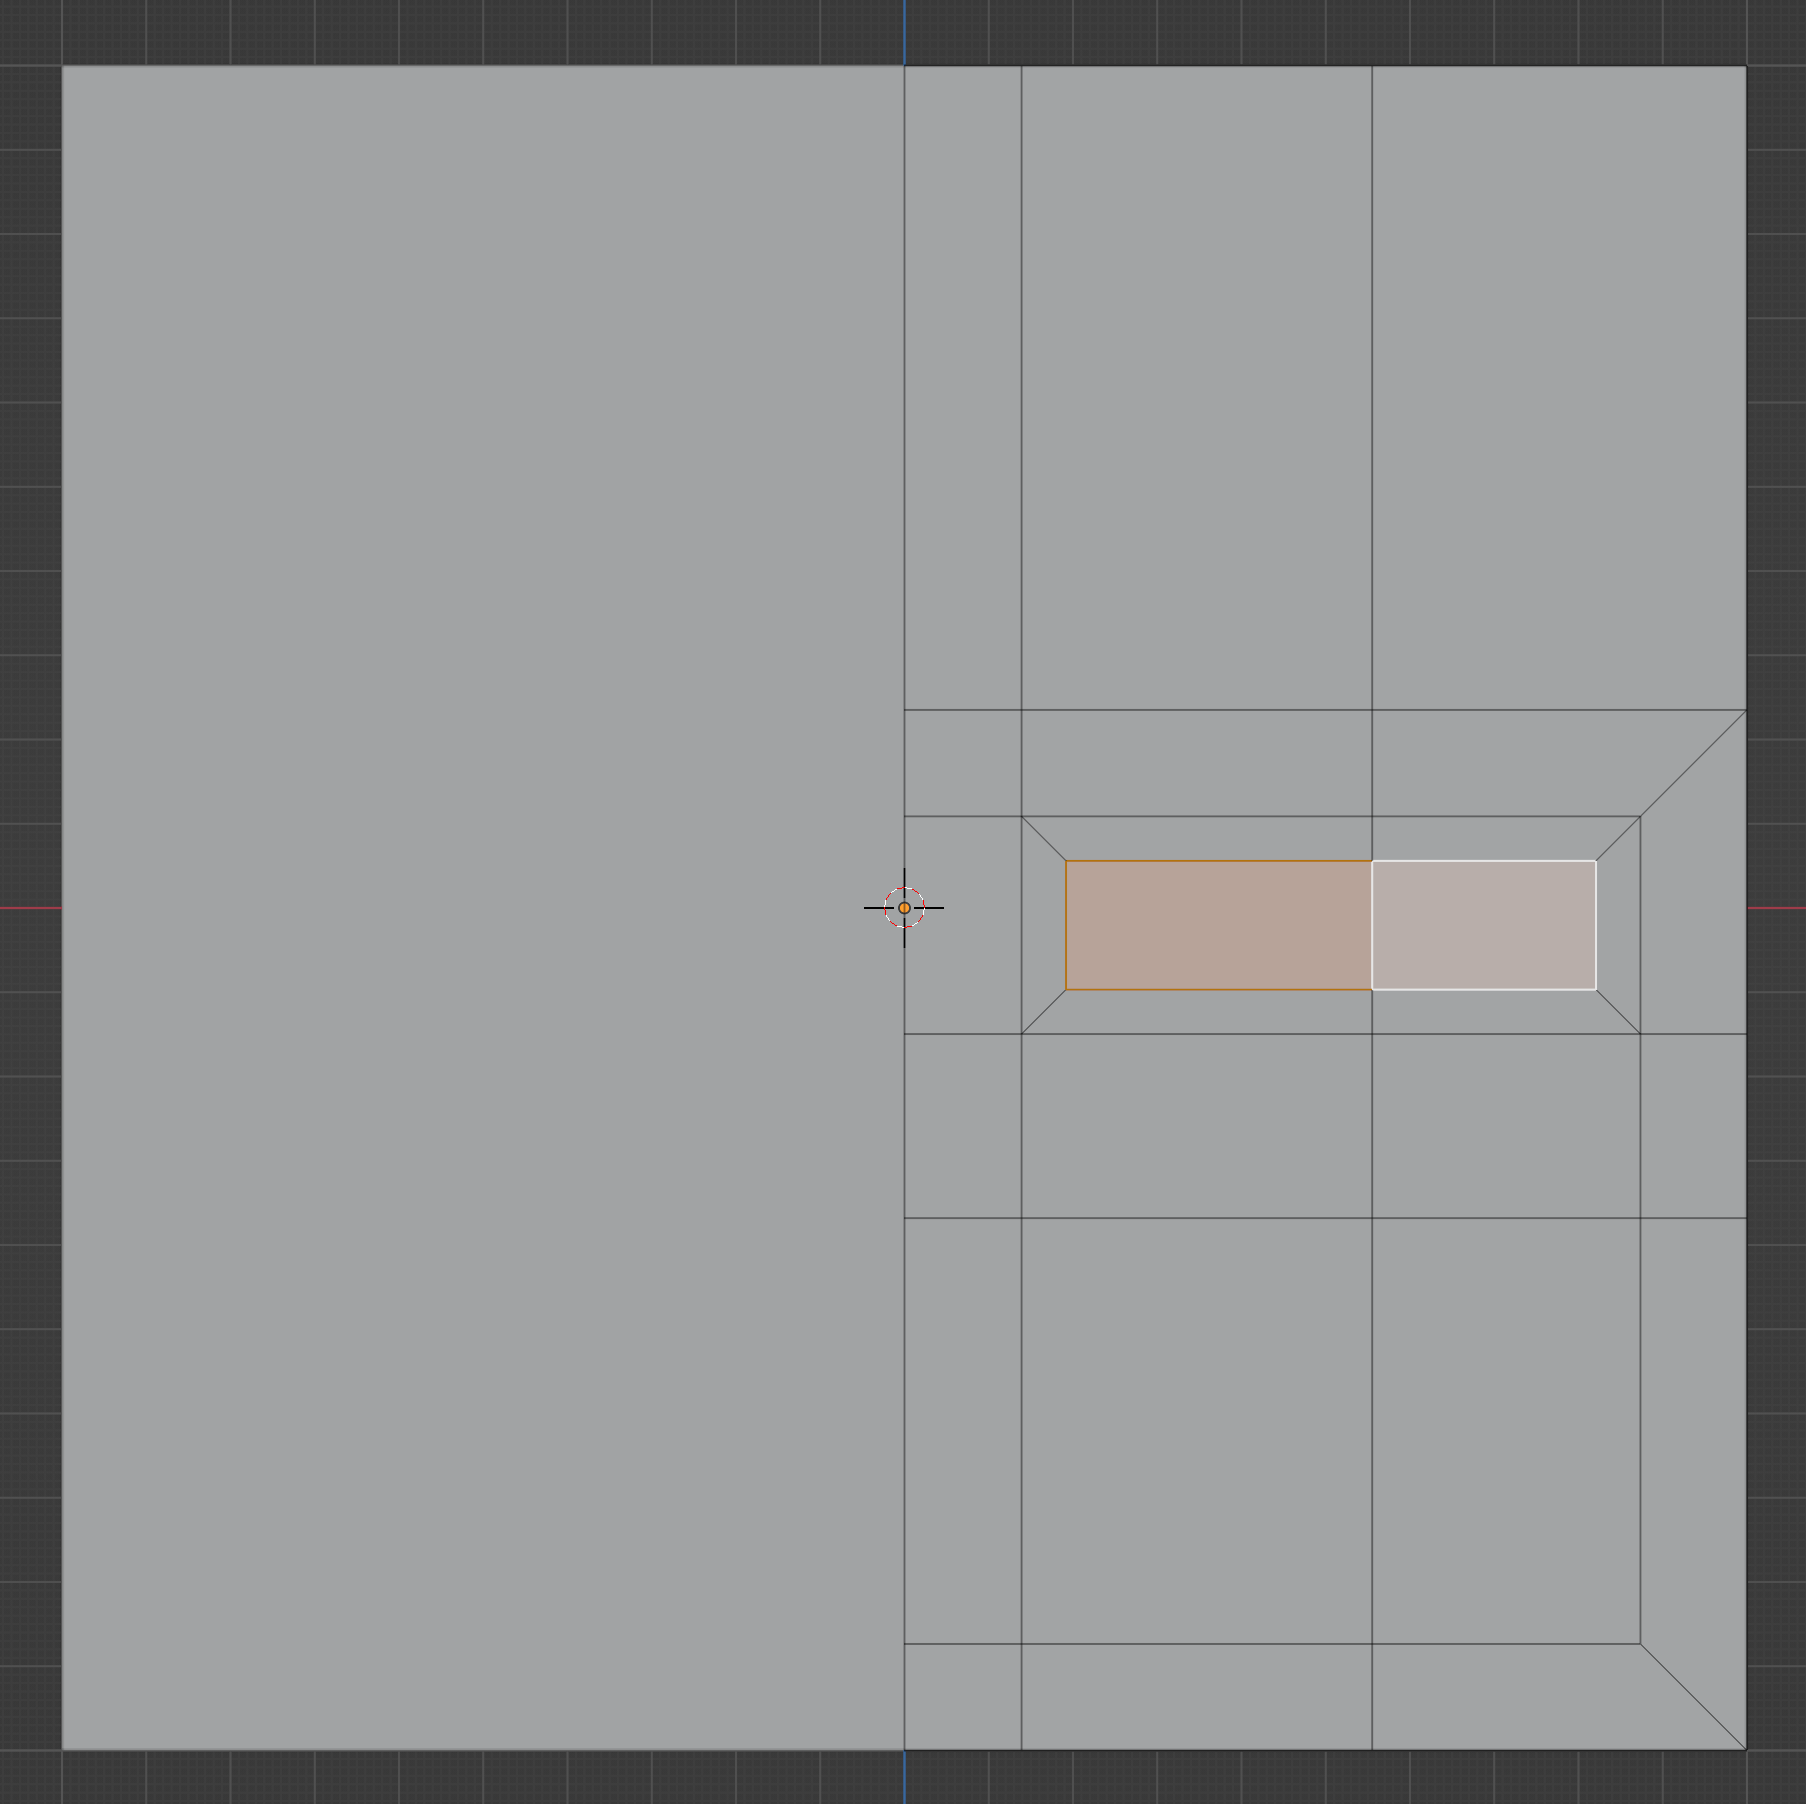
Inset the lower faces here to create a thin area that will become the opening of the mouth.

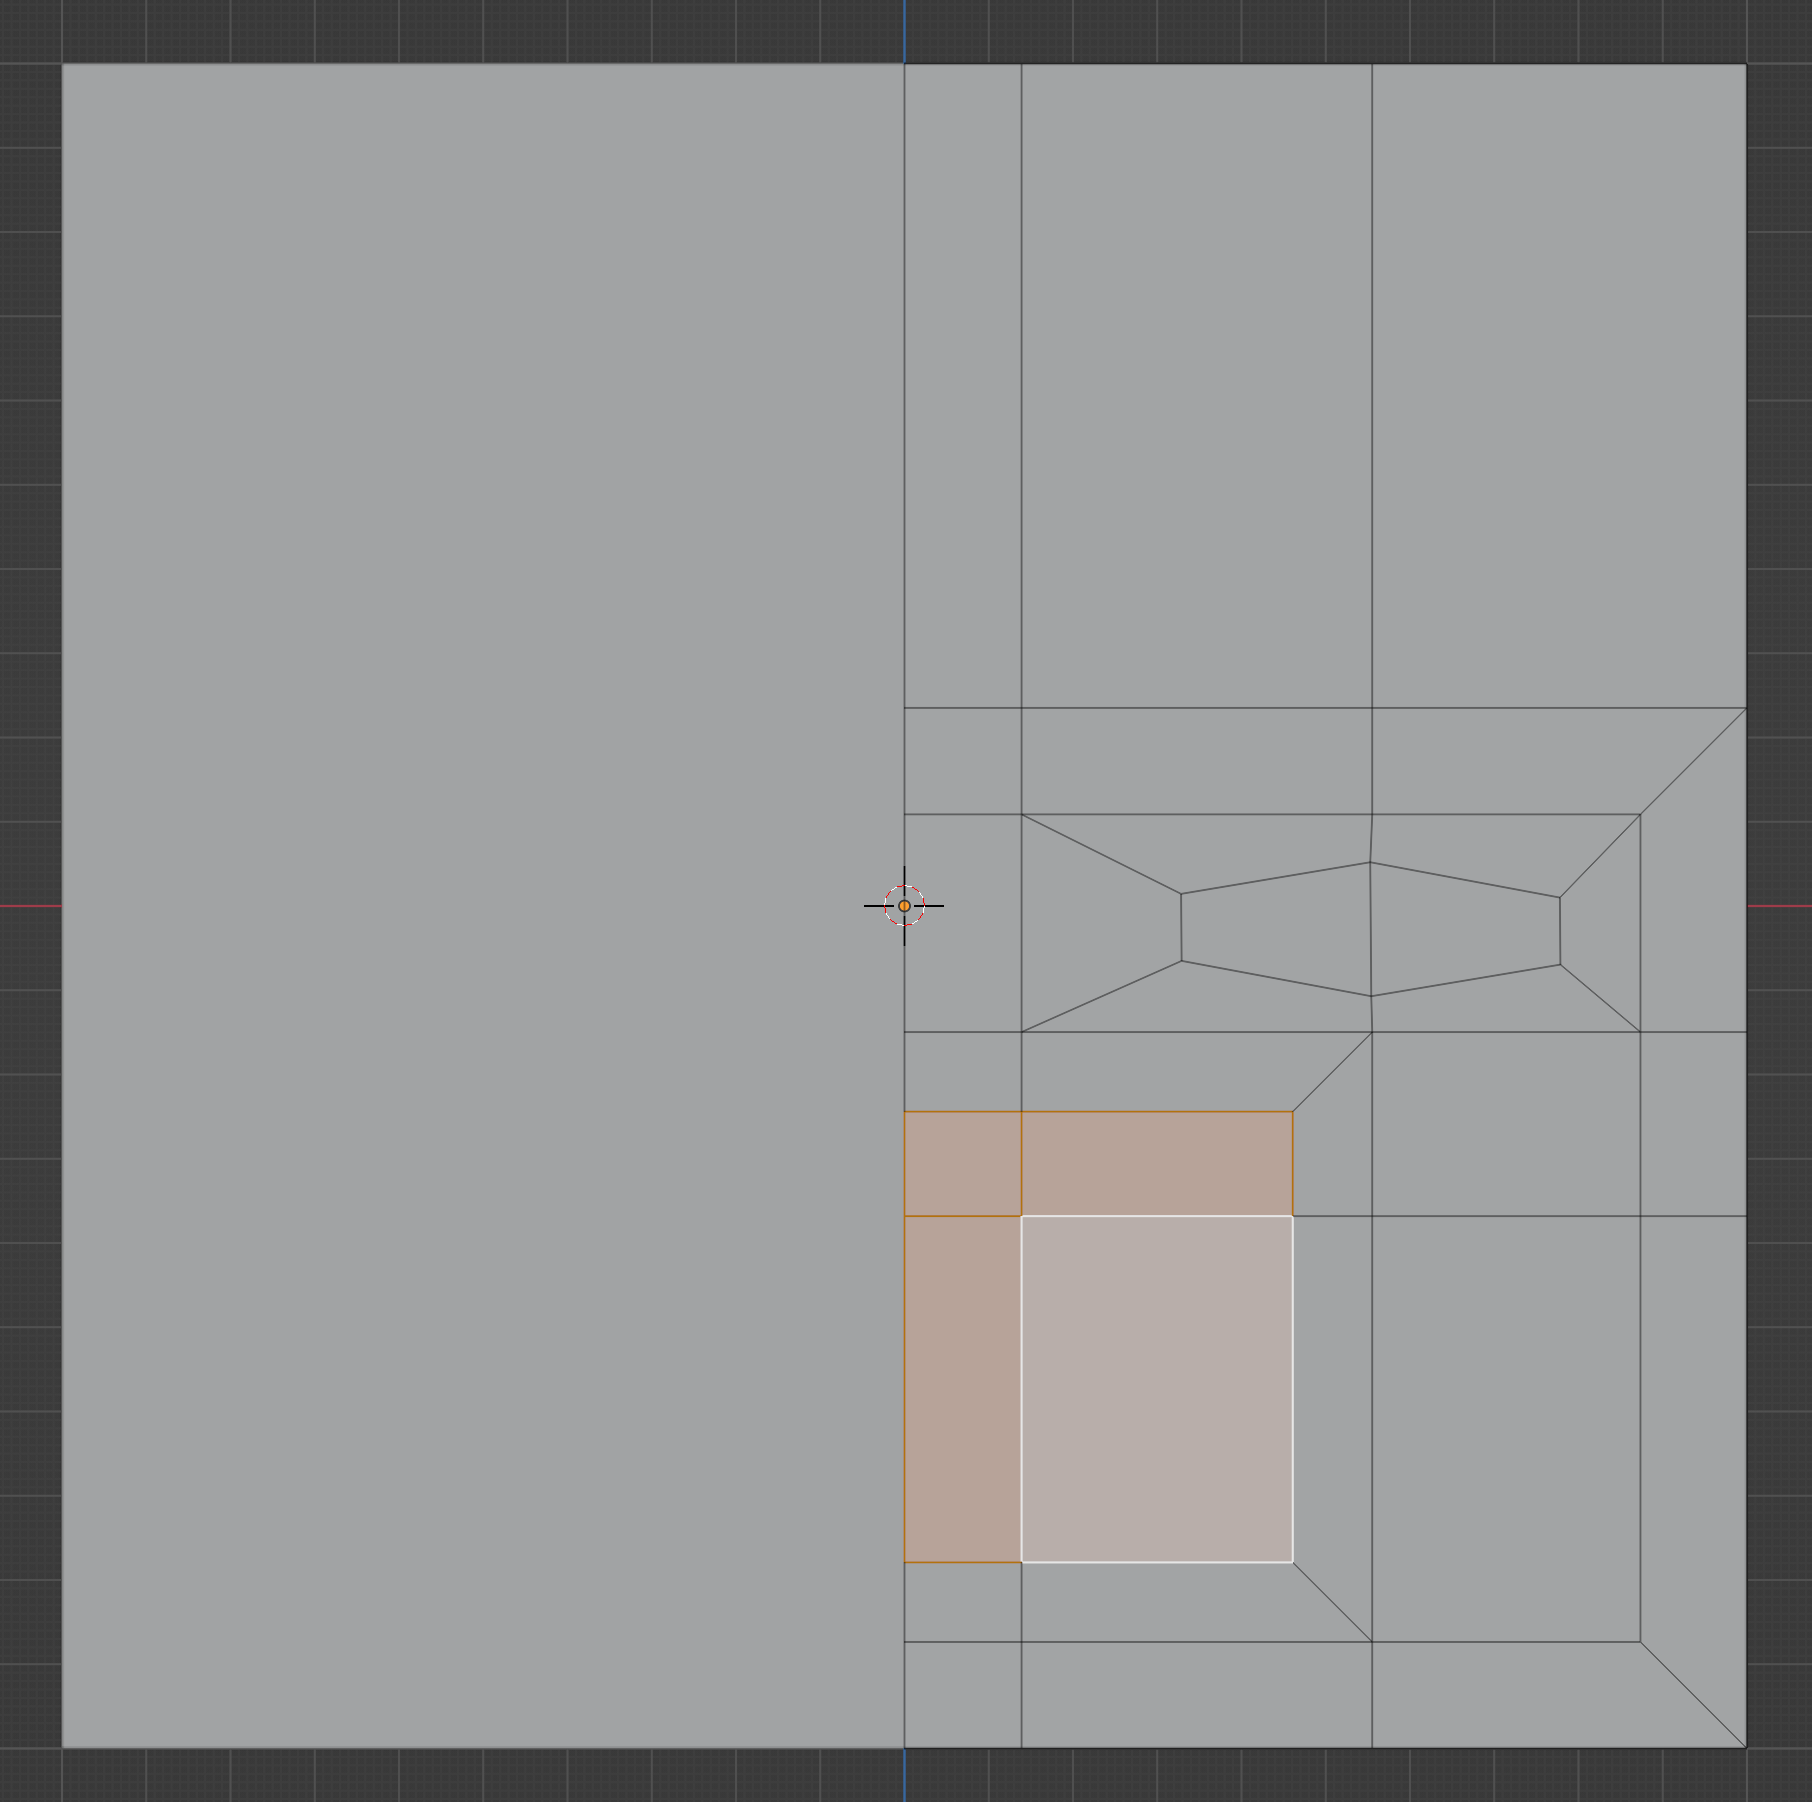
Create a loop cut around the mouth opening with CTRLR. This will become the edge of the lips.
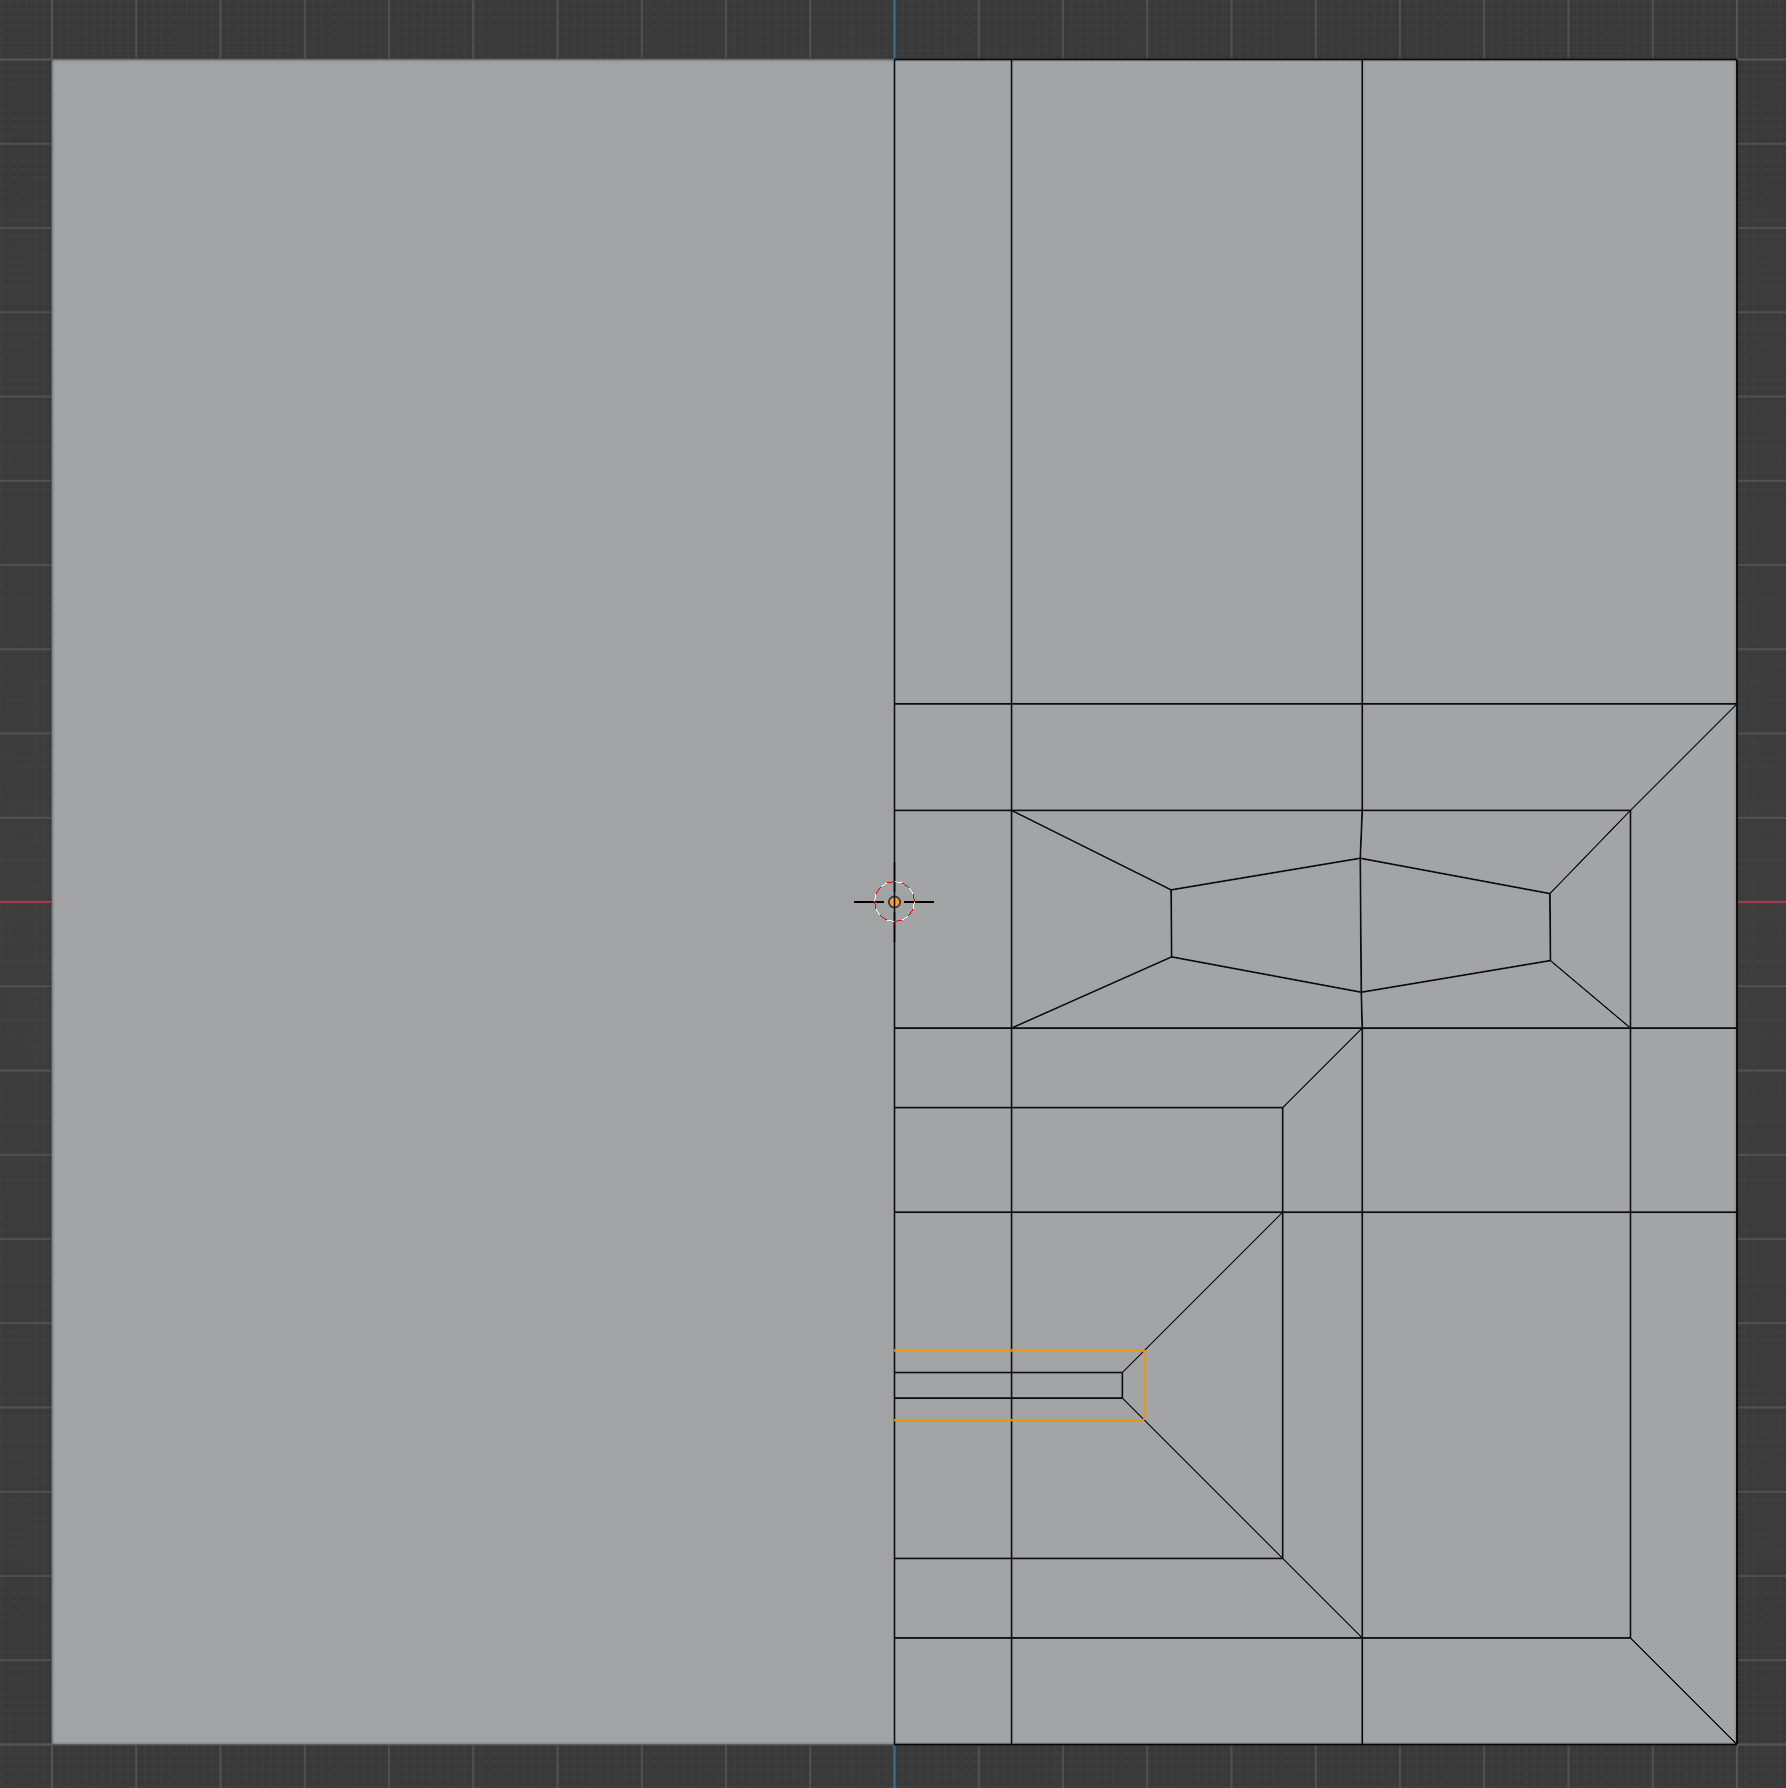
Drag out the middle lip point somewhat, and adjust until you get a shape like this.
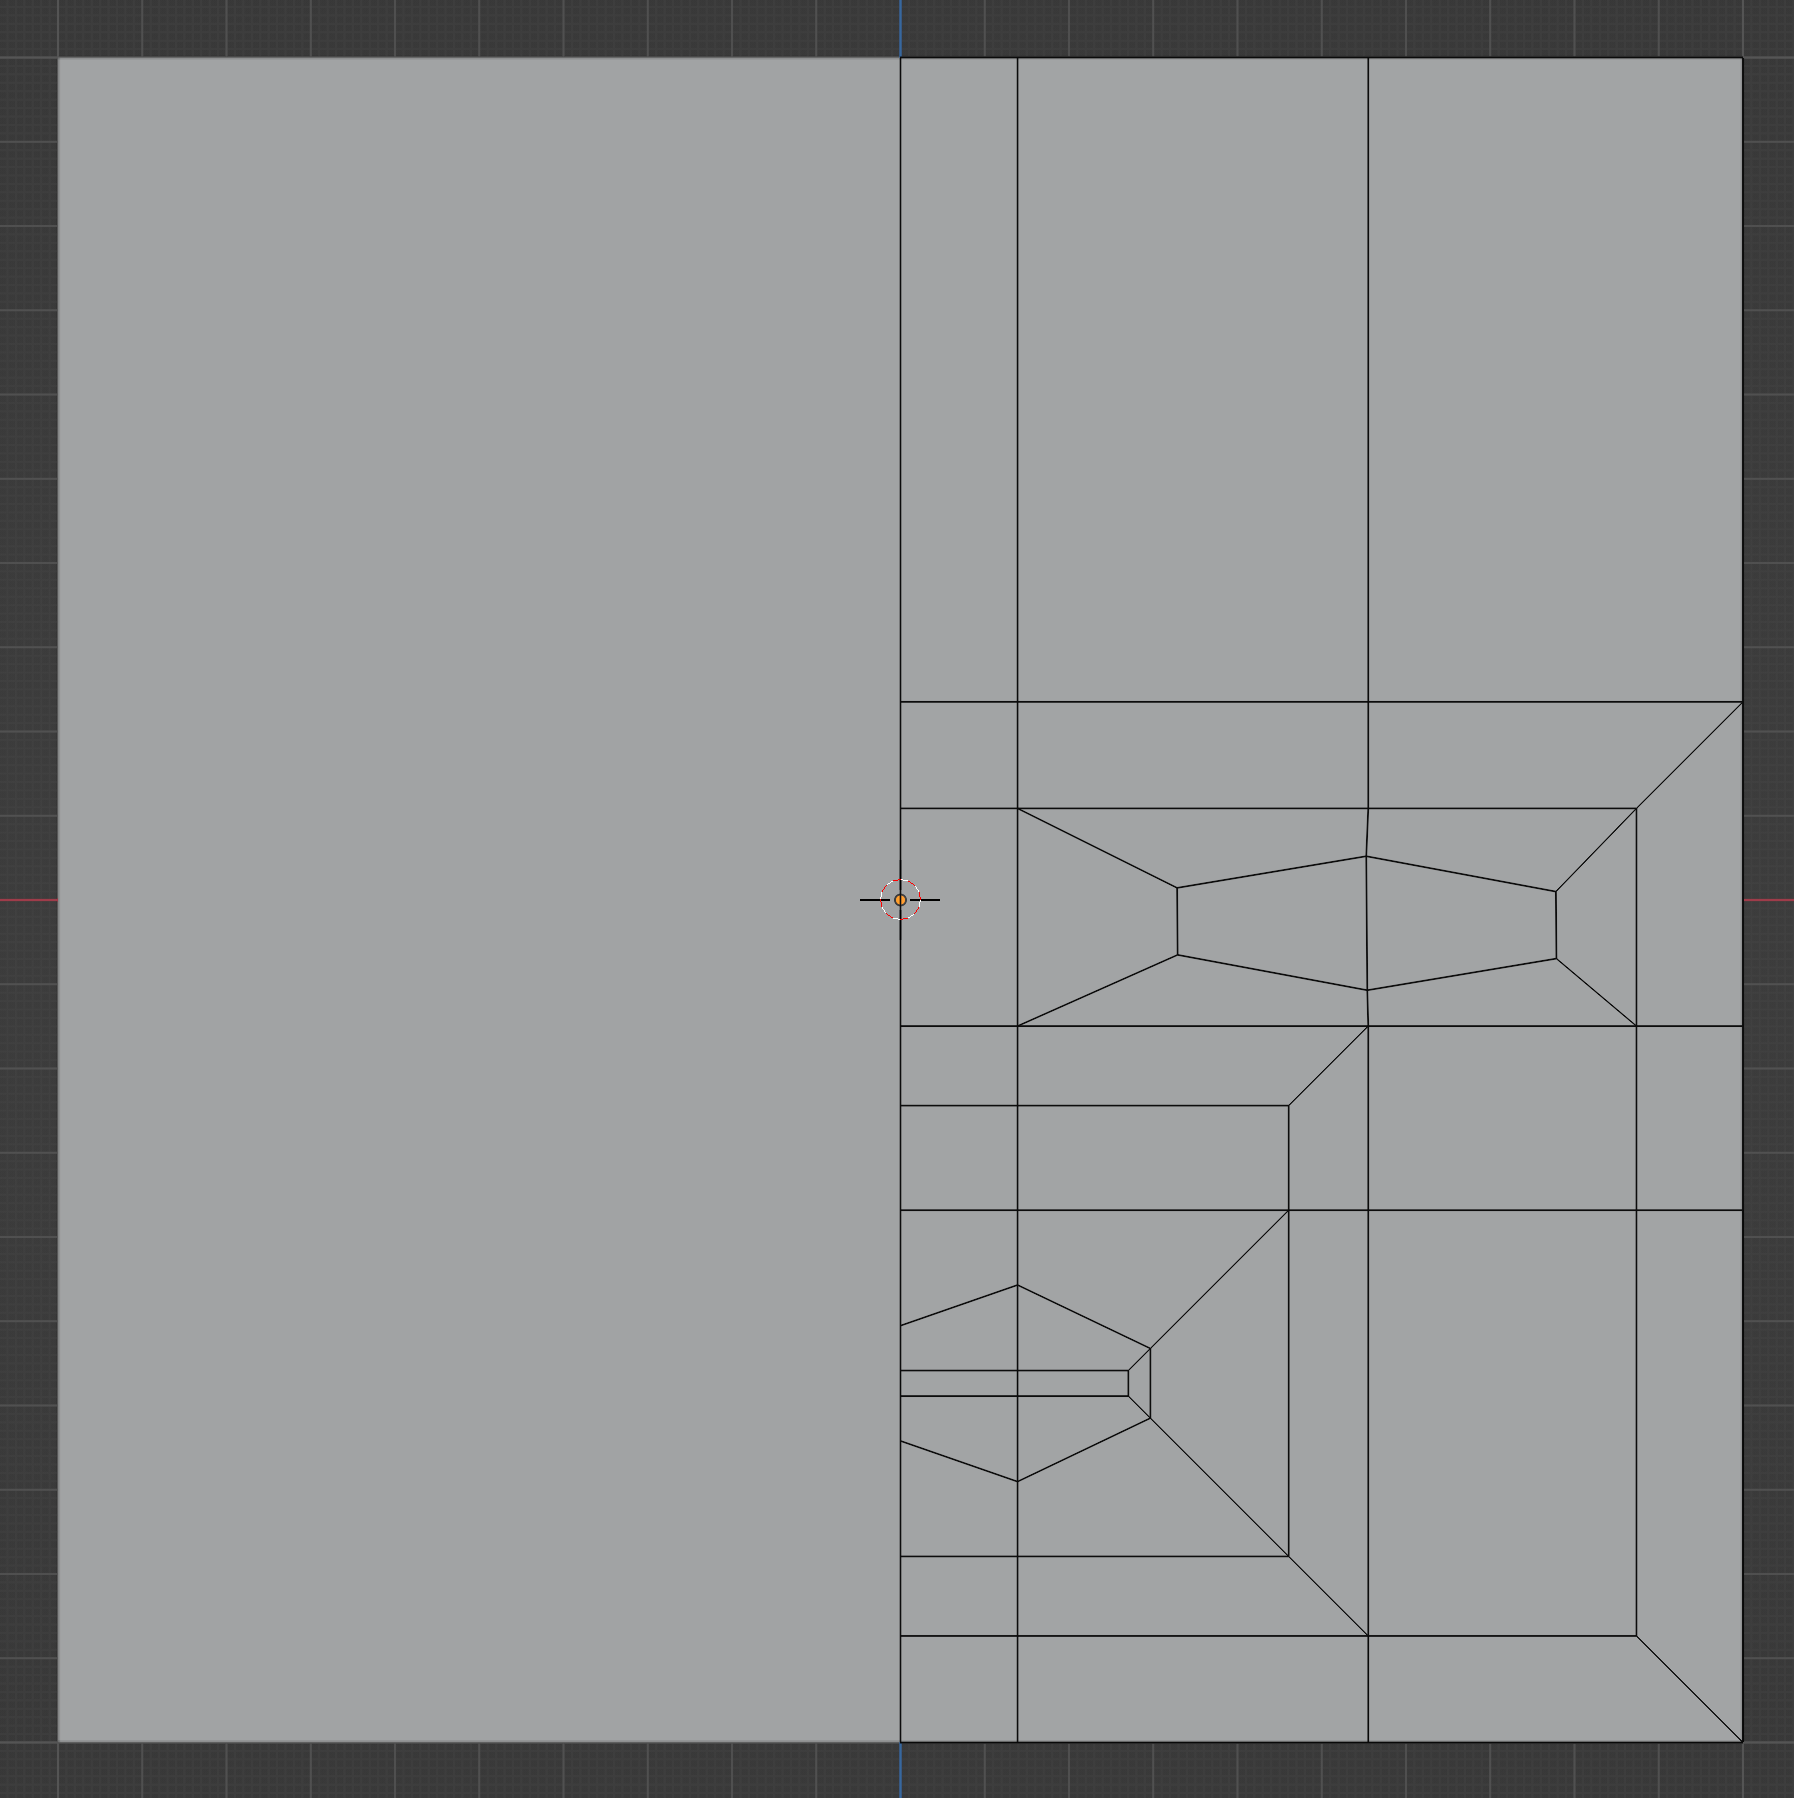
That’s it for the frontal face topology. Notice that every shape here is a quad.
Side of the head
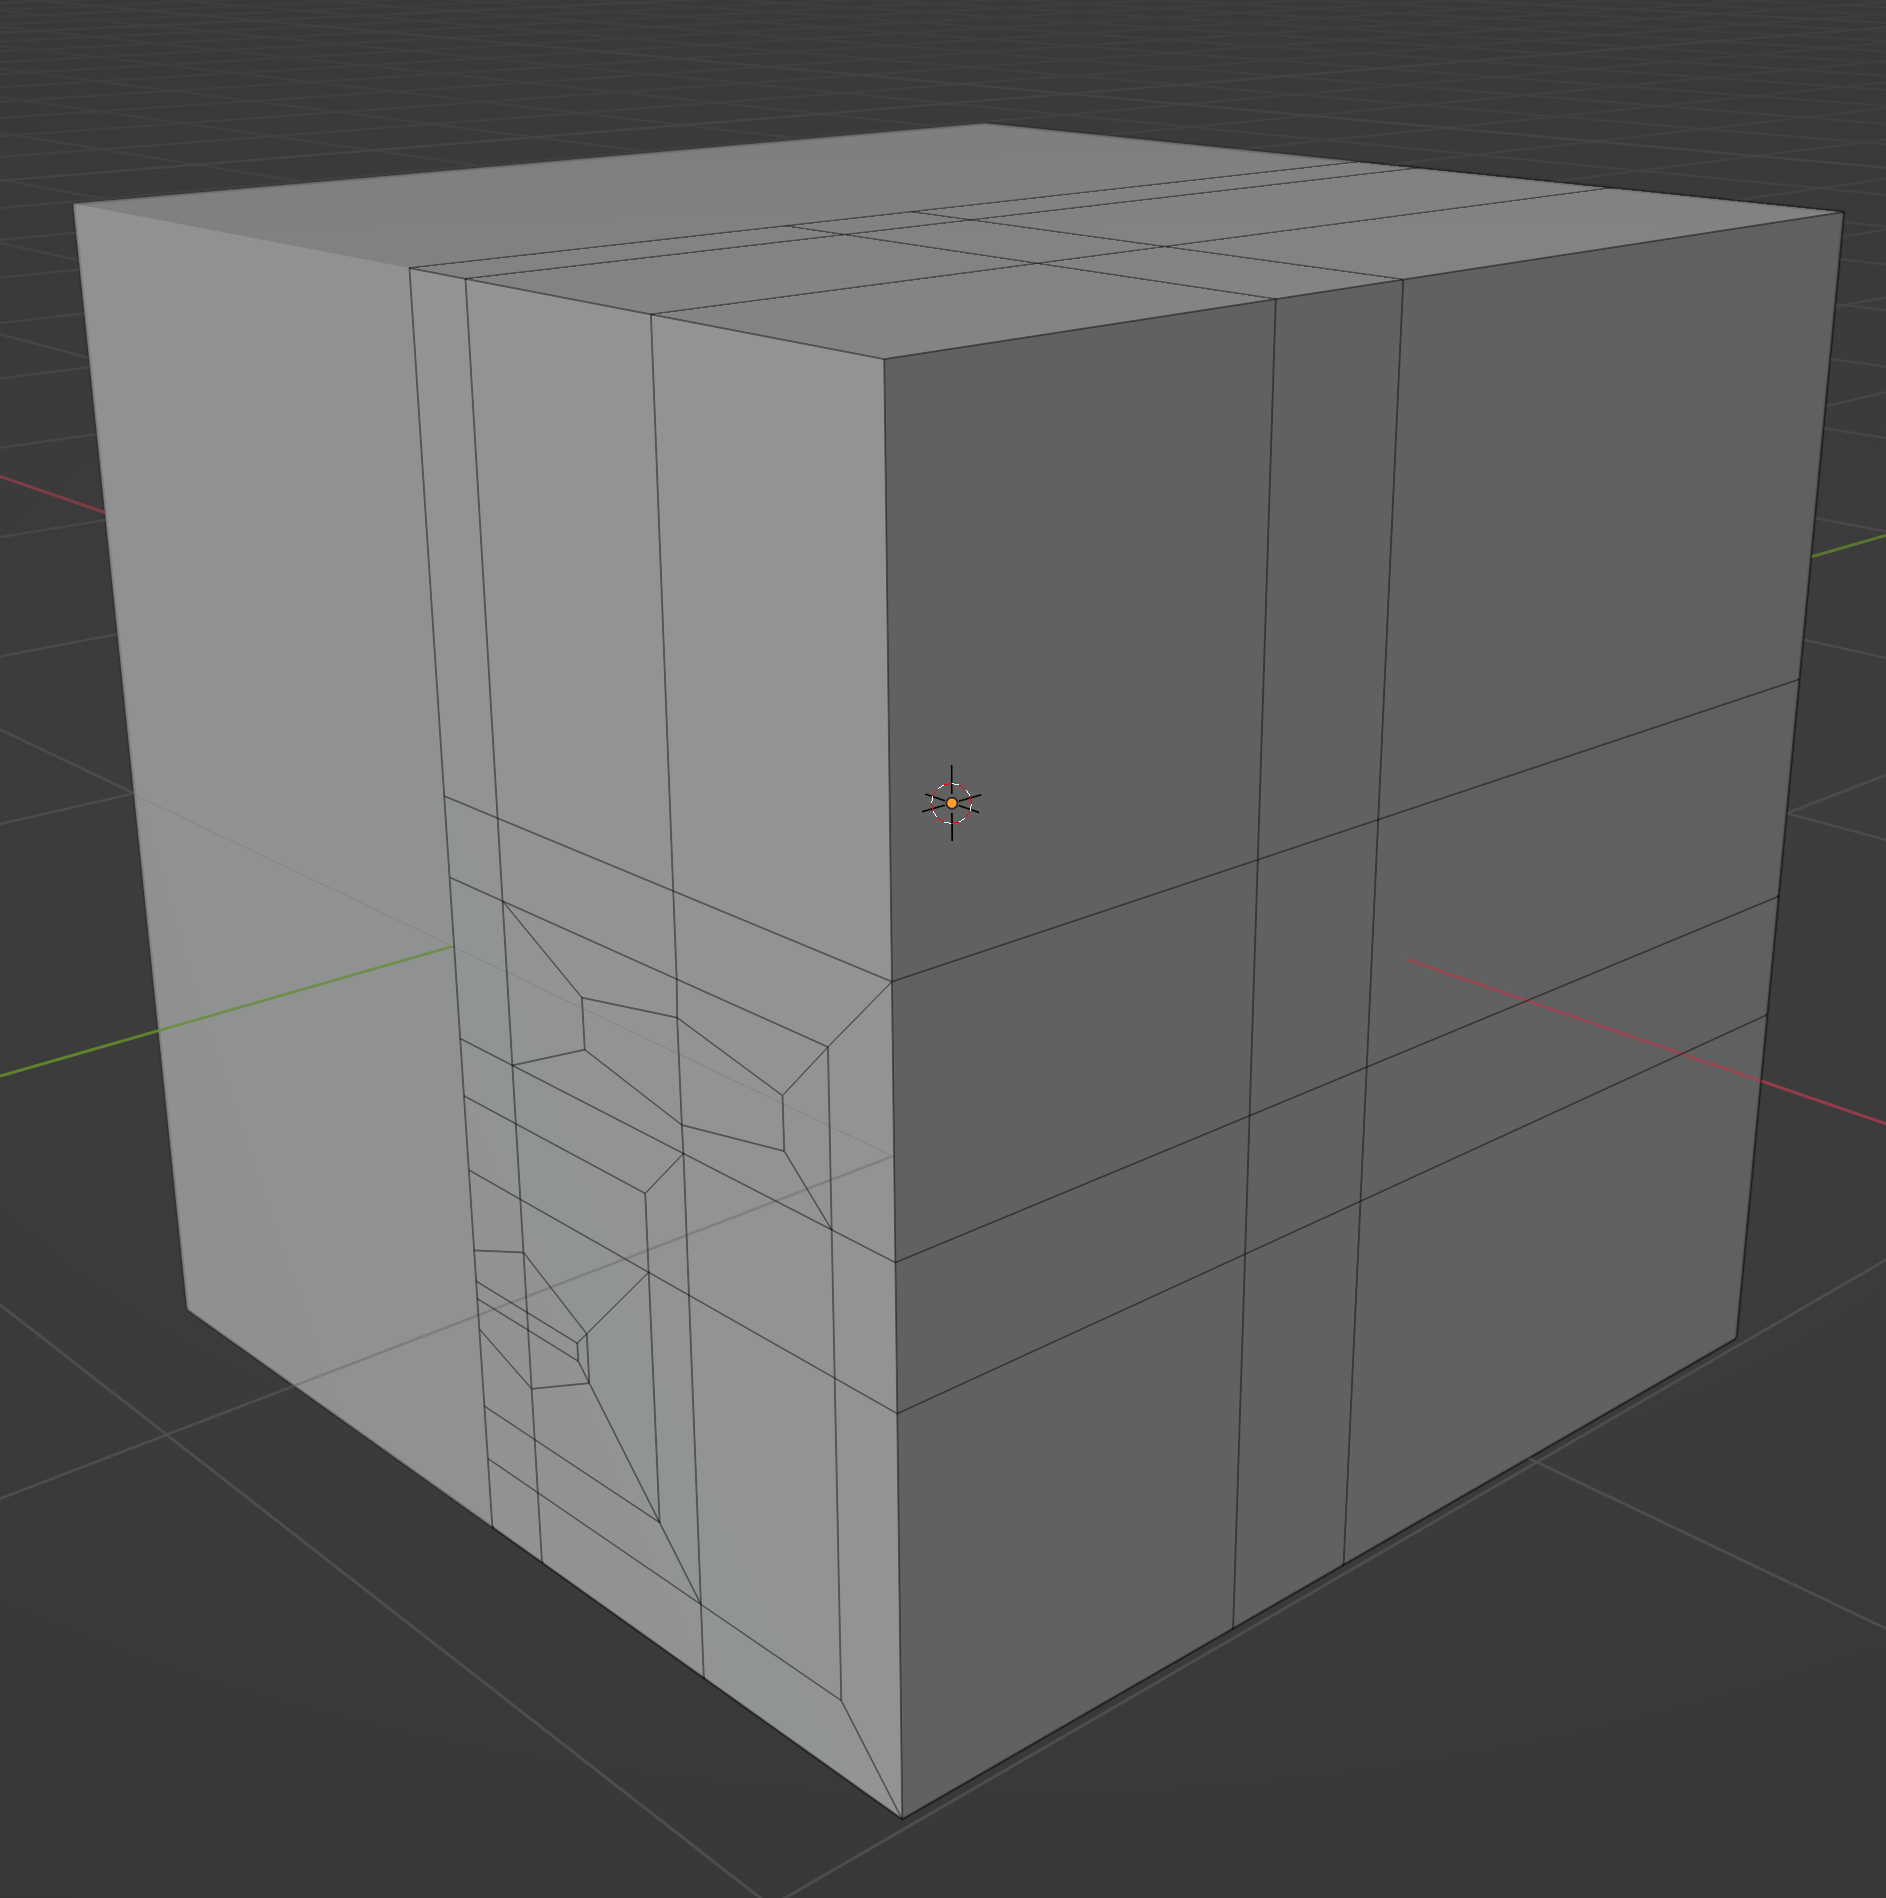
Press 3 to view the side of the head. It should currently look like this.
Add two vertical loop cuts to define the edges of the ear. If wanted, you can draw an extra line with the knife tool to become the top of the ear, so the ear won’t attach so far up the head.
That’s all we have to do for this simple topology.
Adapting to a head shape
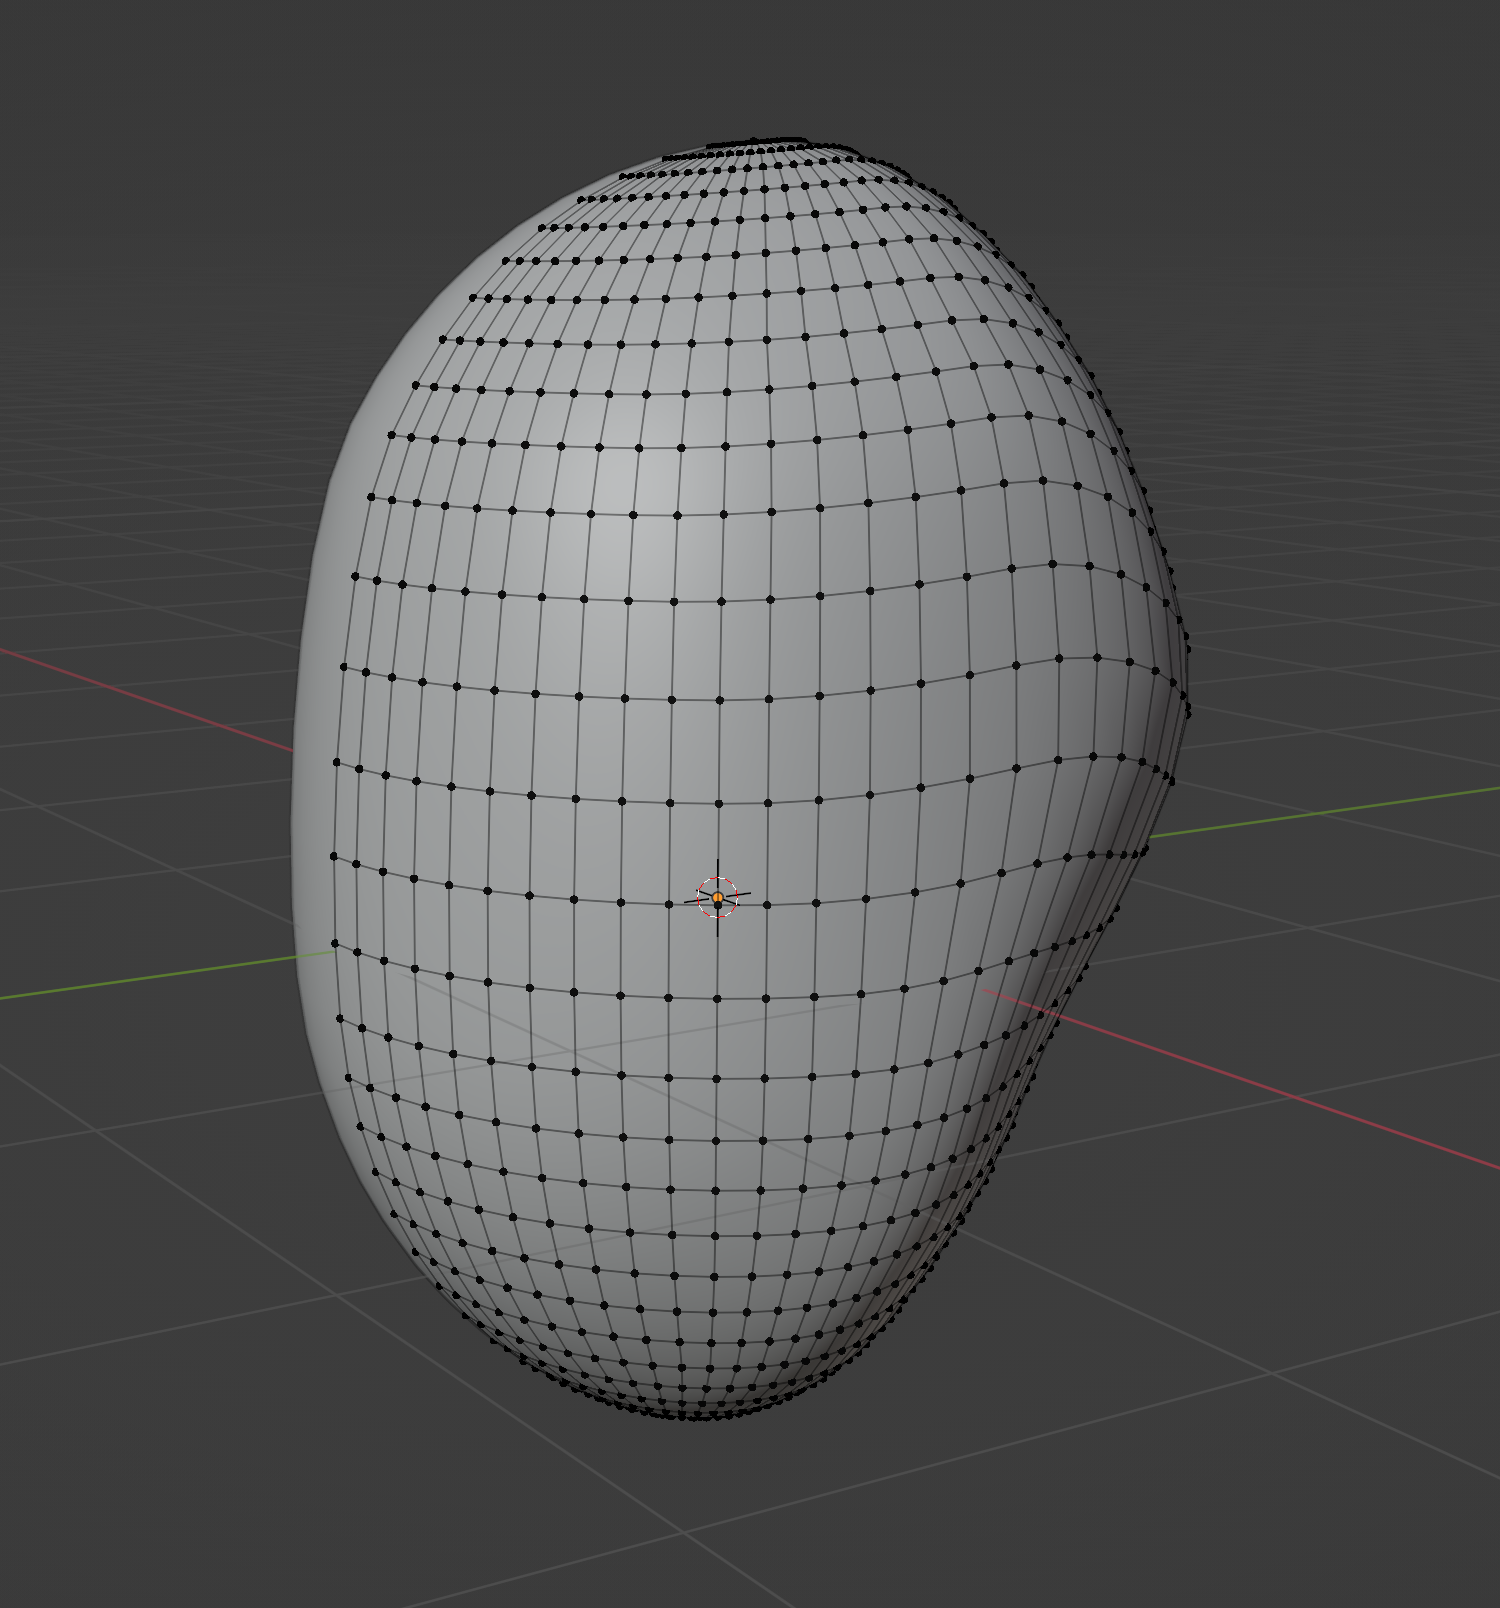
Let’s take our topology and apply it to a head shape. One great thing about this technique is that you can basically make whatever kind of head shape you want, and simply adapt the topology you’re used to to that shape. In this case, I modeled a sphere to be a little more oblong and blobby.
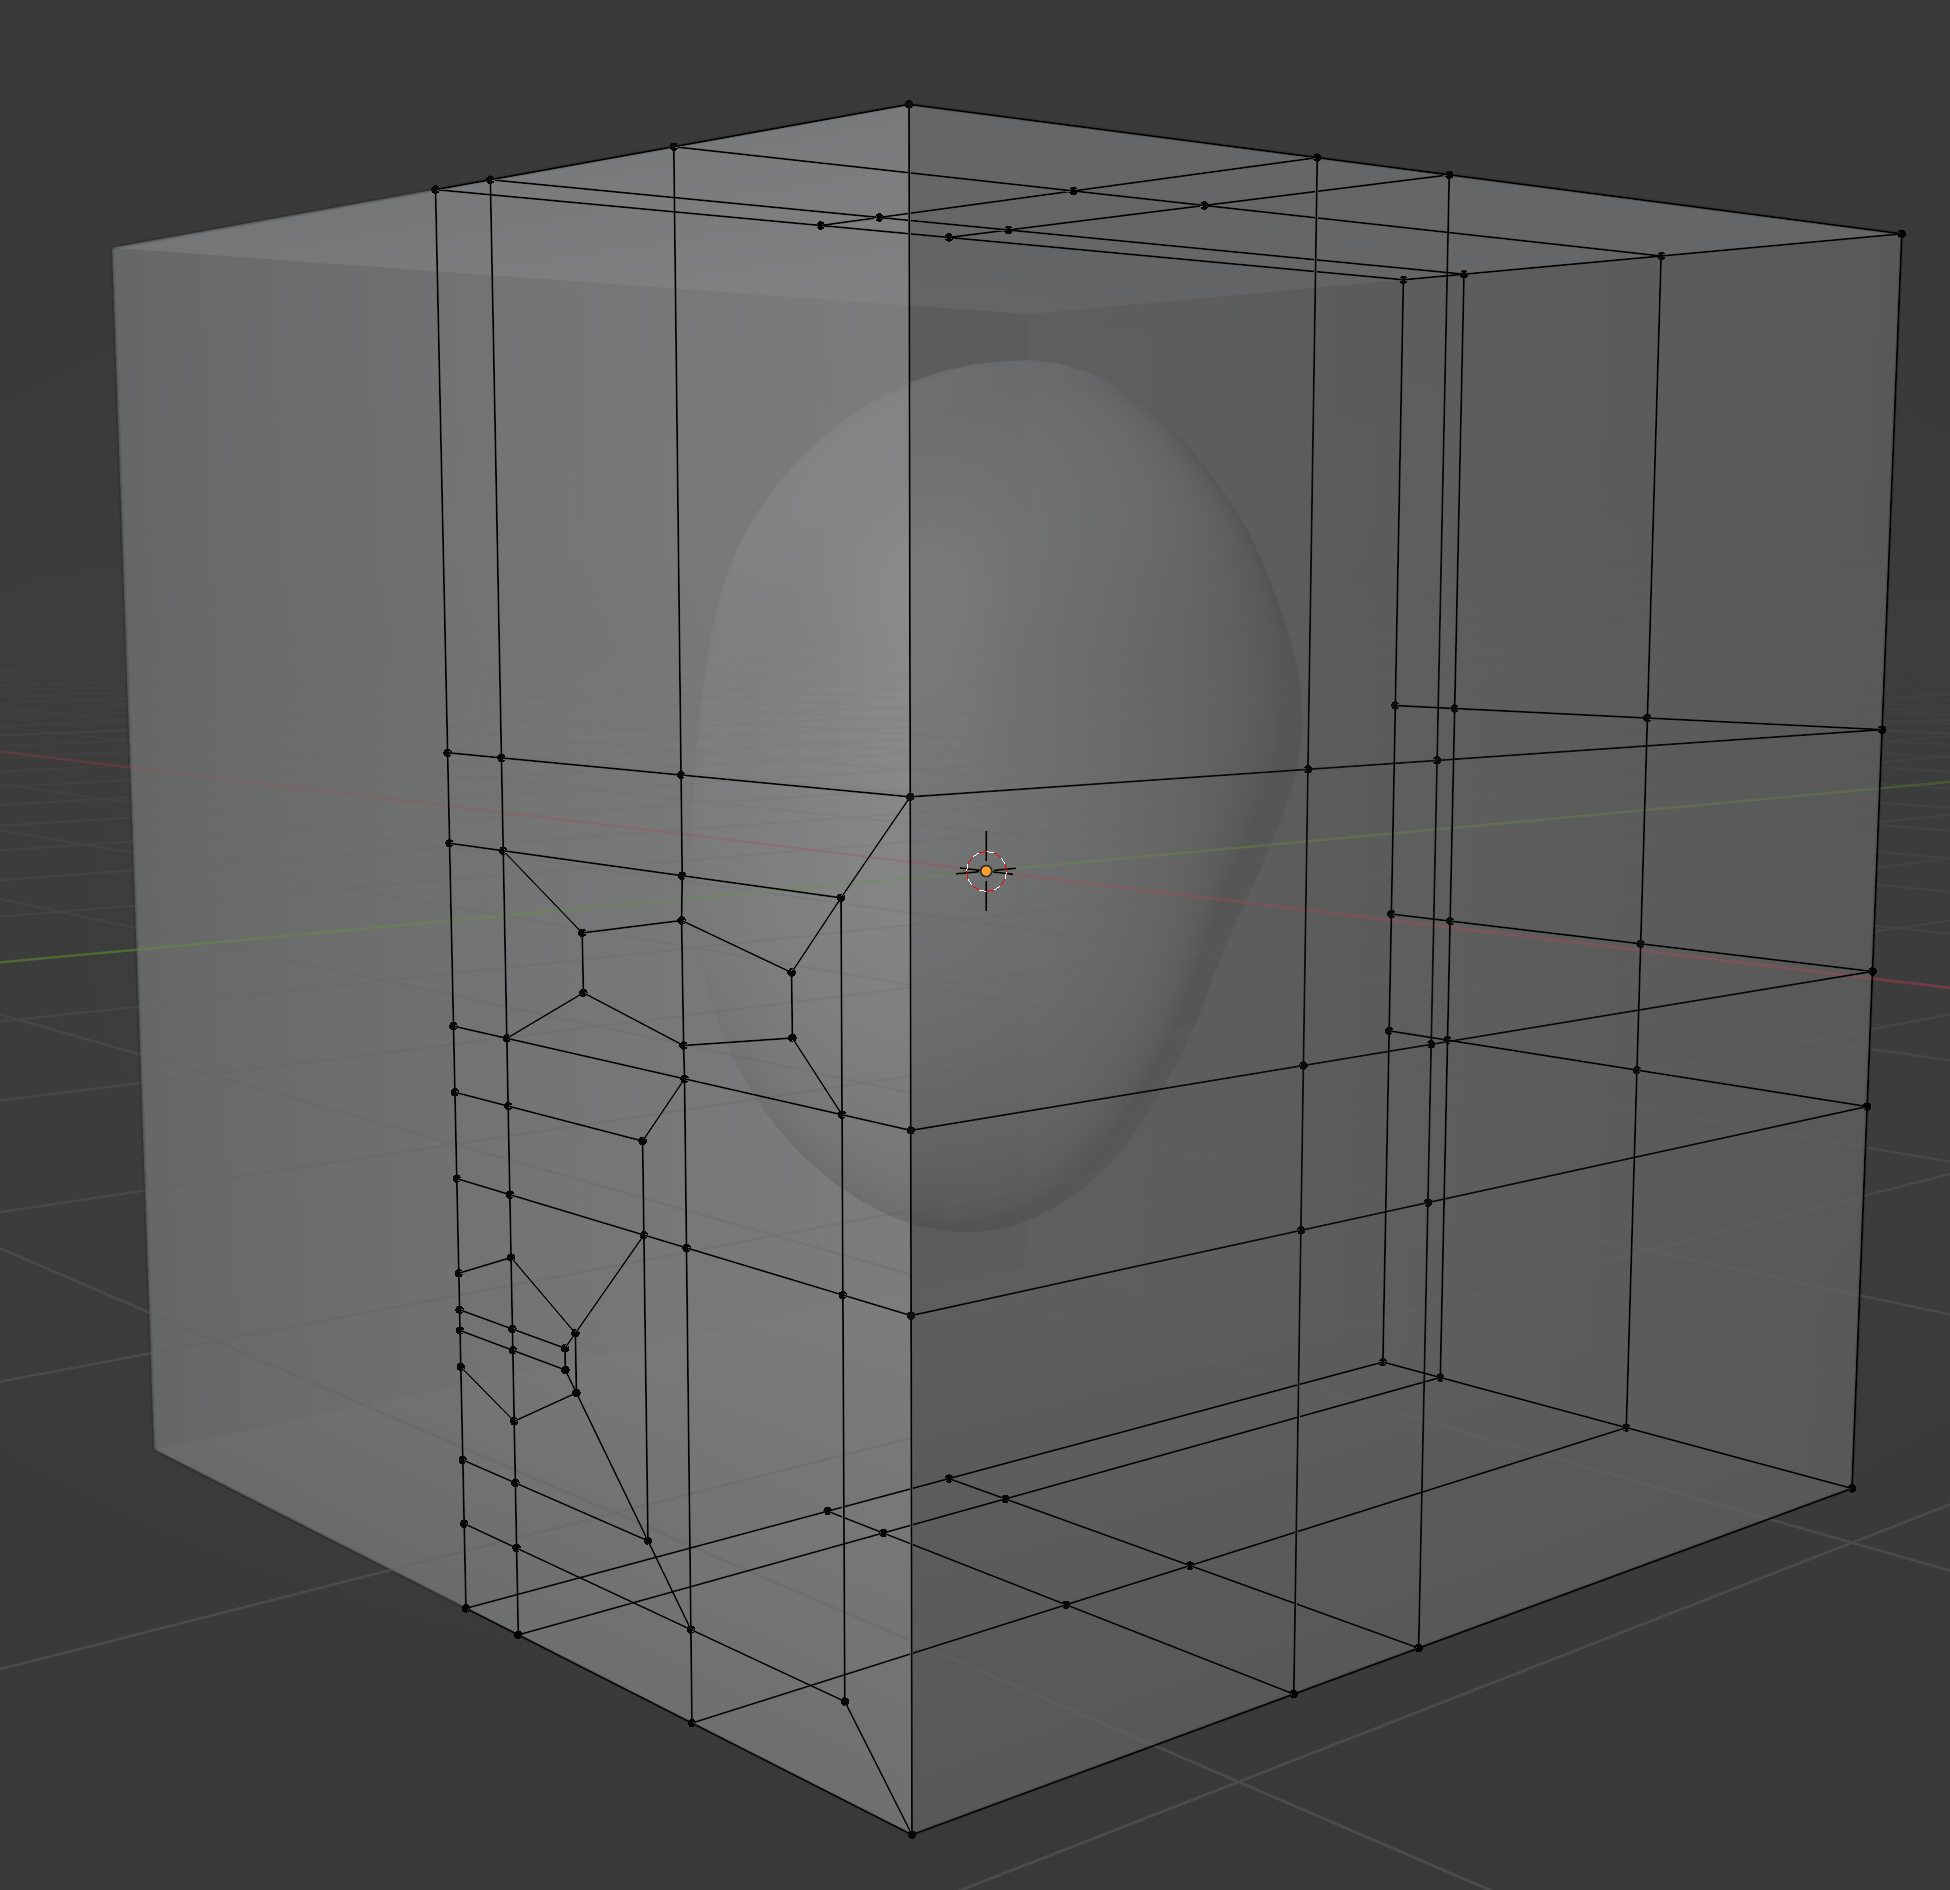
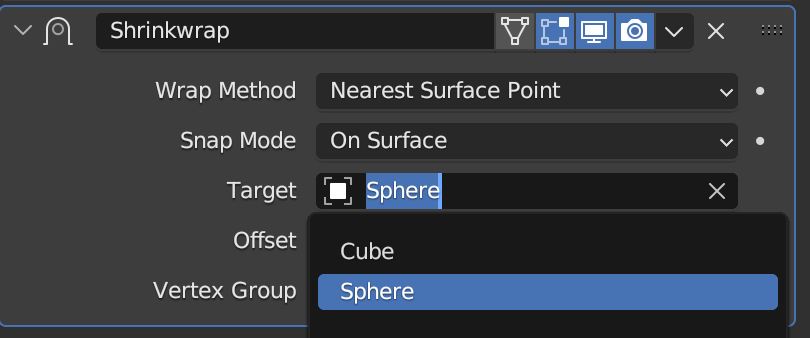
We’re going to use the shrinkwrap modifier to apply the topology from our cube to the head shape.
Then, apply the modifier using the Sphere as your
target.
Scale and move the cube so it’s around your head shape.
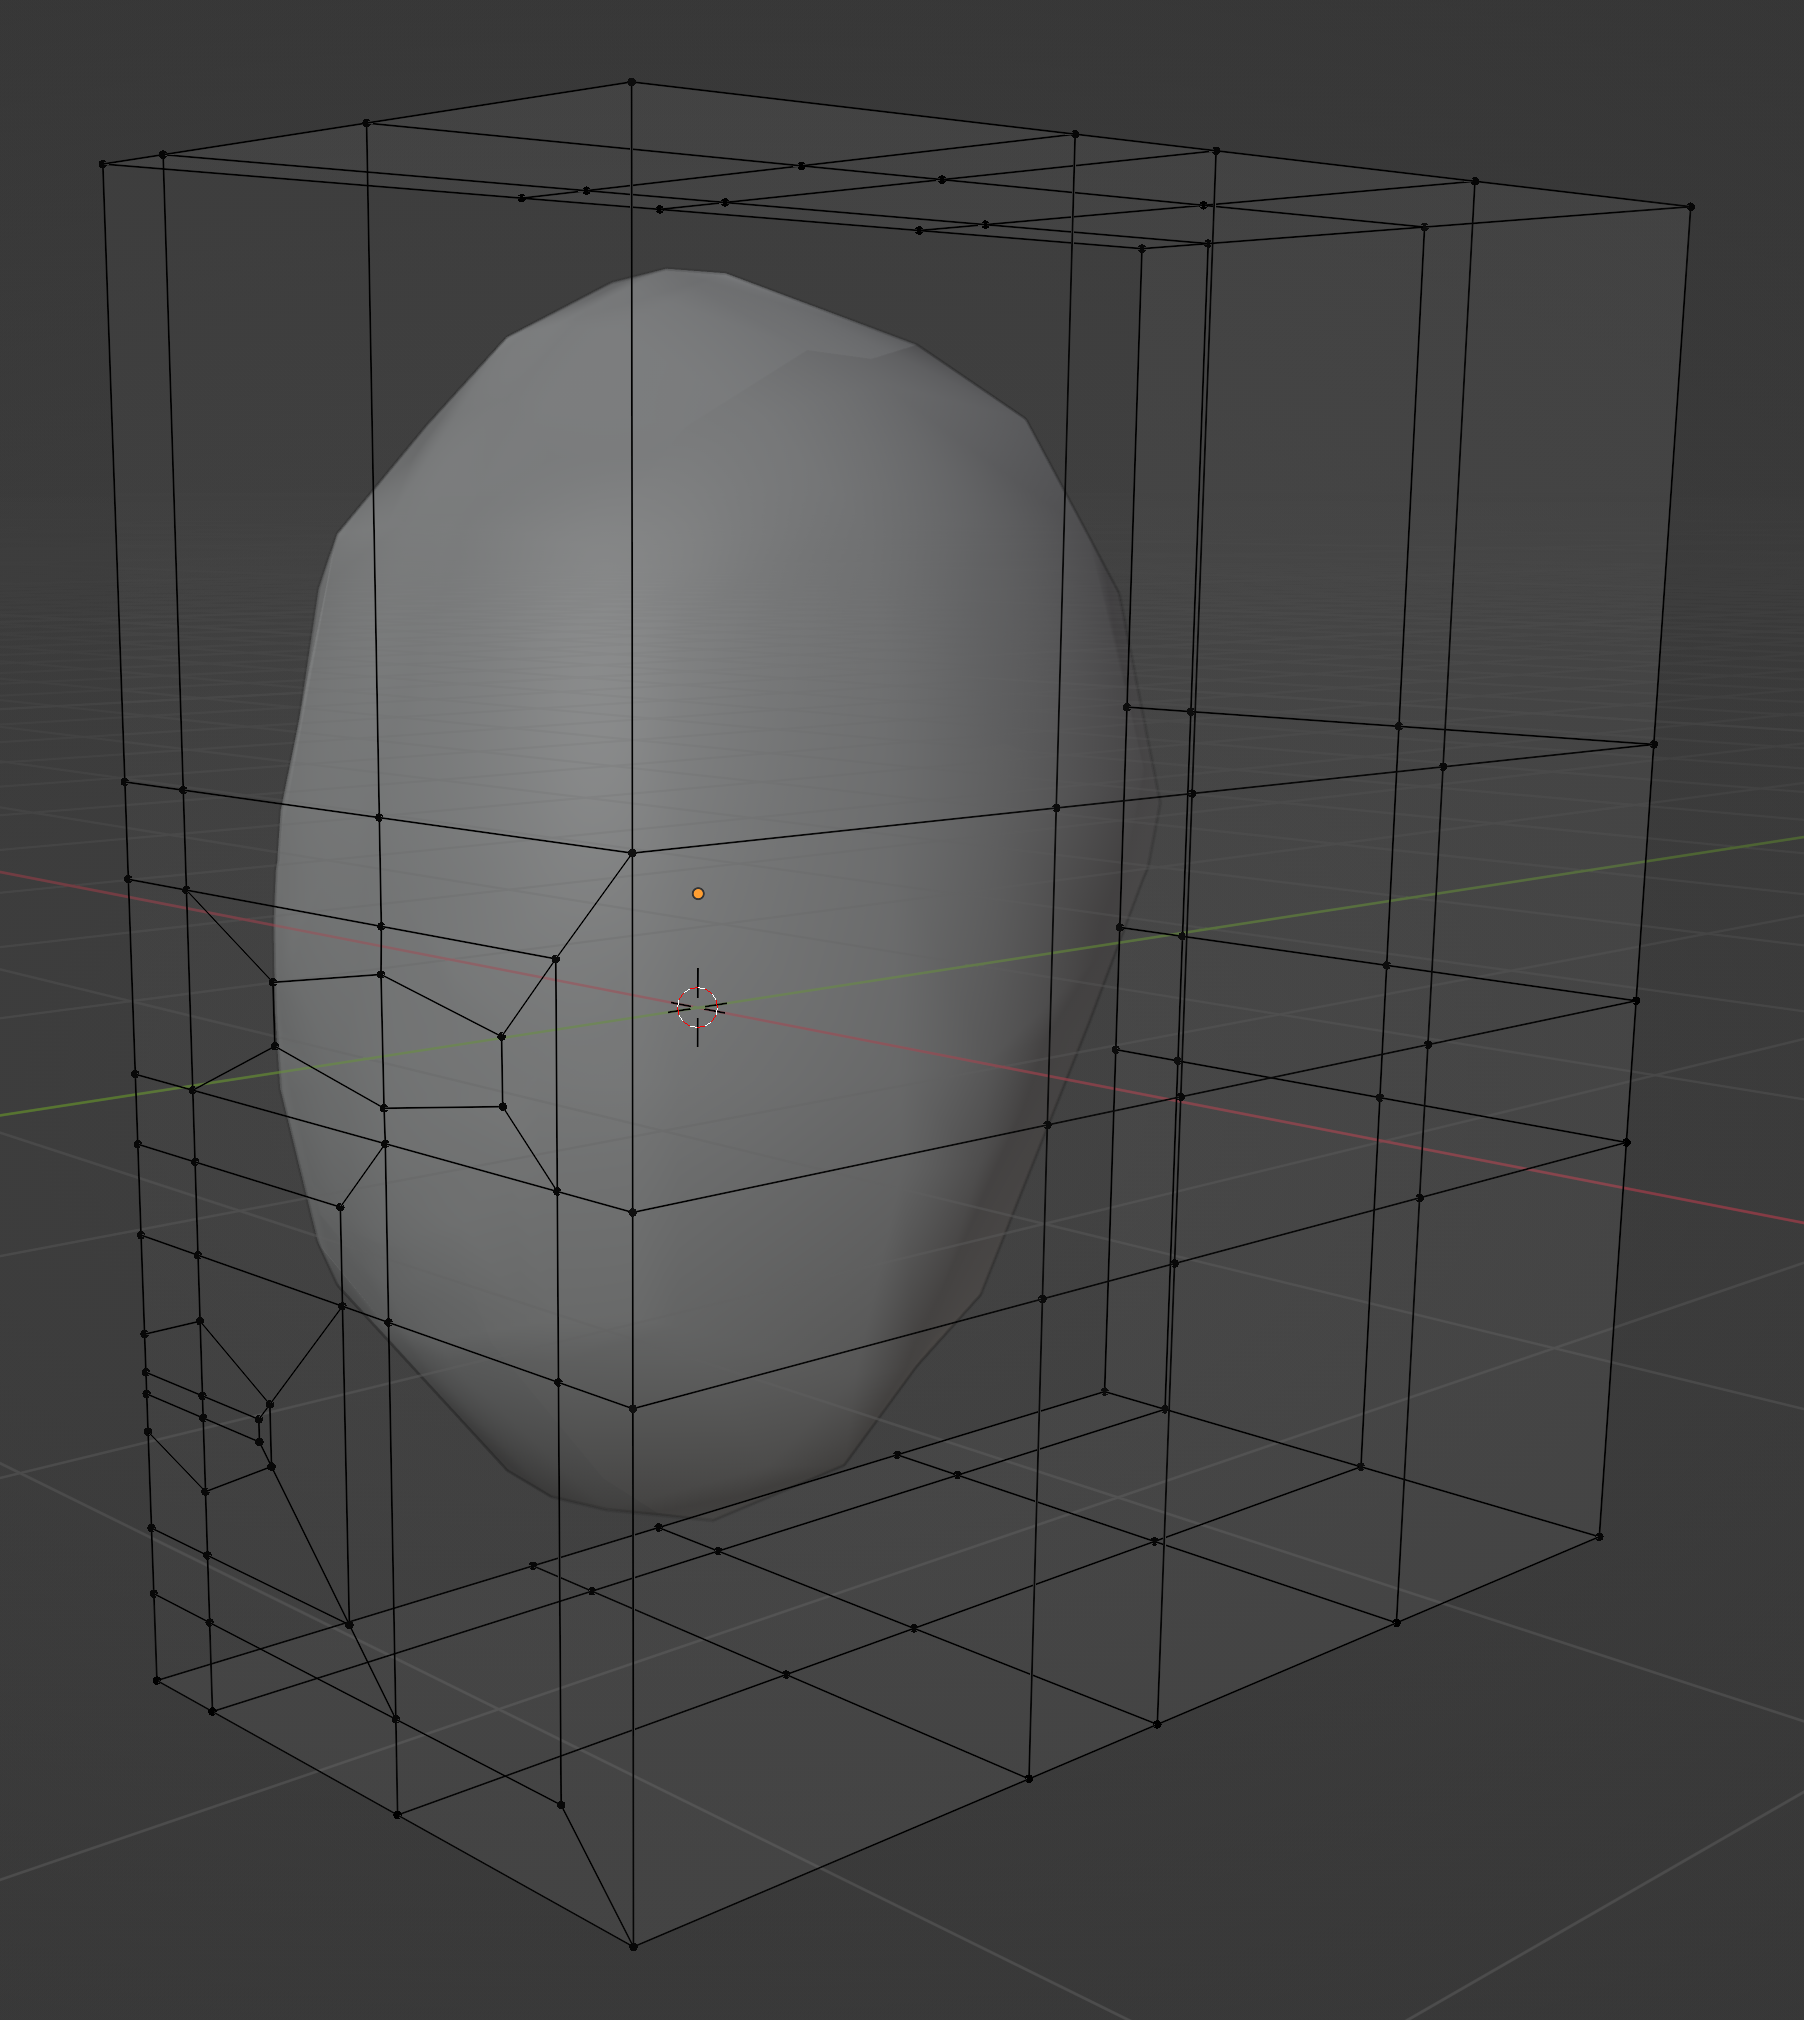
Then, once you’re happy with the shrinkwrap’s results, apply the modifier. You might need more loop cuts in areas of the cube with less geometry, to make it wrap the head shape better.
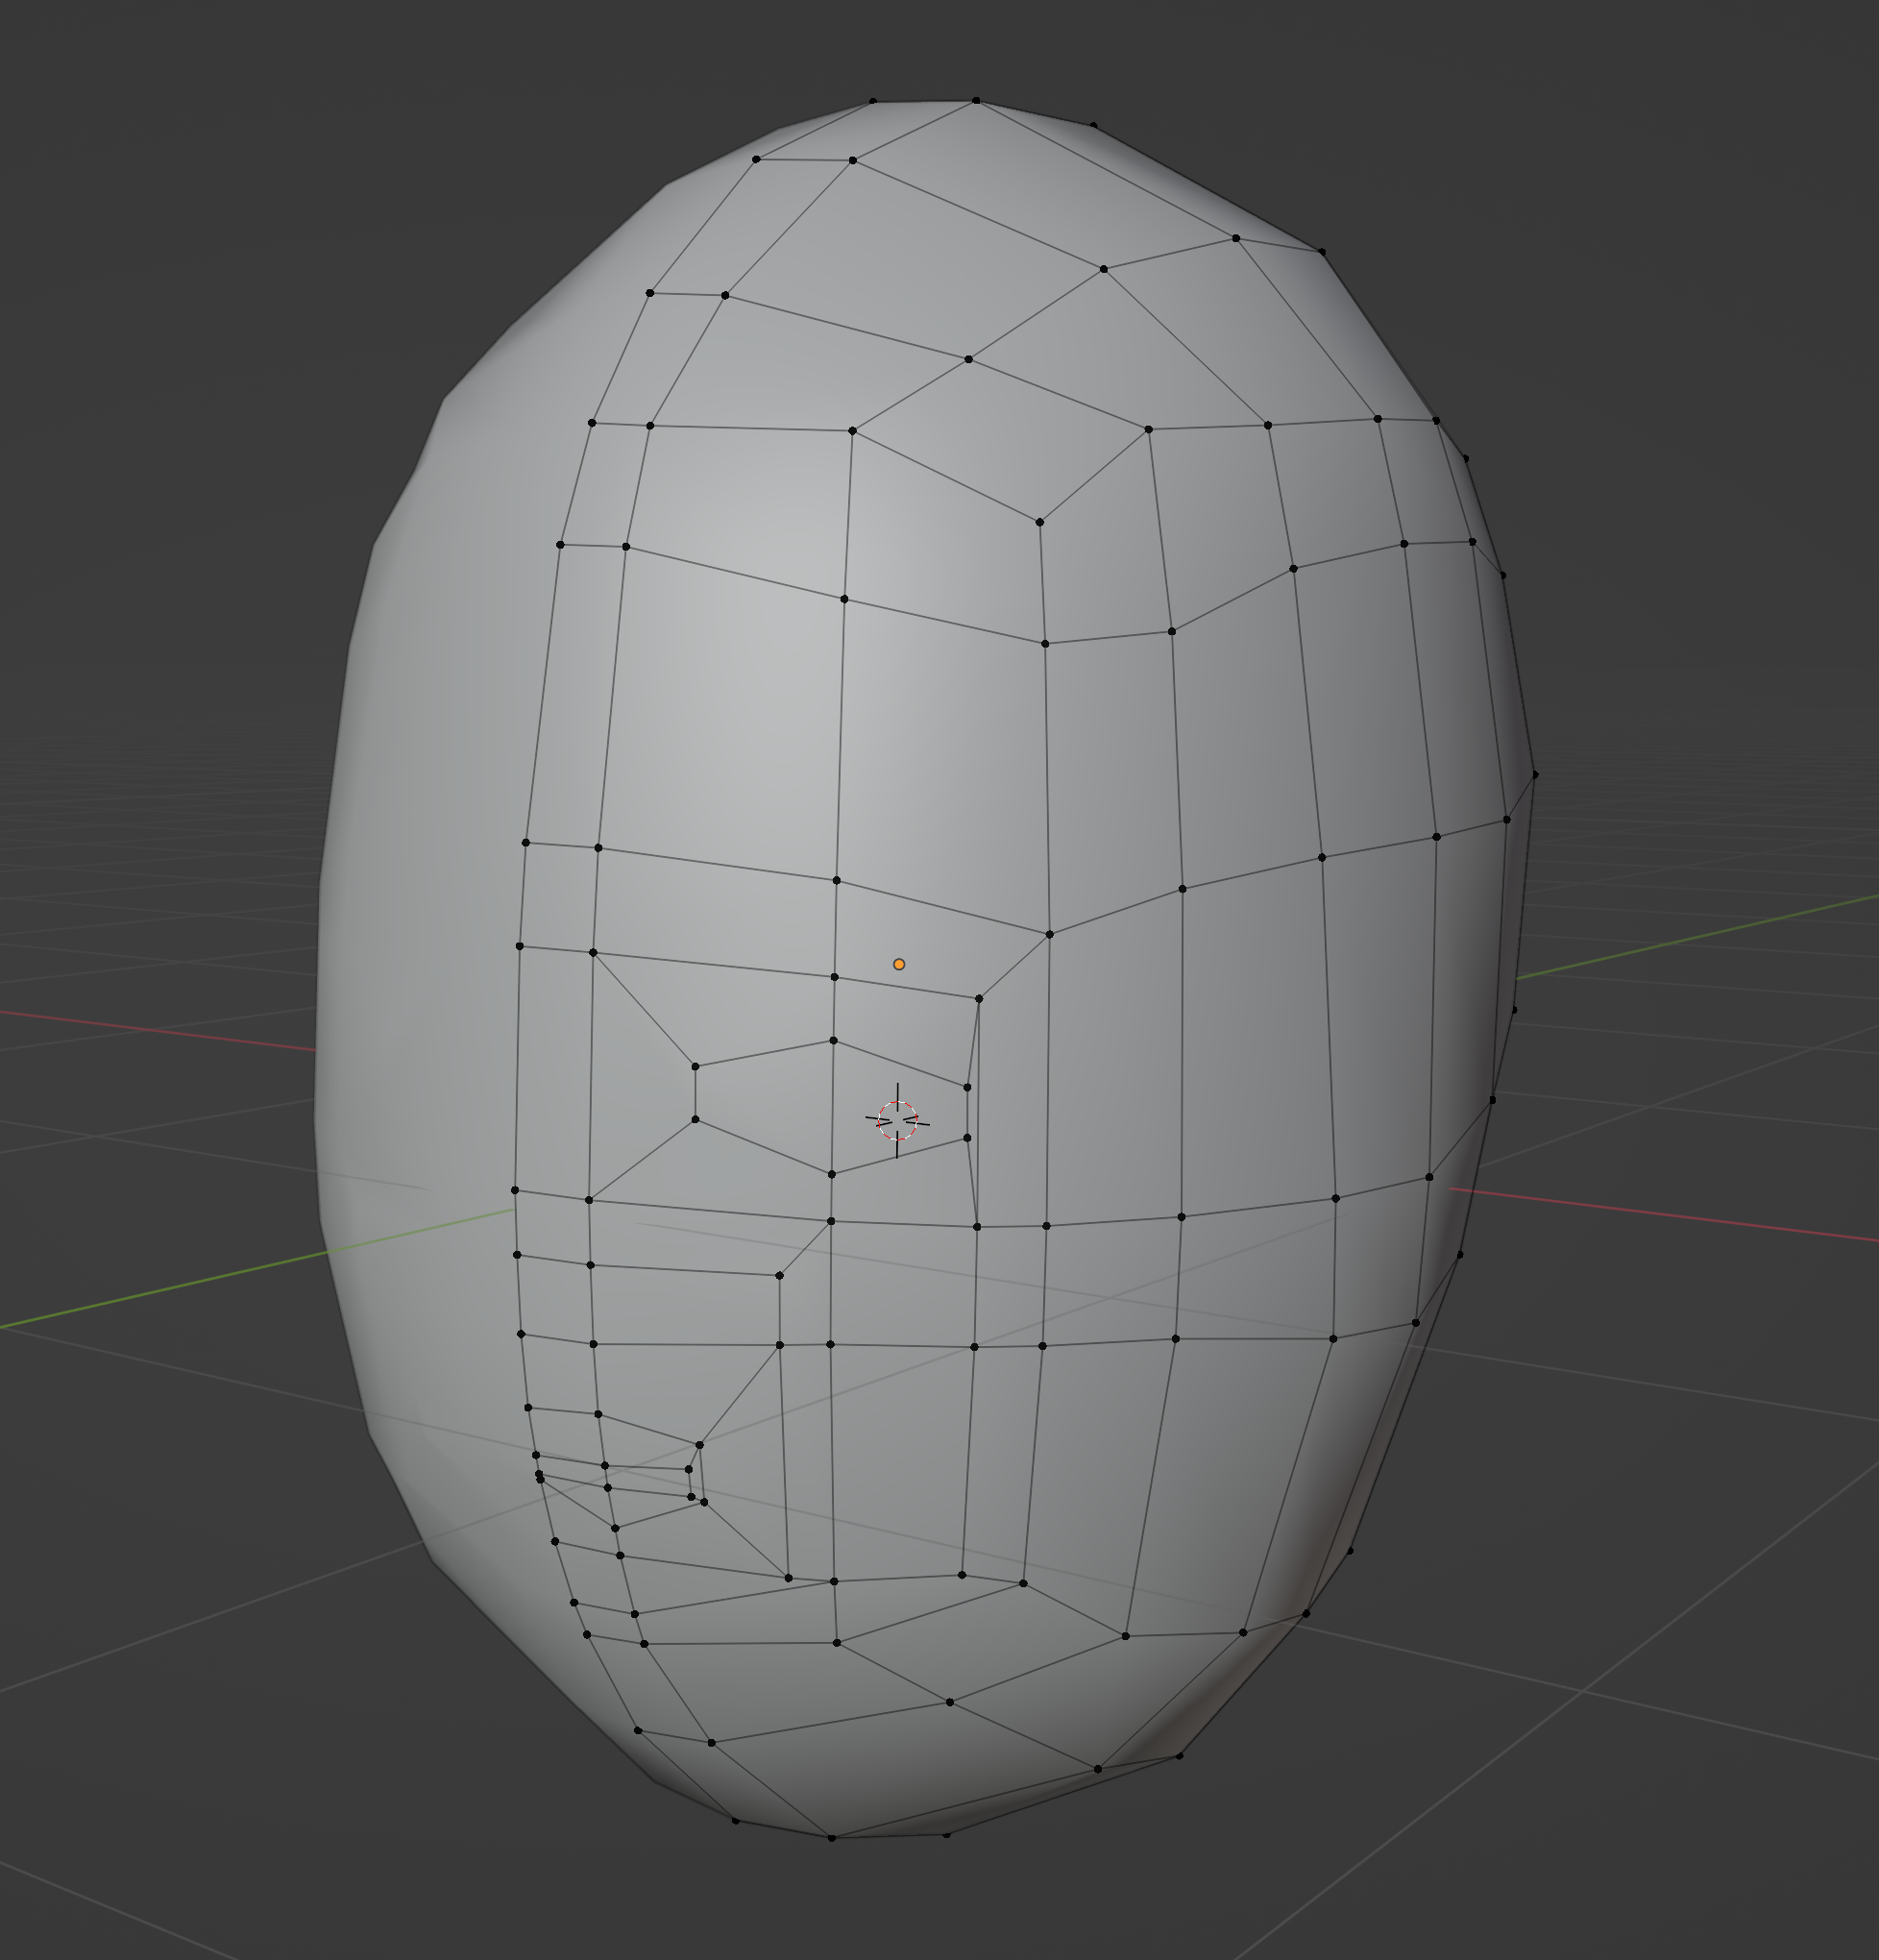
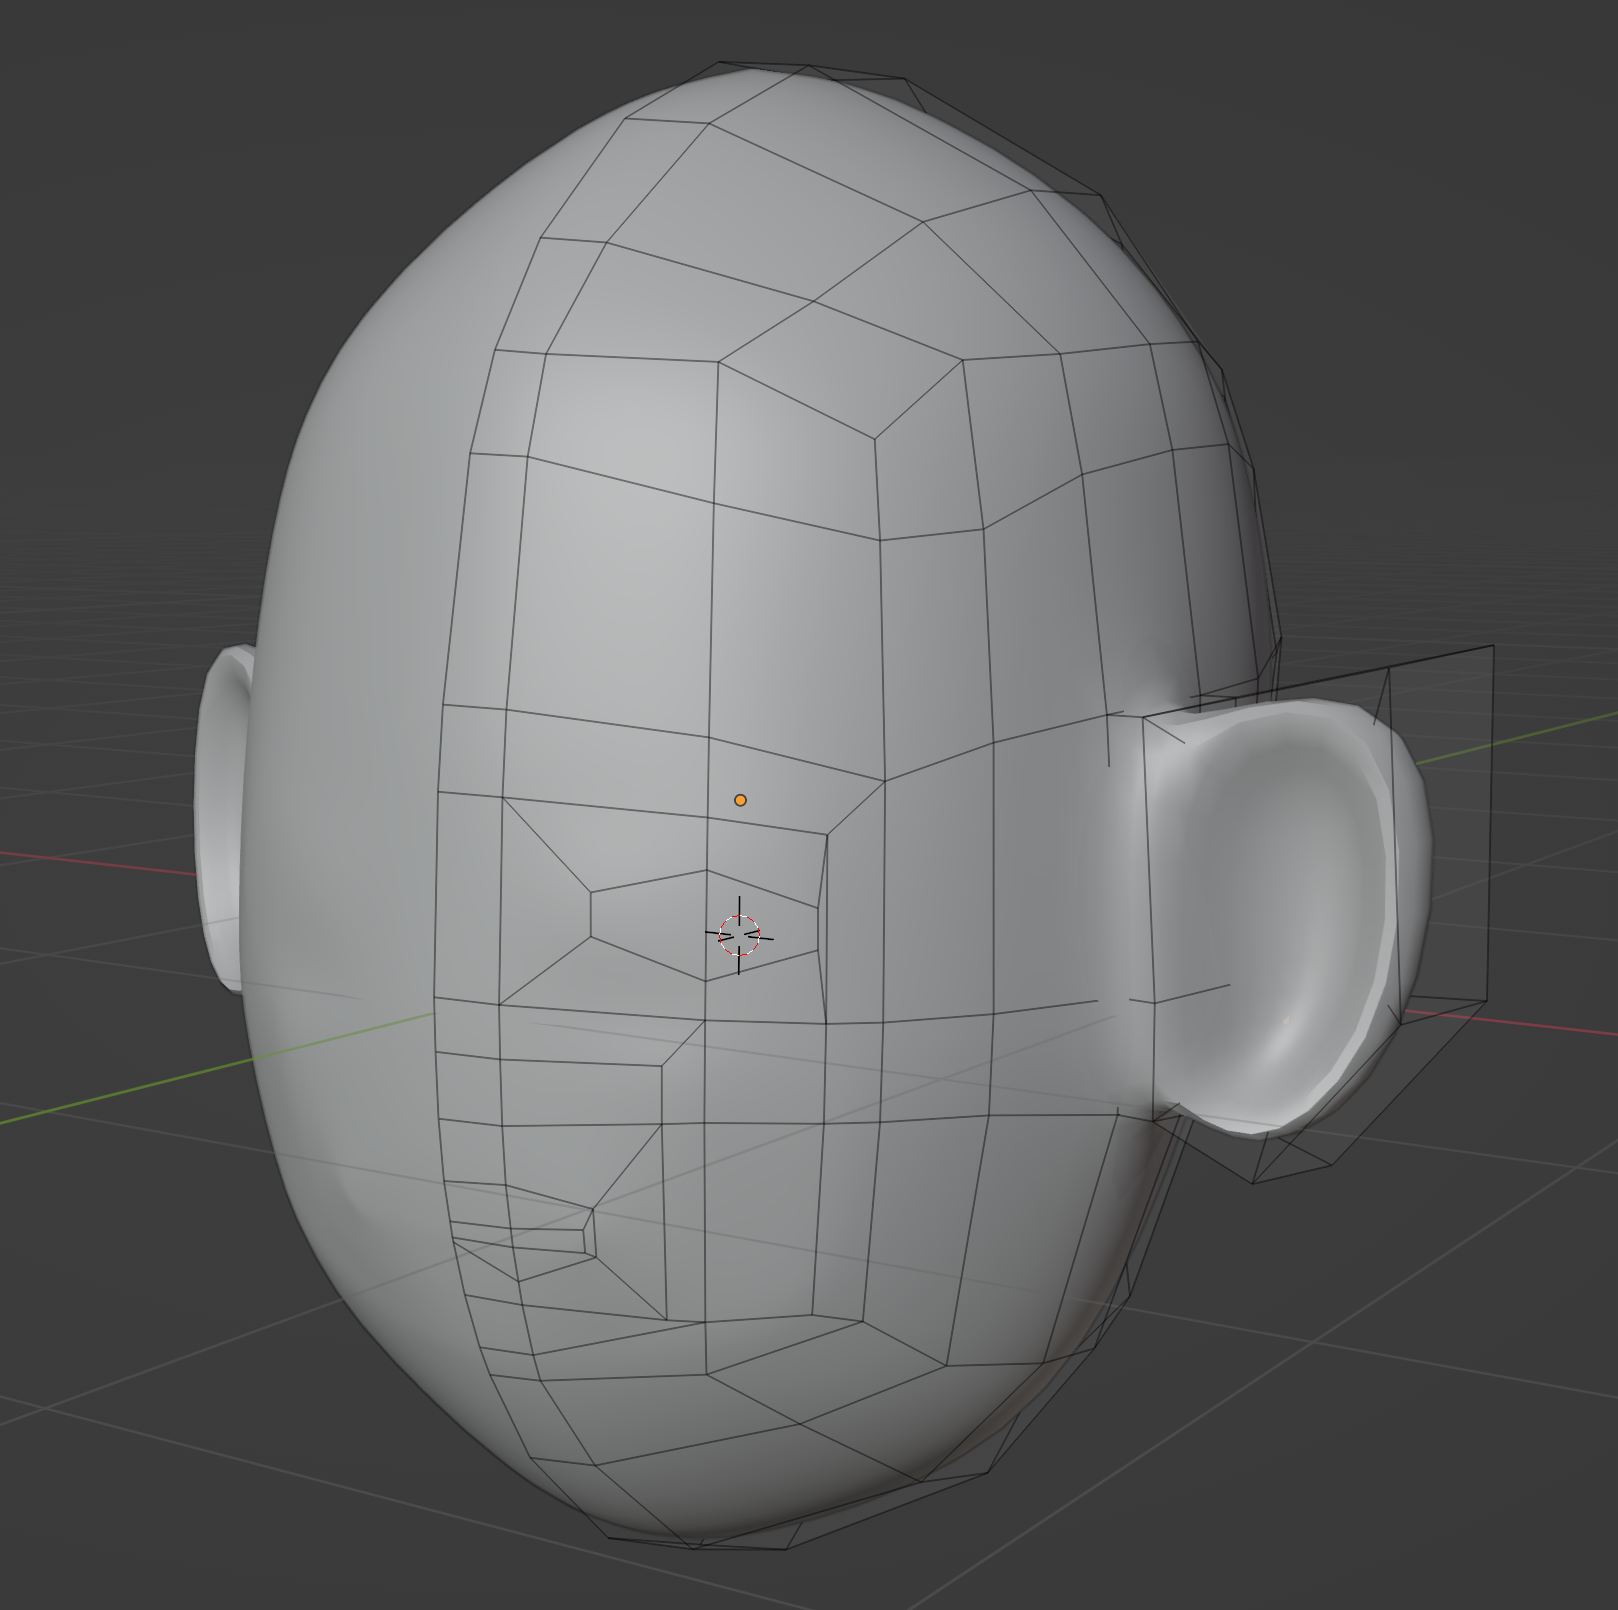
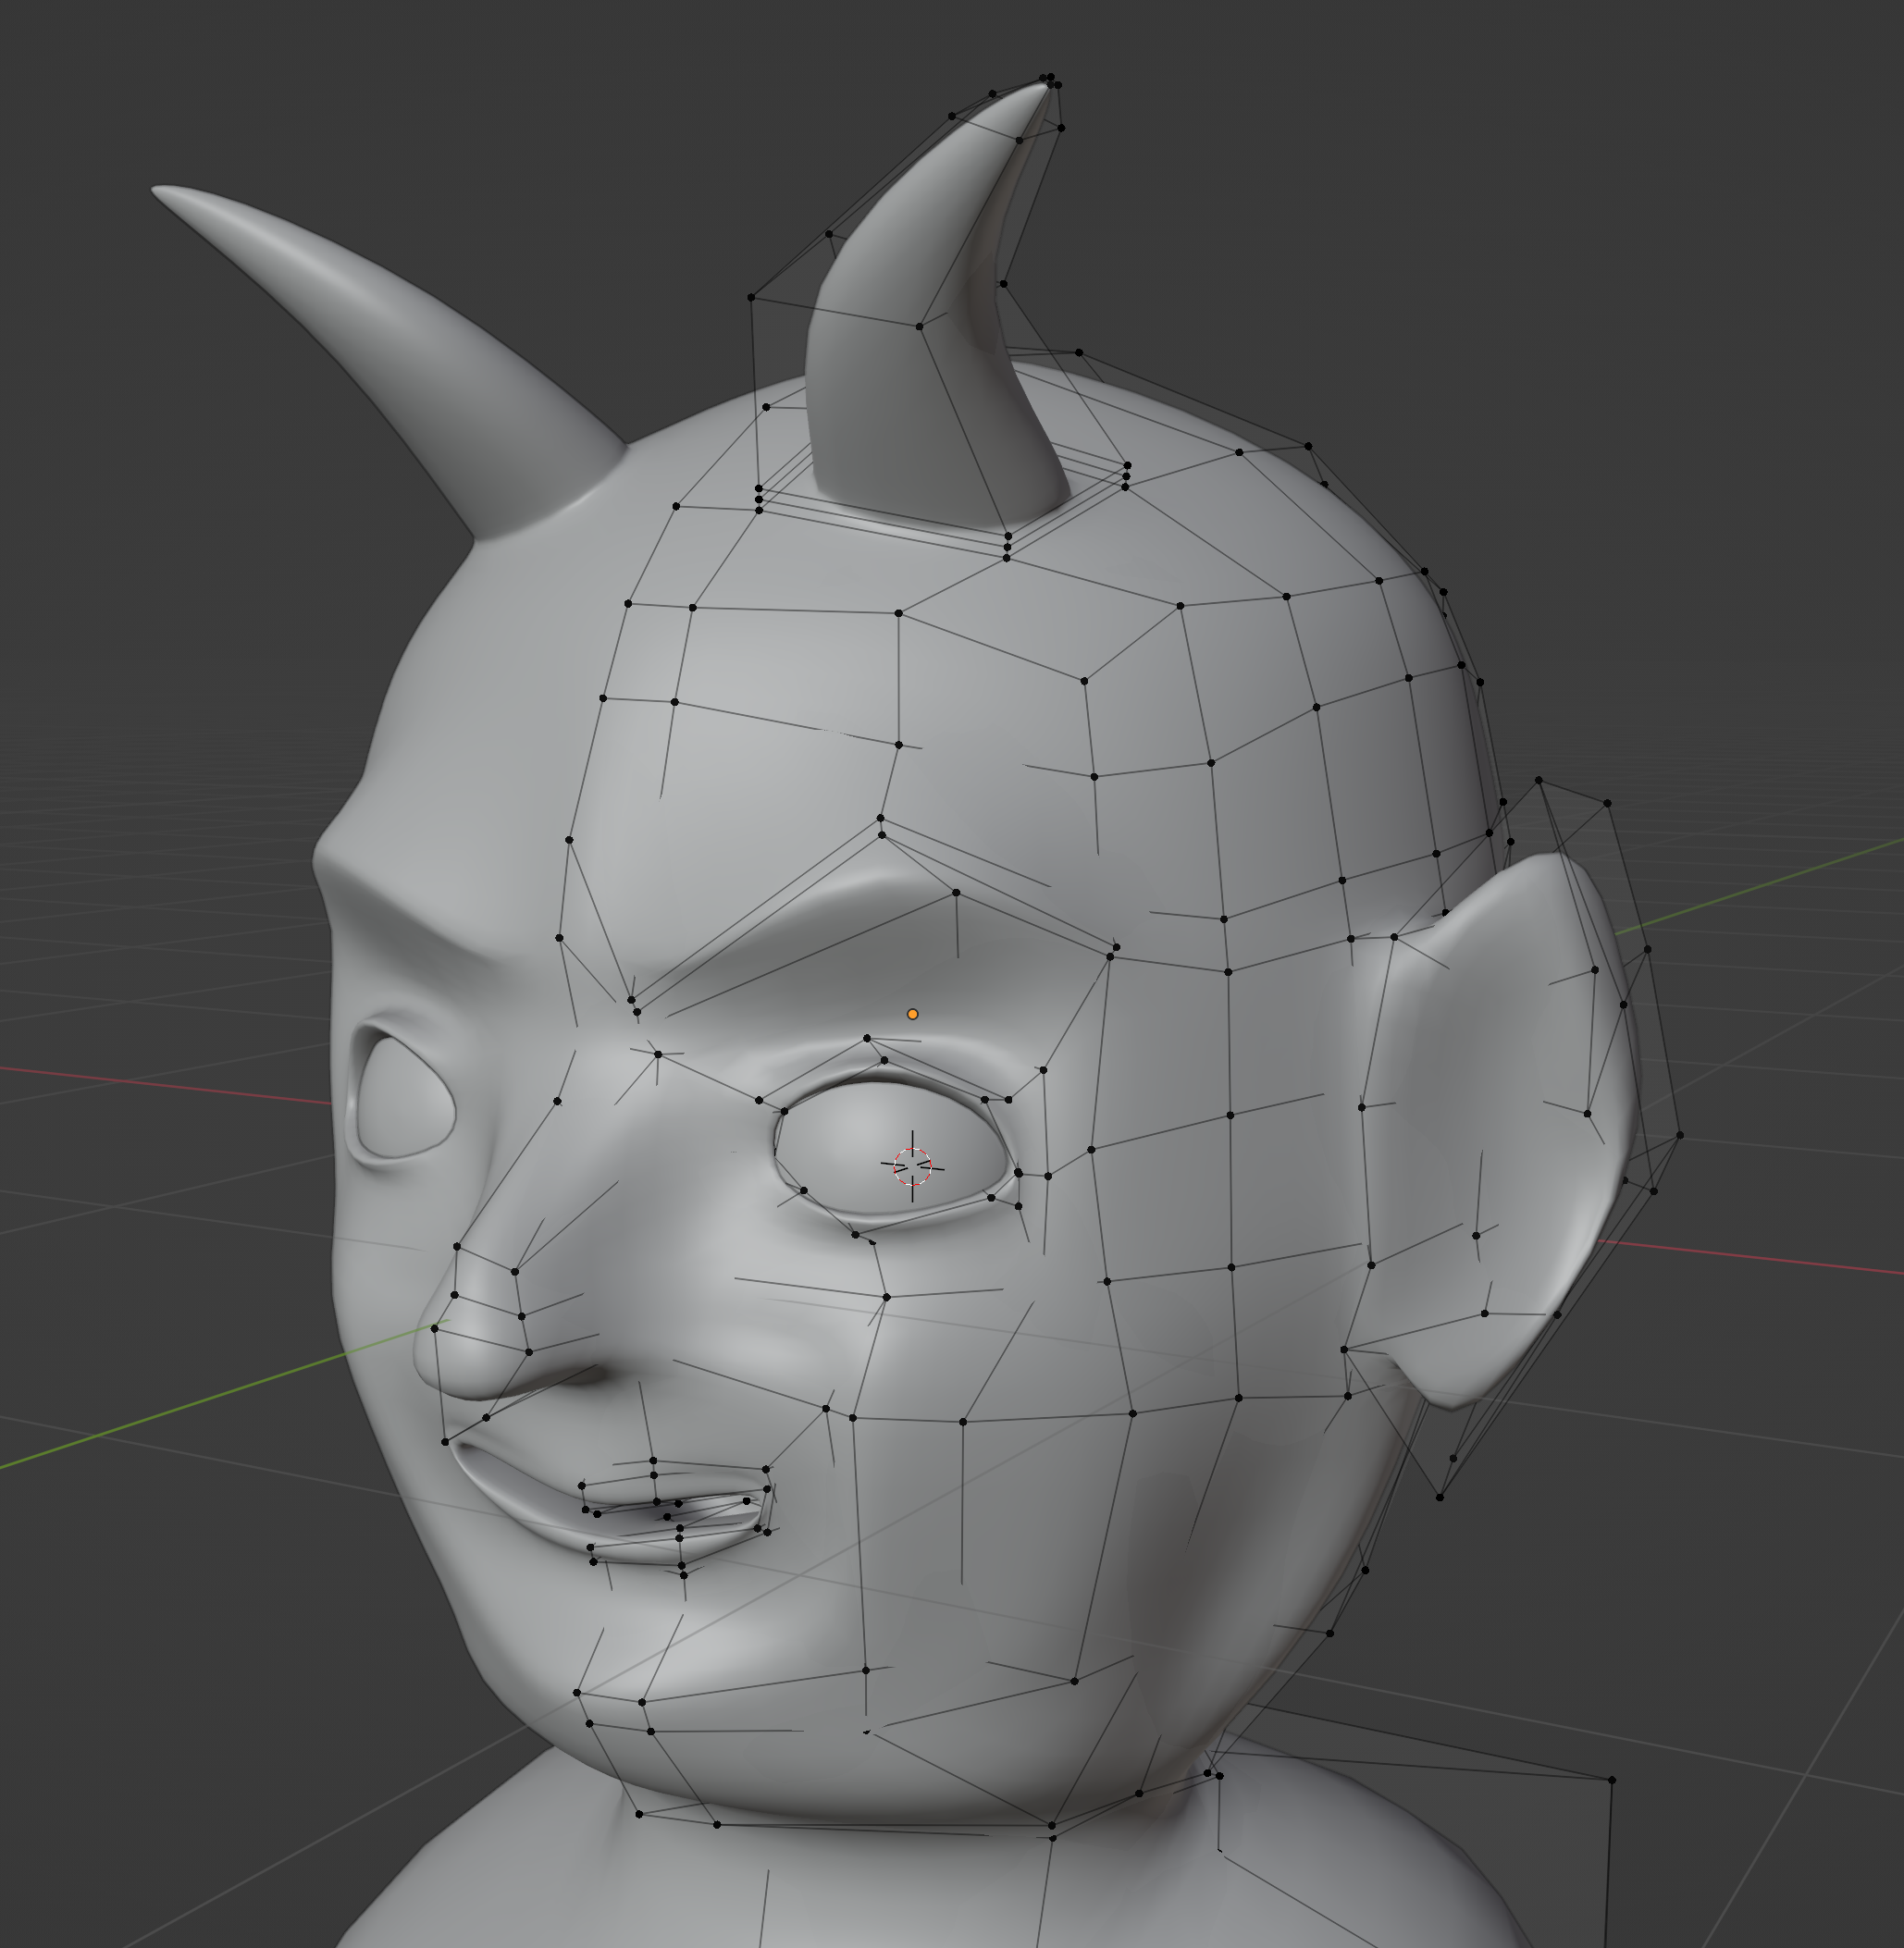
We now have a nice, clean, familiar, low-poly topology on top of an arbitrary head shape.
Box modeling facial structures
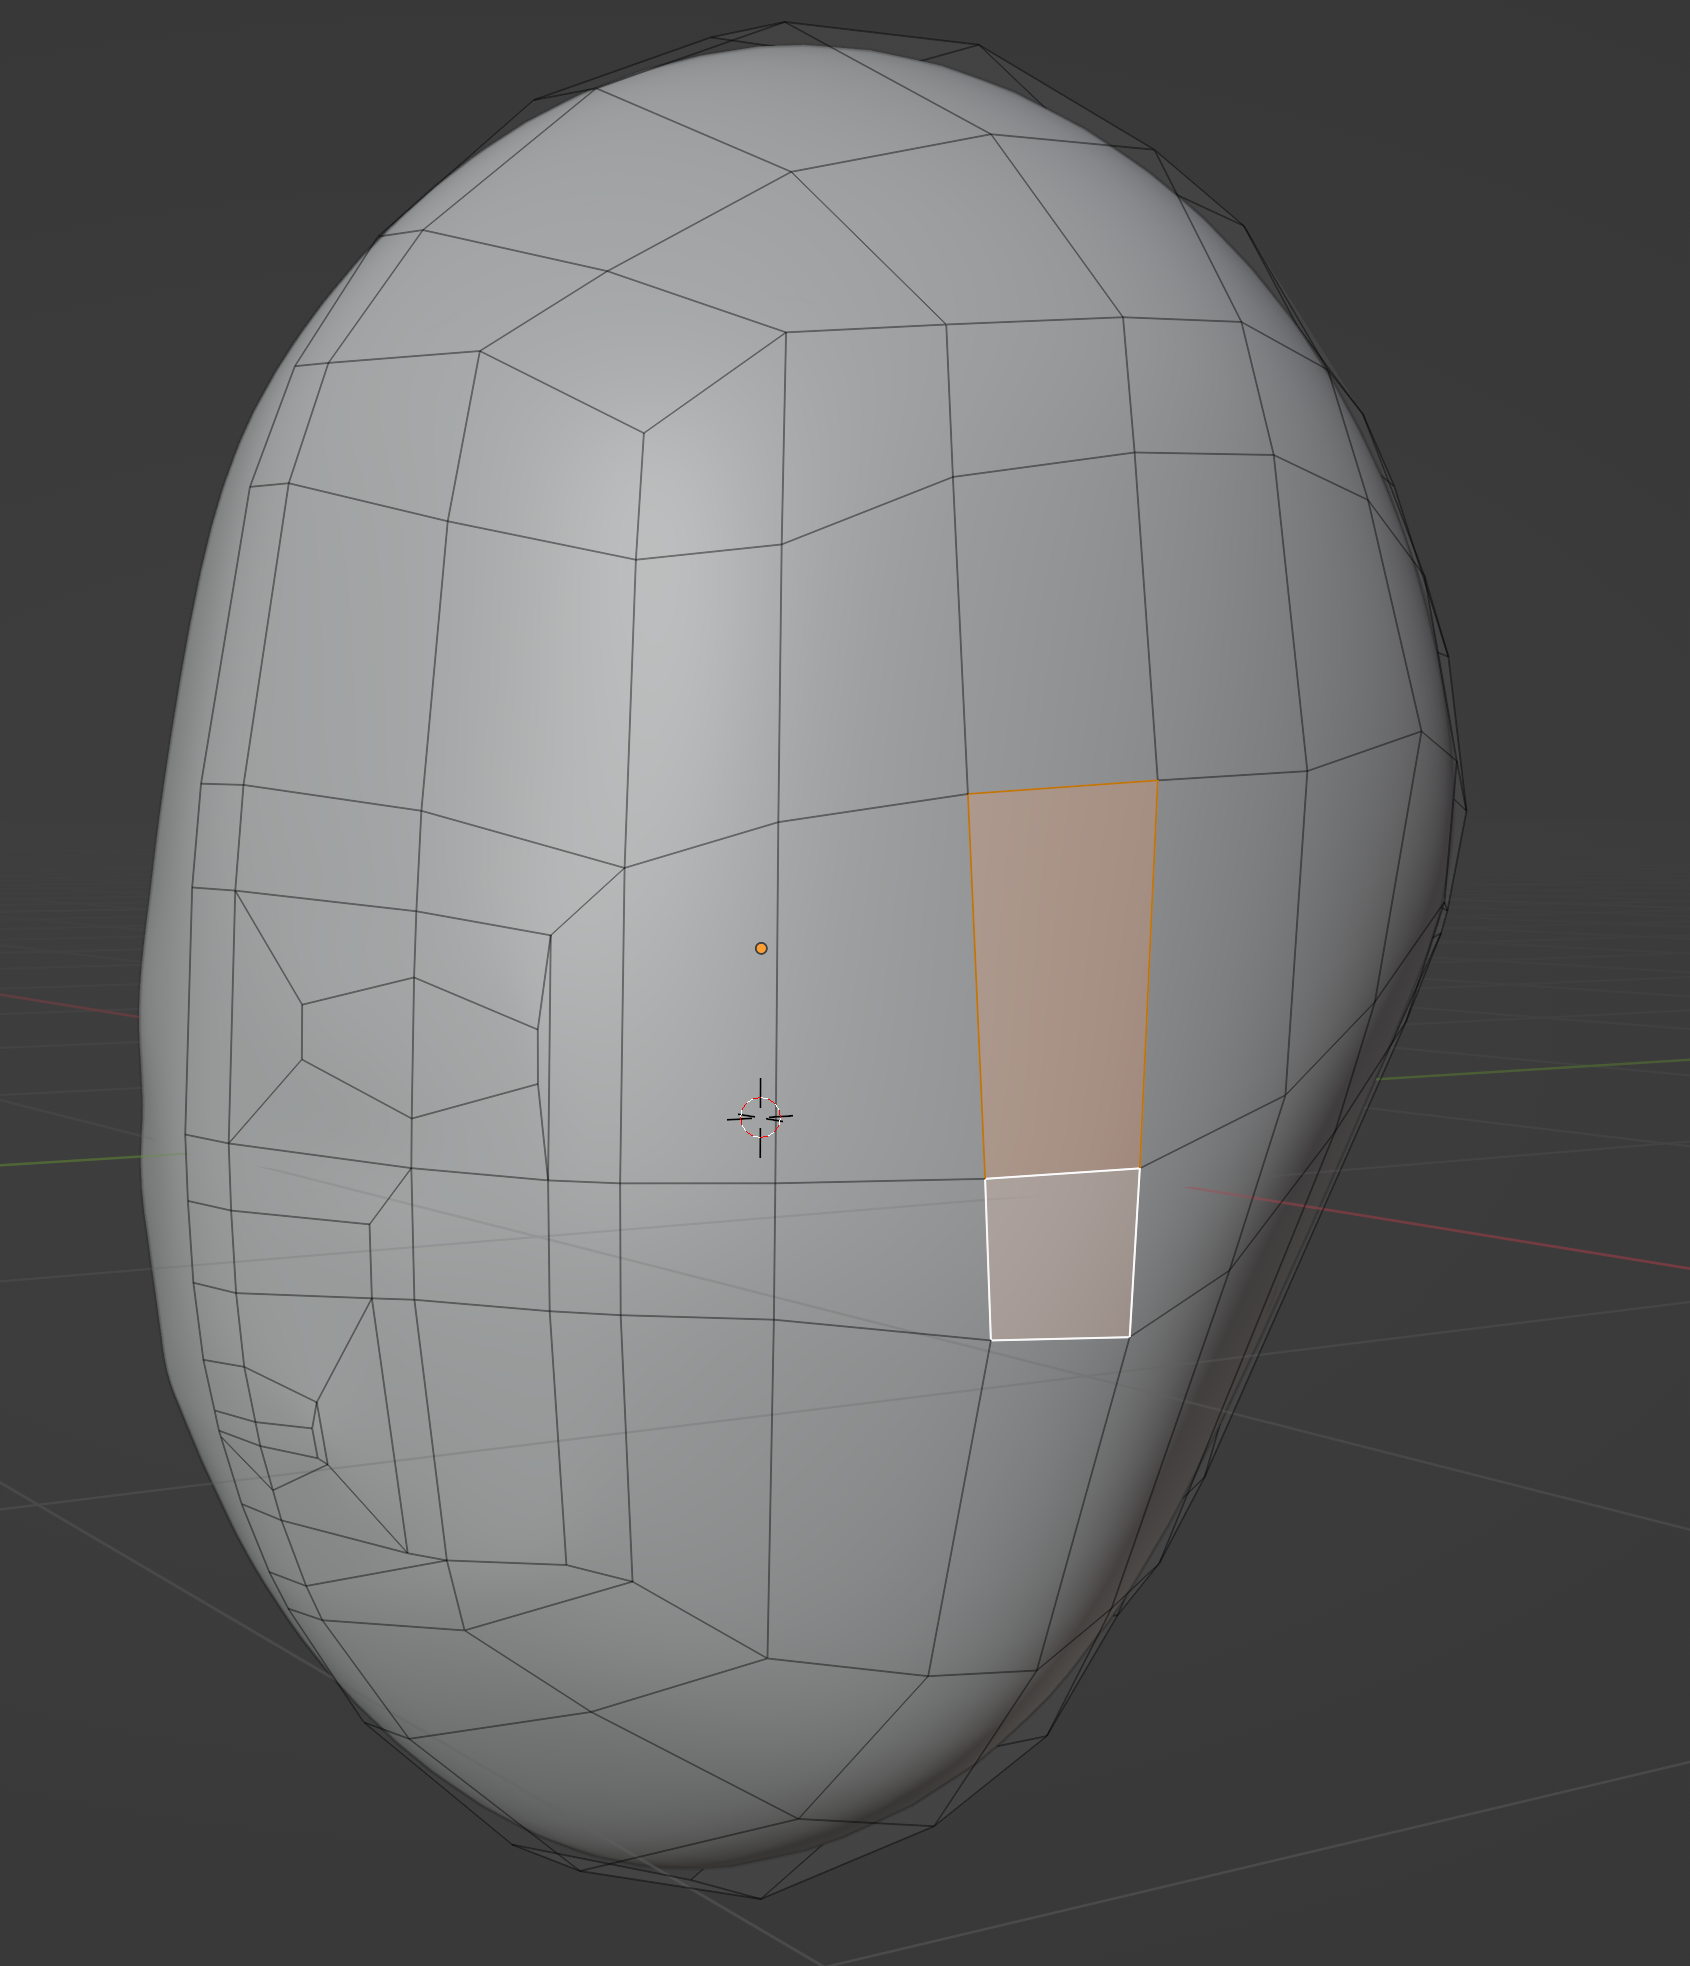
We’ll do basic box modeling with a subdivision modifier on to further define our model. Select the faces we designated for the ears.
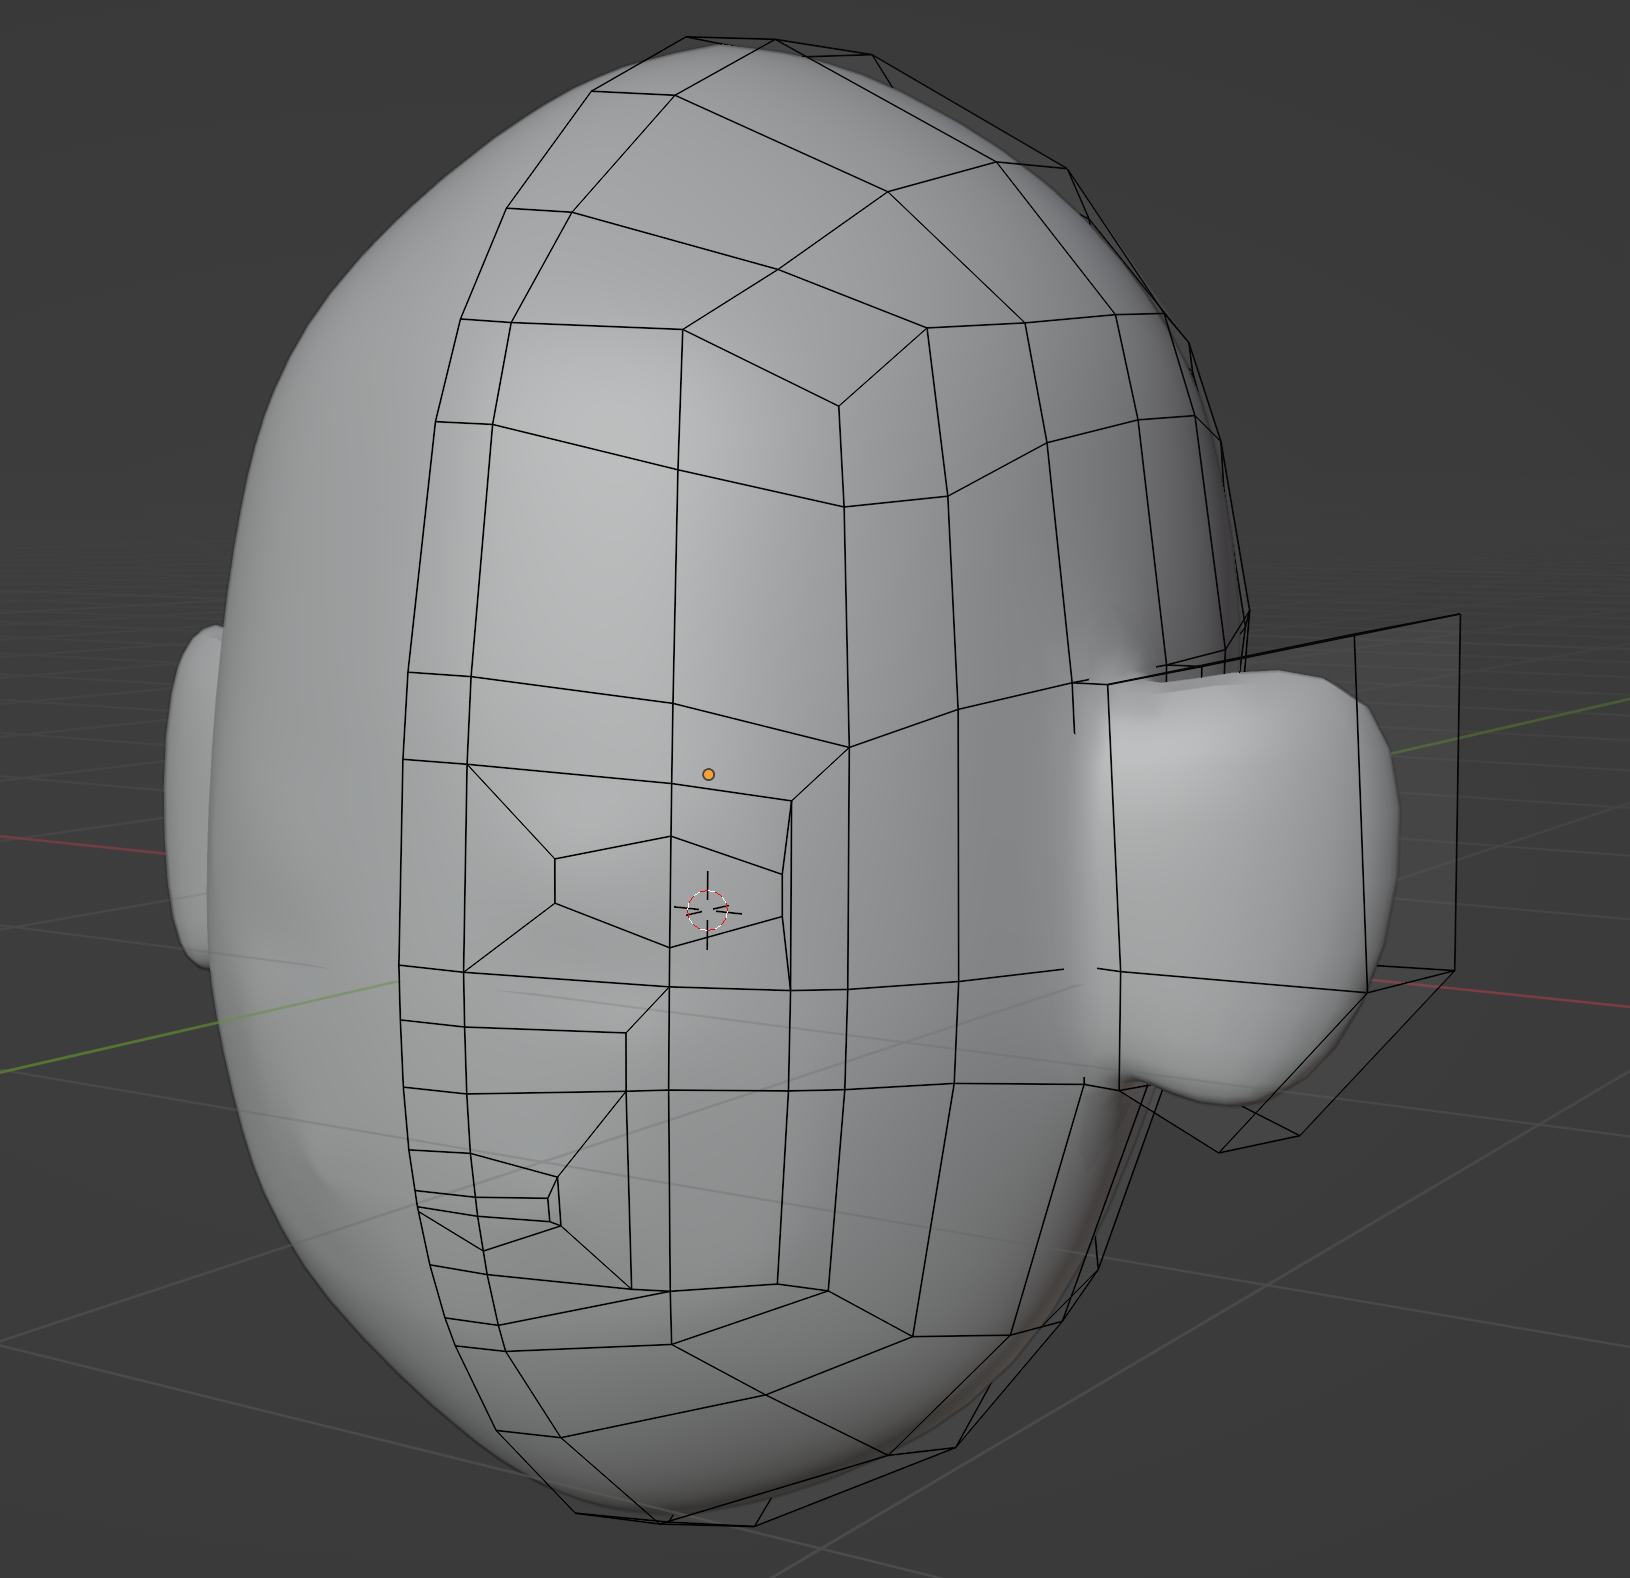
Extrude a small distance, then extrude again. Scale and move the outer edge to define an ear shape.
Inset the inner faces of the ear…
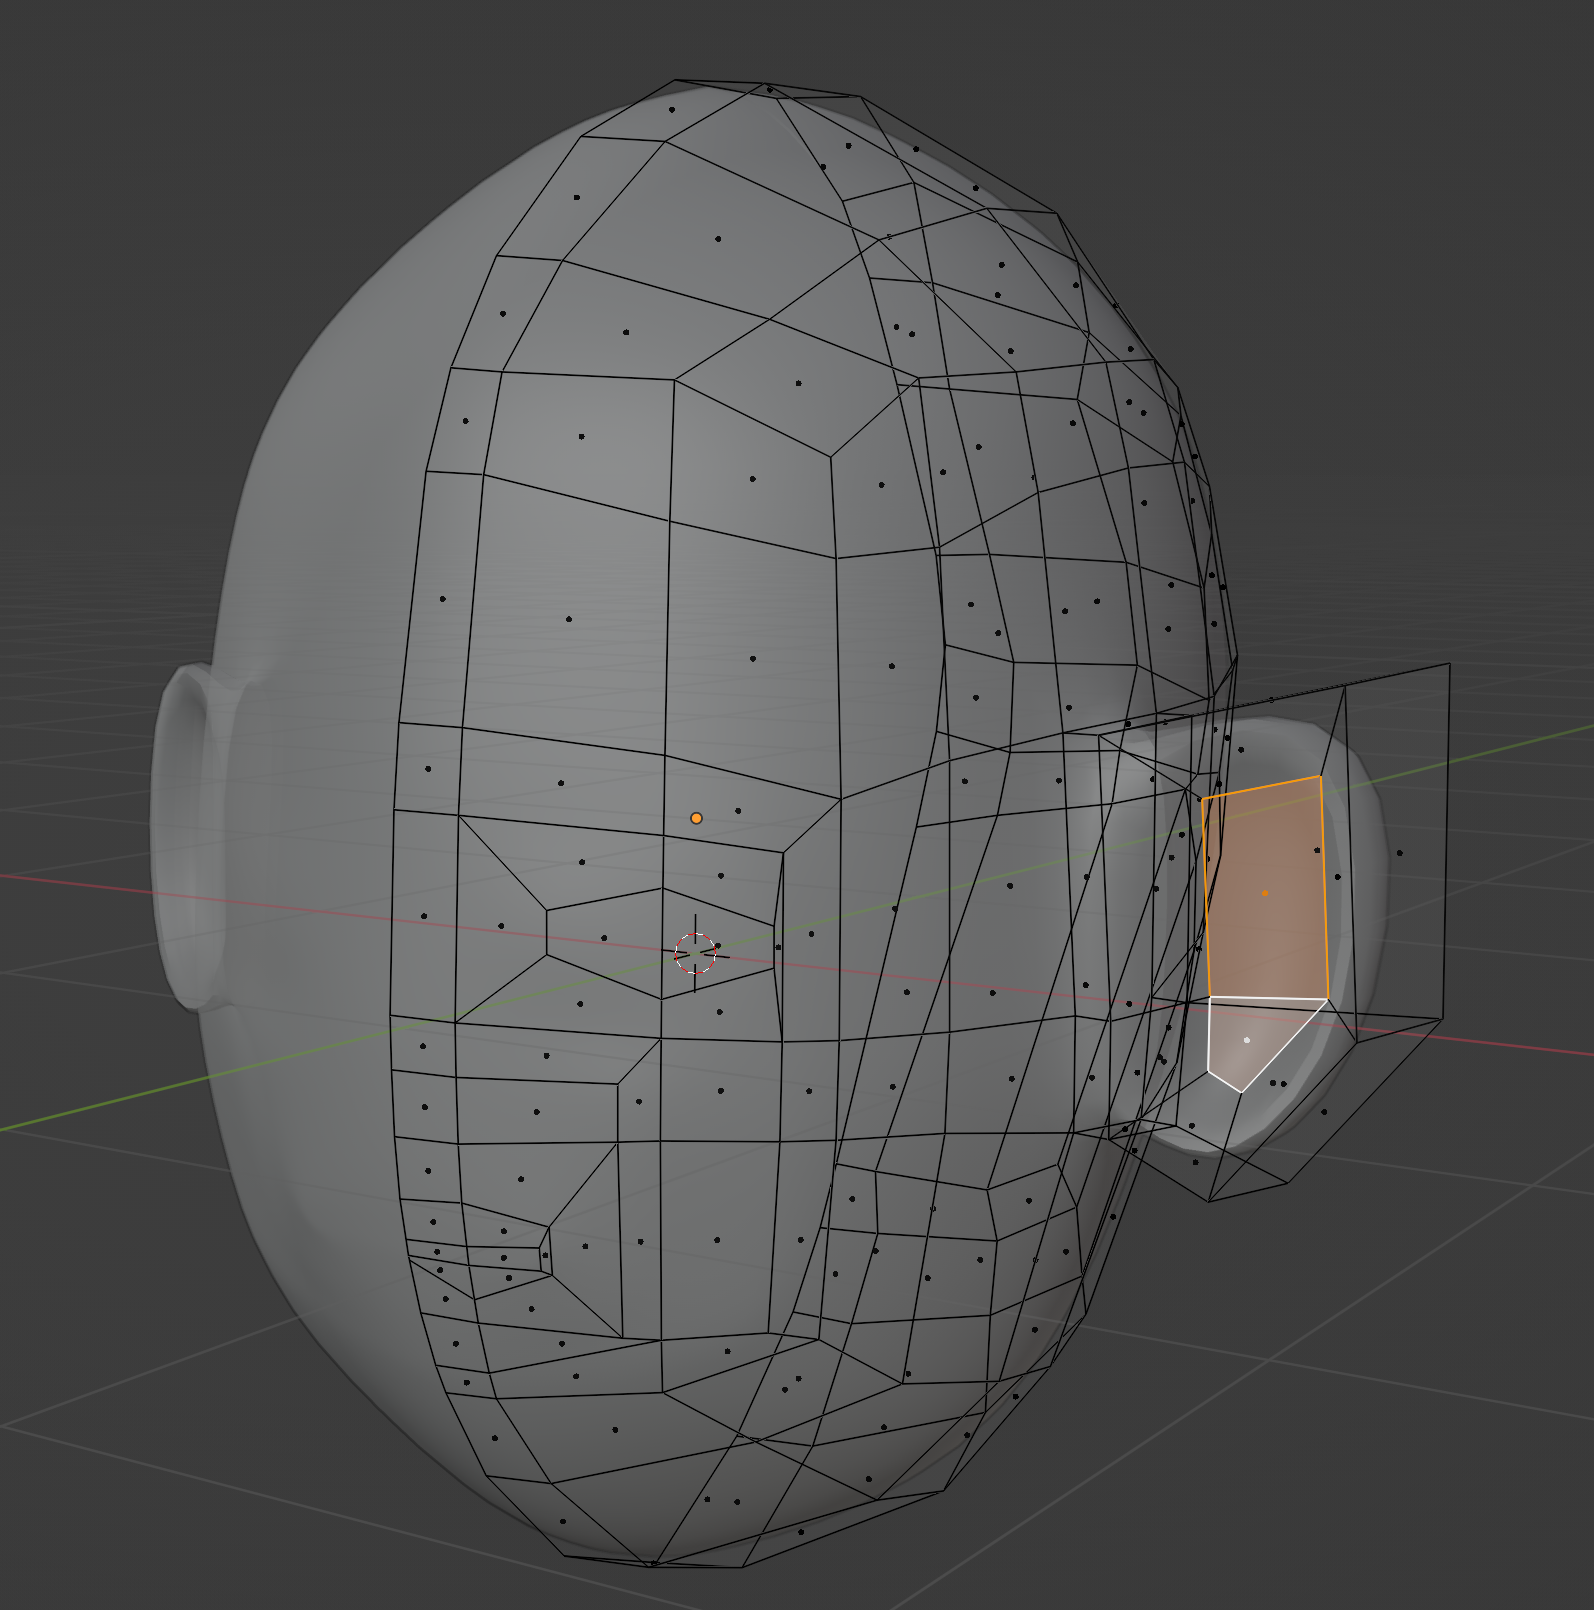
…then extrude backwards to create an ear cup shape. You can definitely go much further with adding detail to the ears (and in fact, all structures on this model), but the point is it’s easier to start with something simple and add detail later, than to start with something complex.
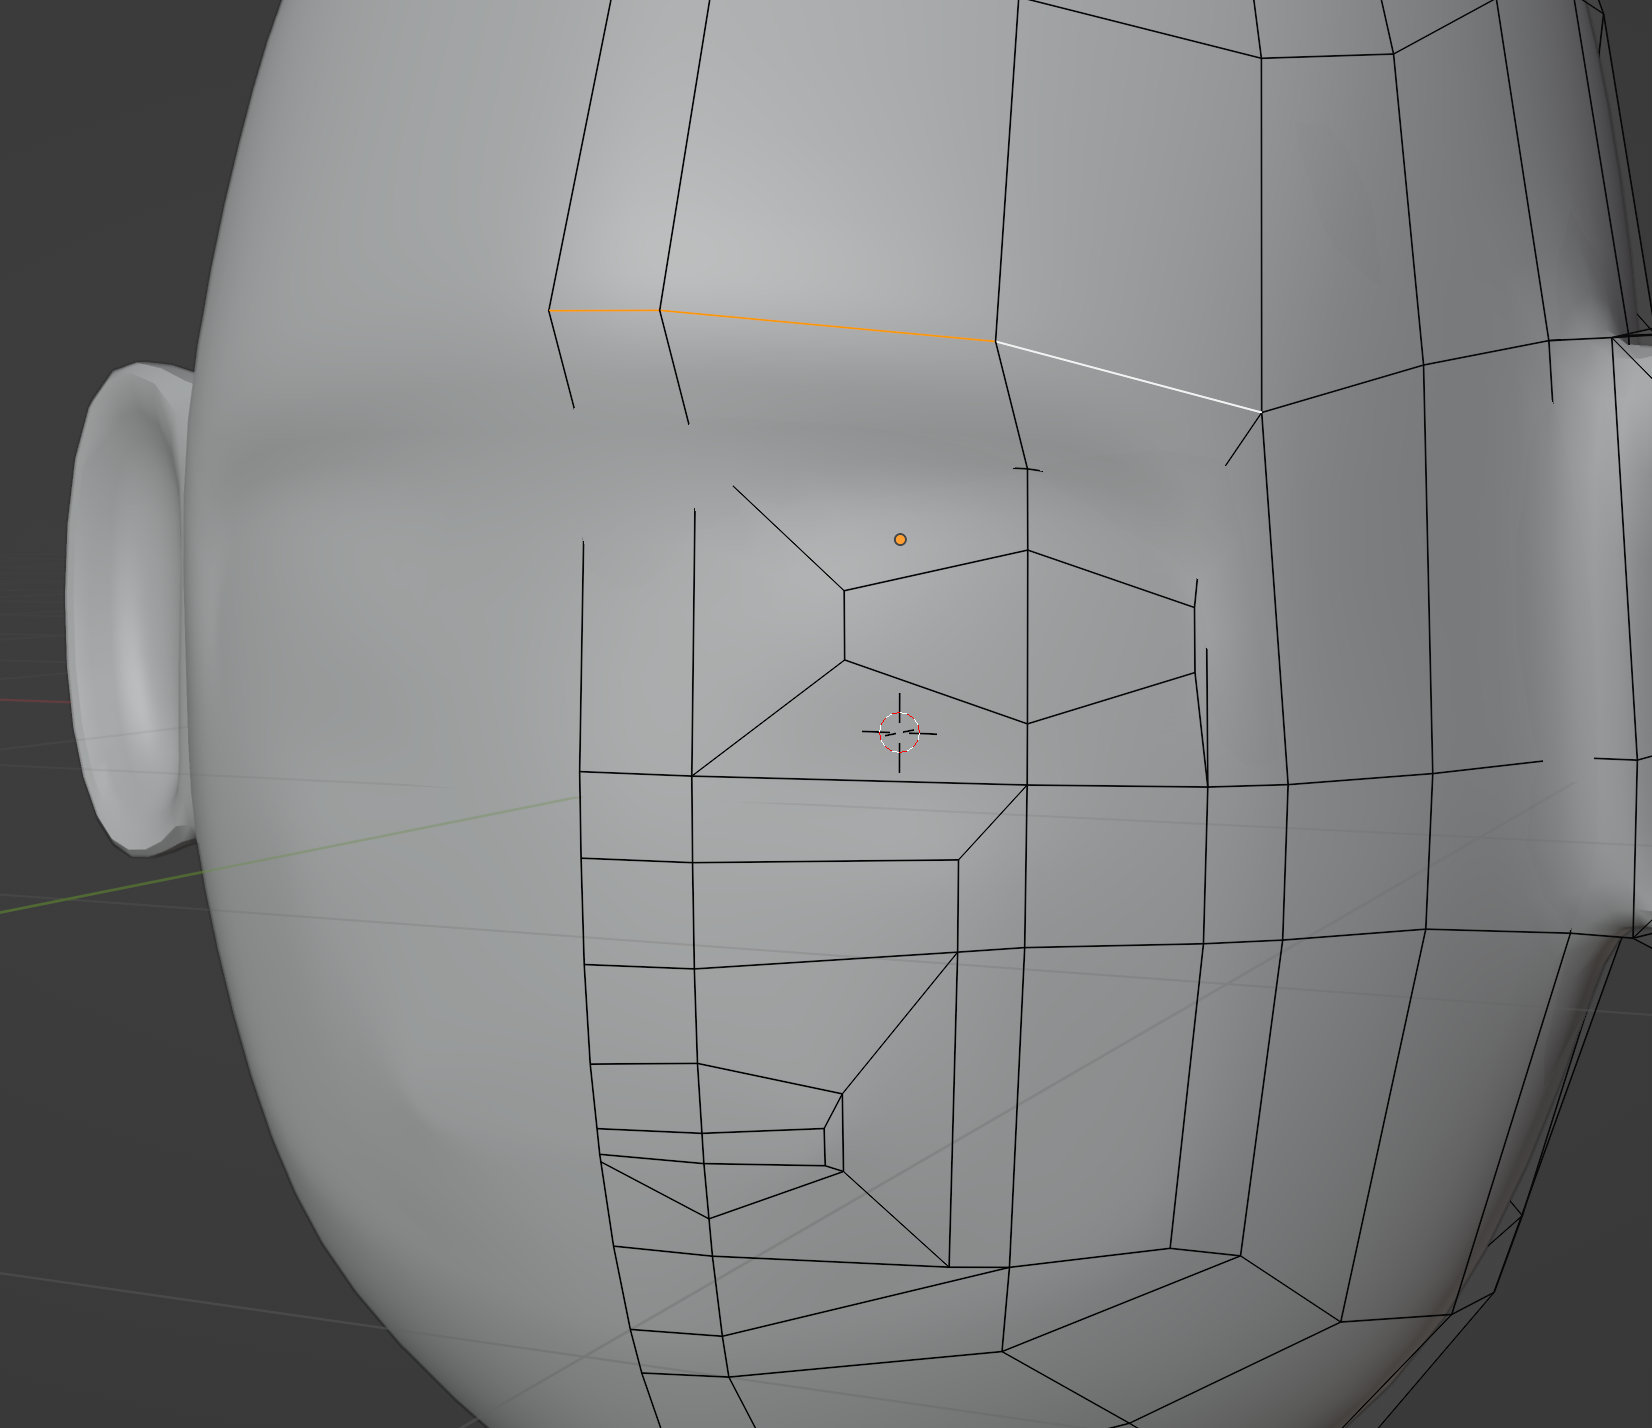
Select these edges that define the brow…
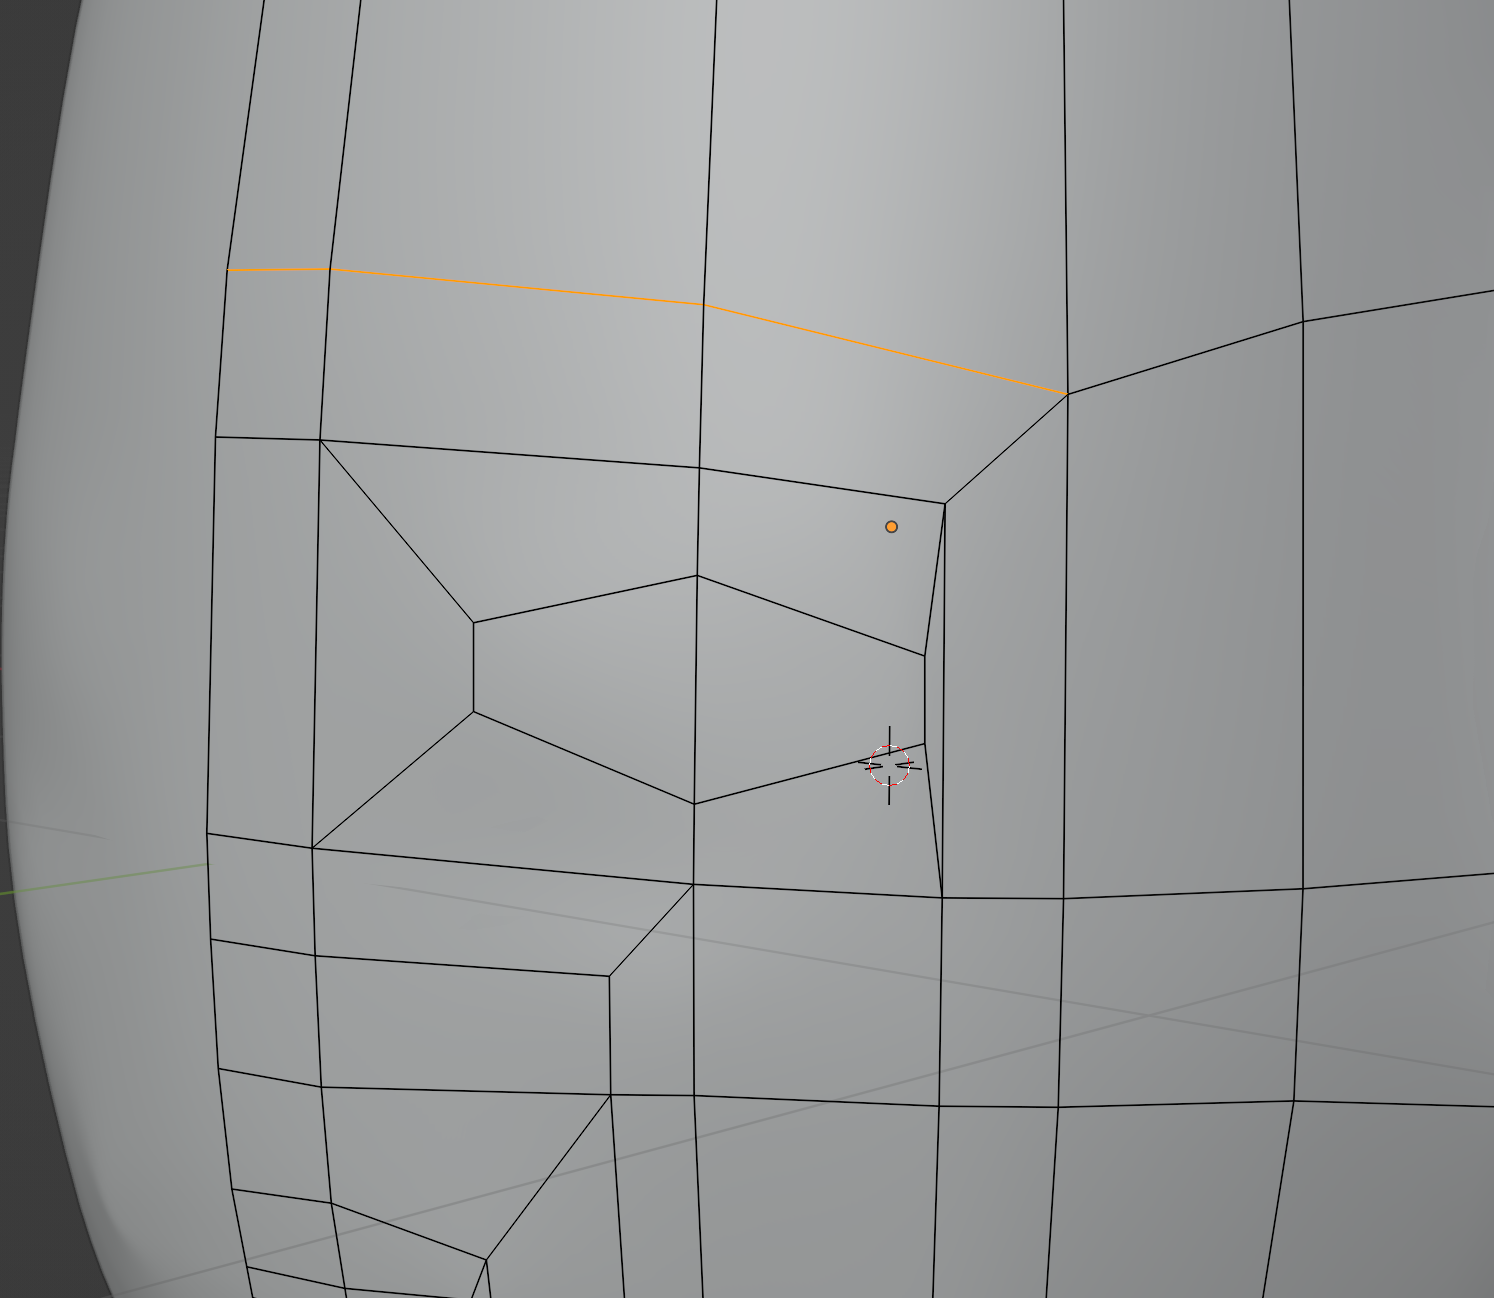
…and pull them forwards to get a natural brow shape.
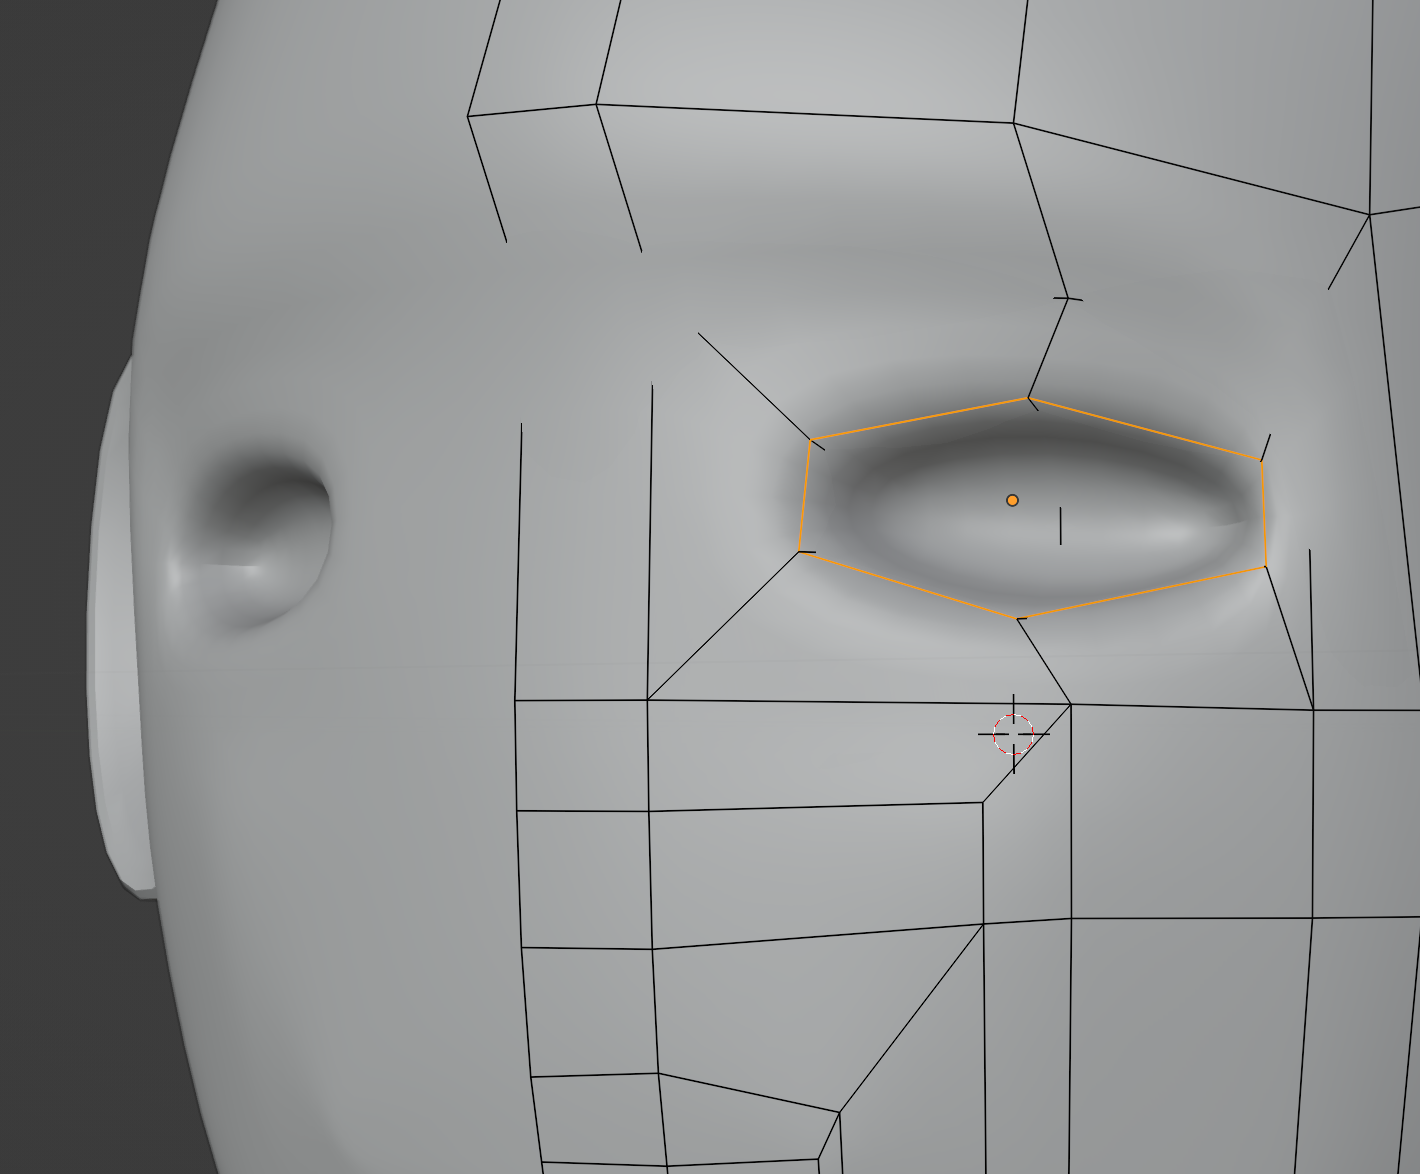
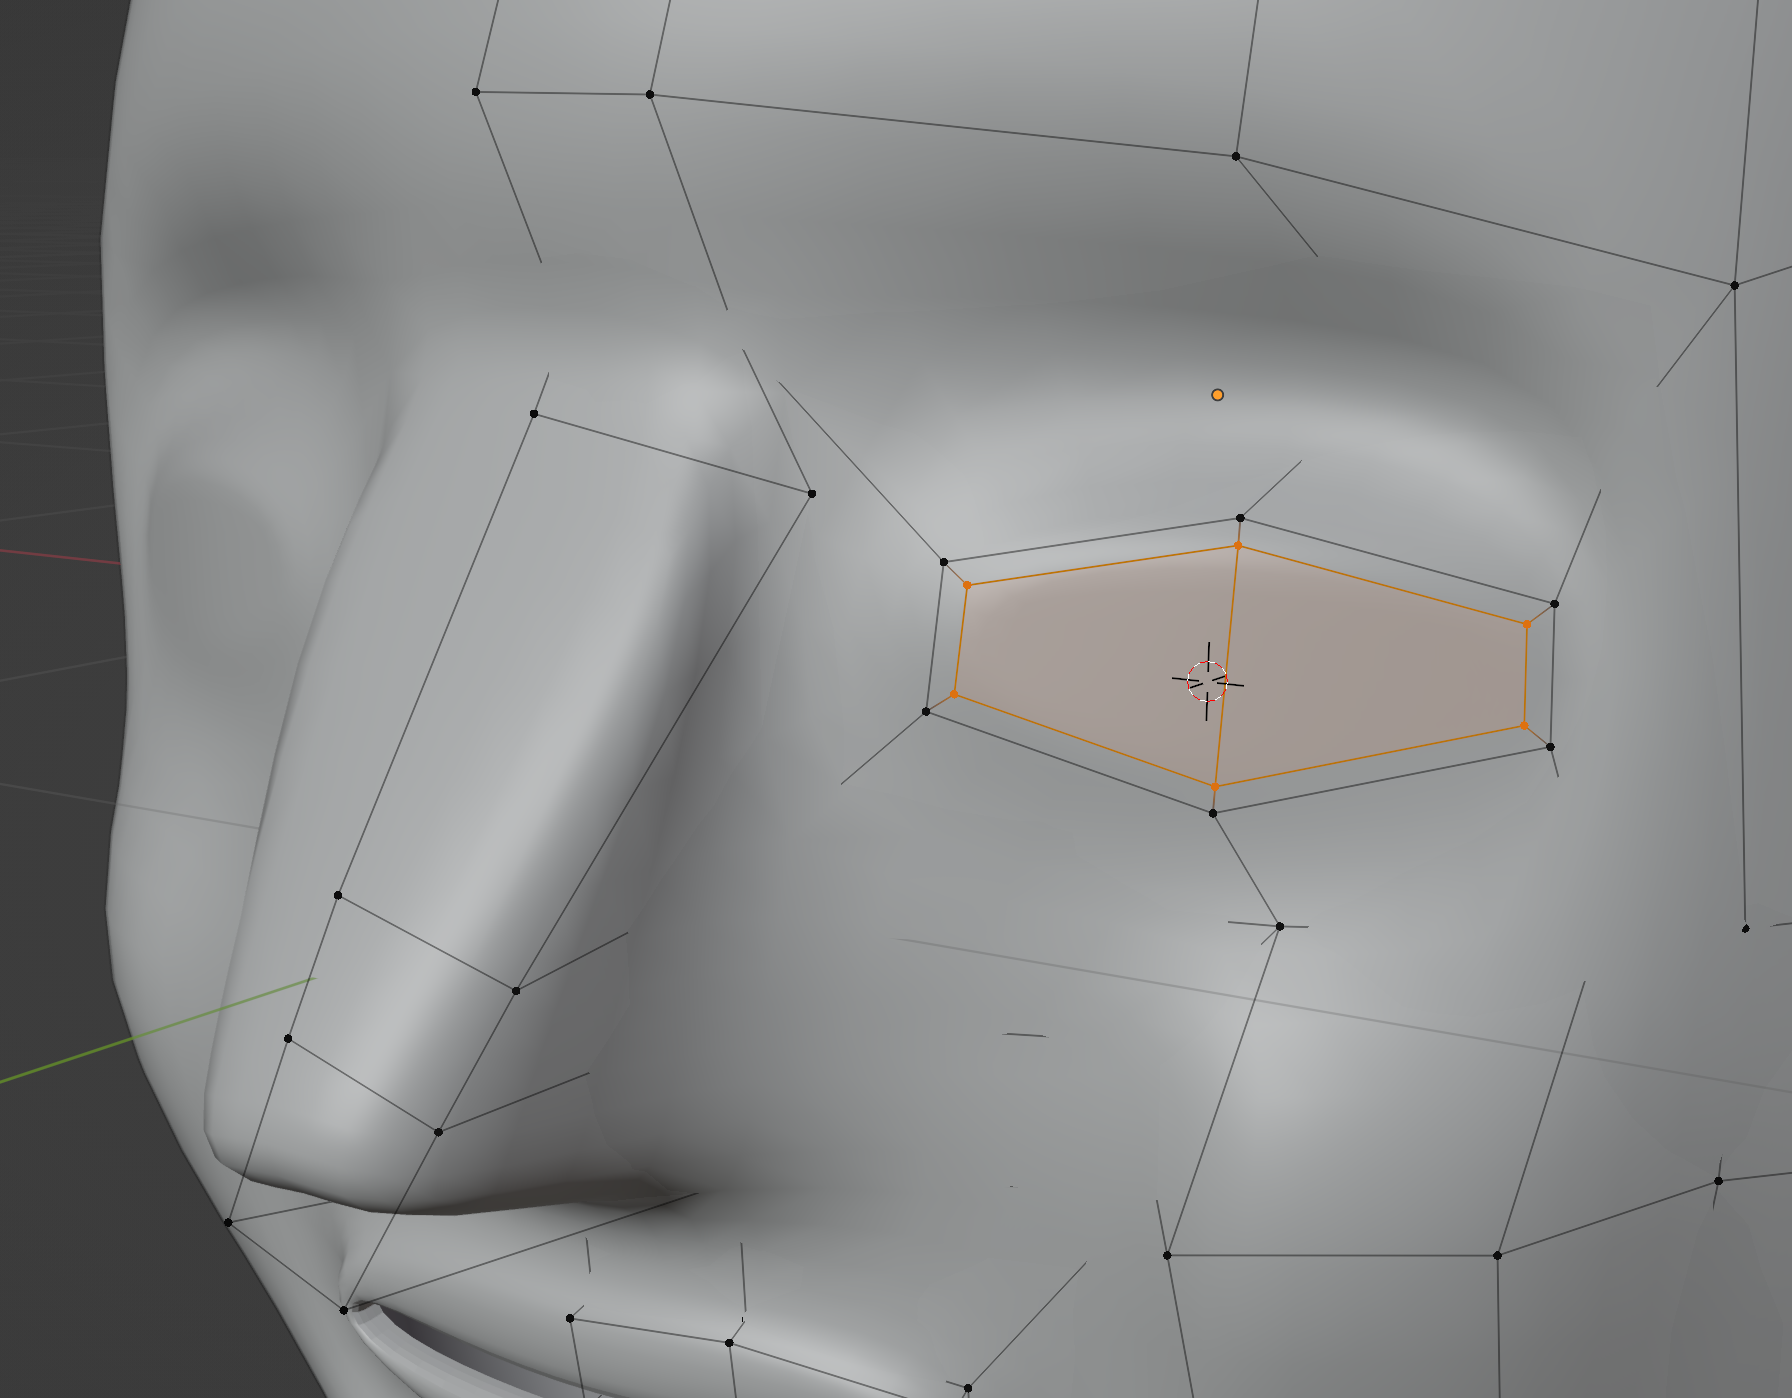
We can extrude this hexagon inwards to create a very simple eye socket. However, the eyes are a place that typically deserves a bit more detail. We’ll come back to them later.
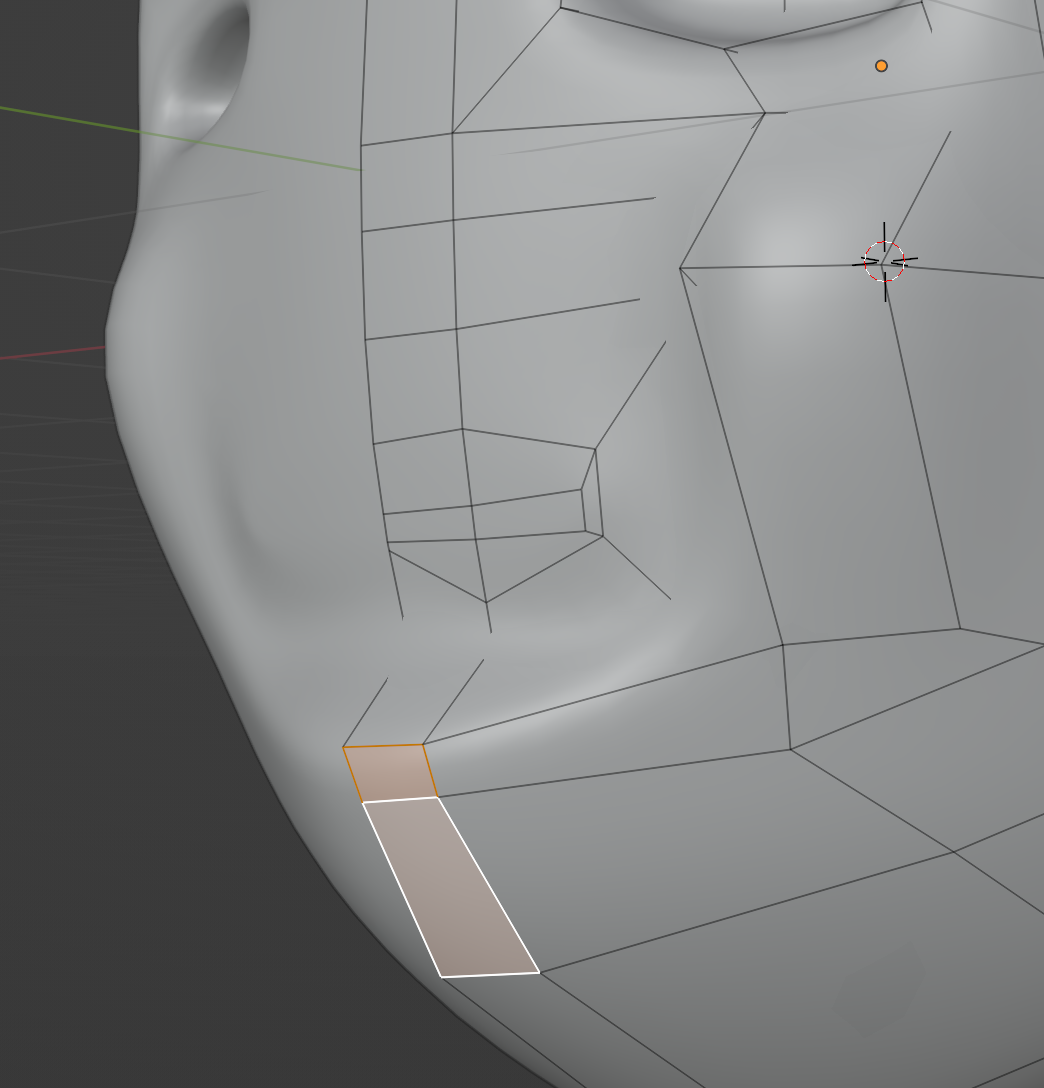
Selecting and moving these faces below the mouth helps us define a chin.
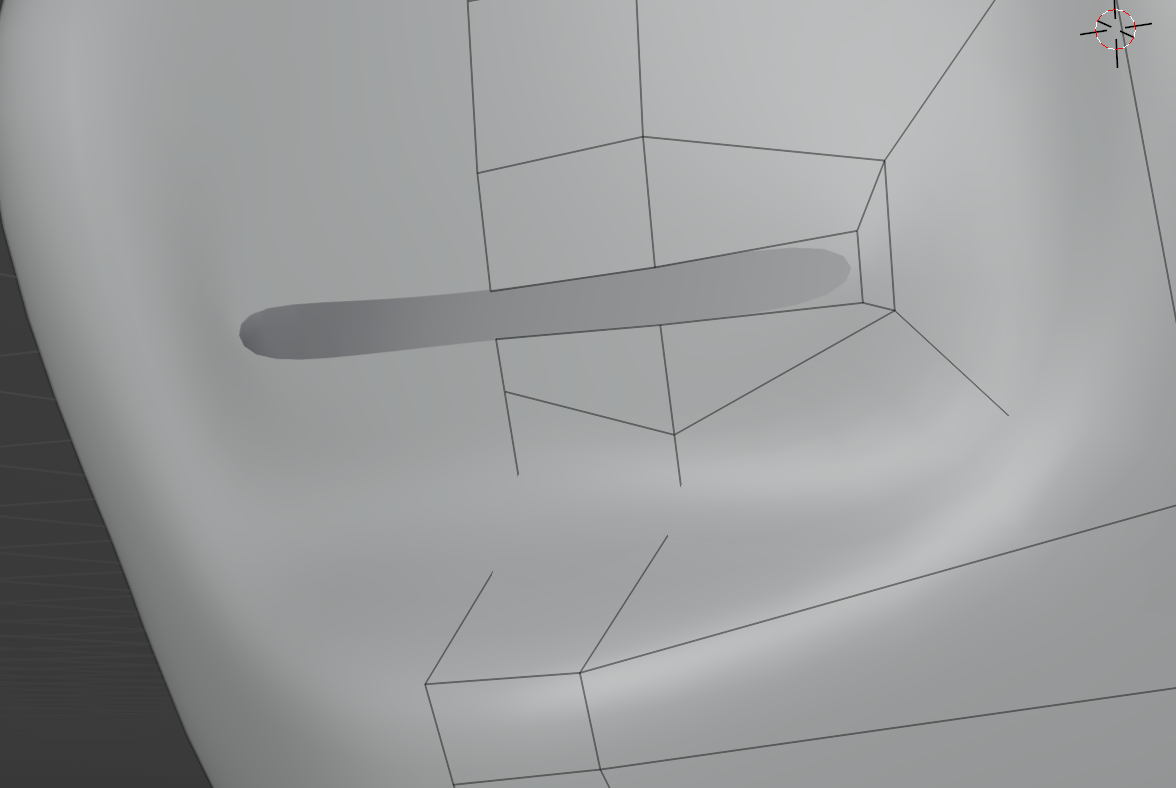
Delete the faces between the lips to create an opening for the mouth.
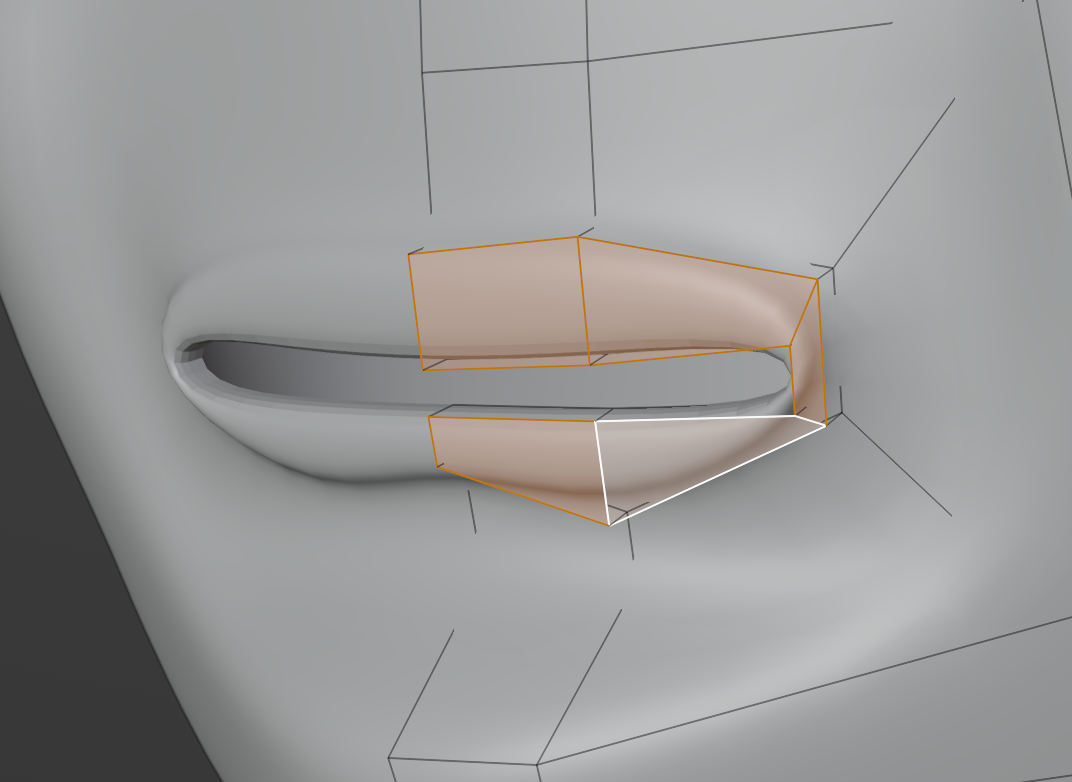
We can then extrude the lips to puff them up a bit.
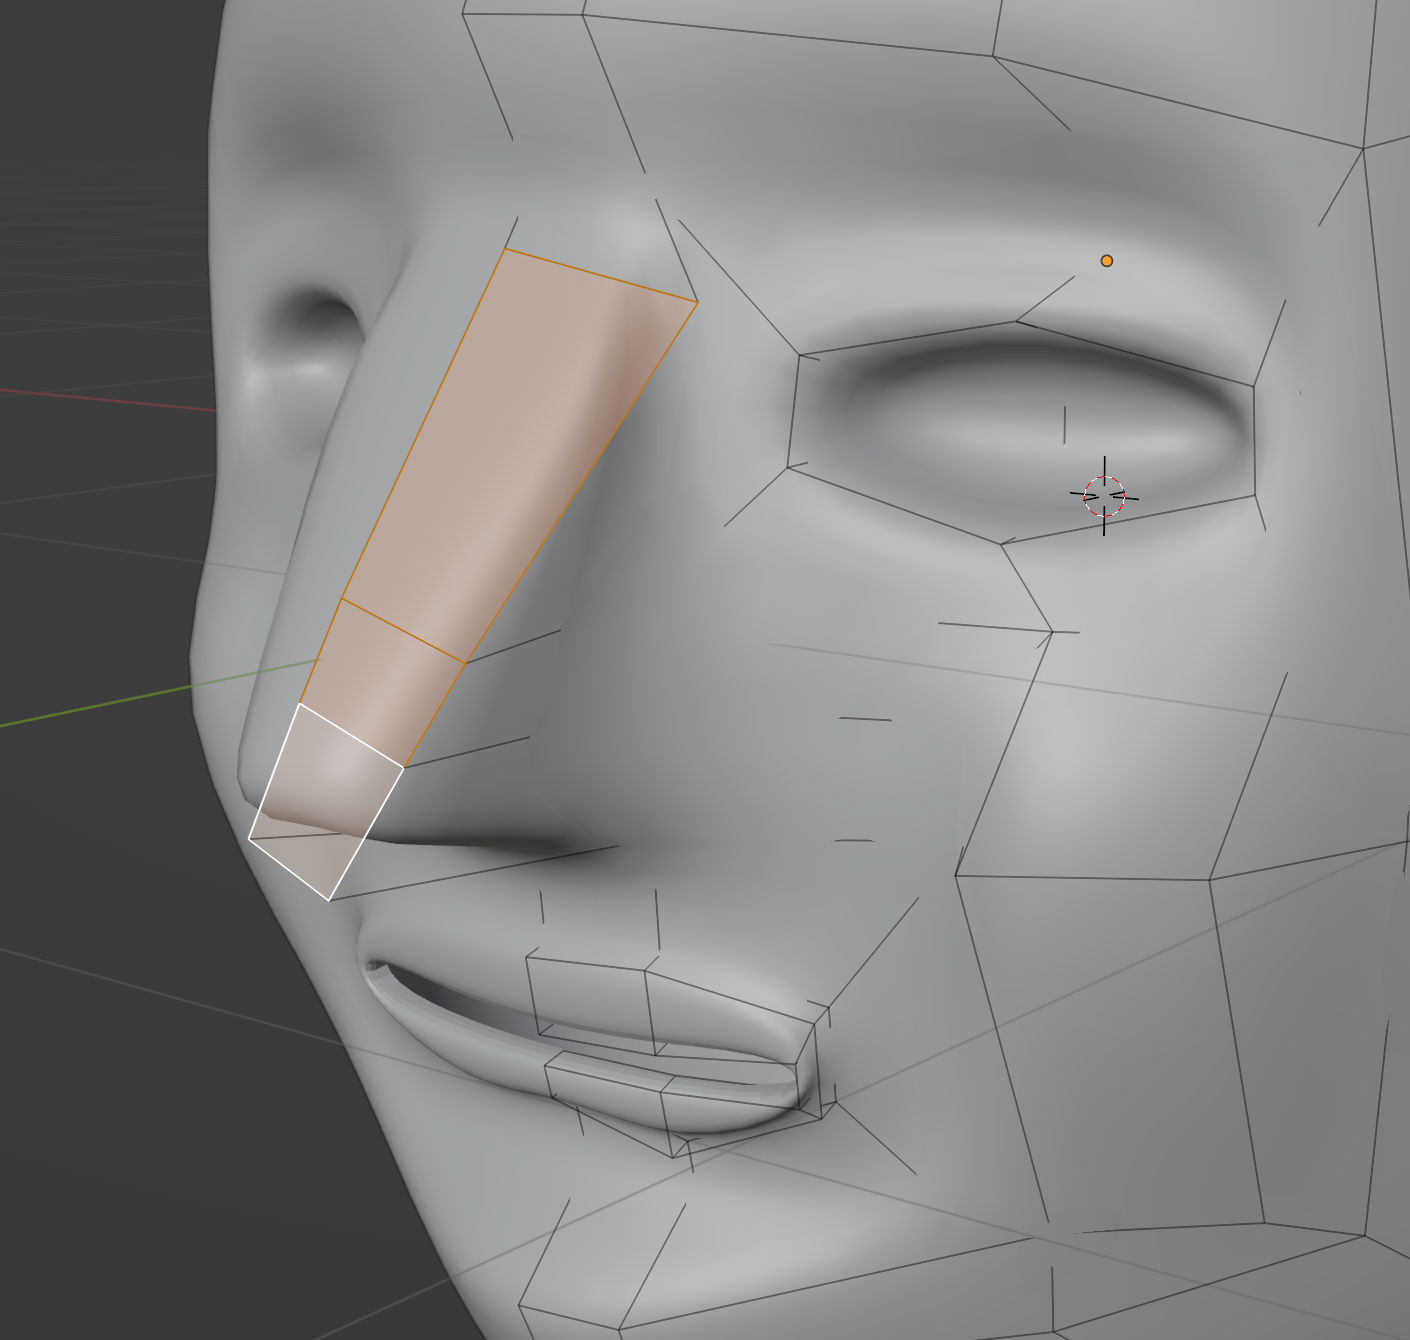
Select this column of faces in the middle…
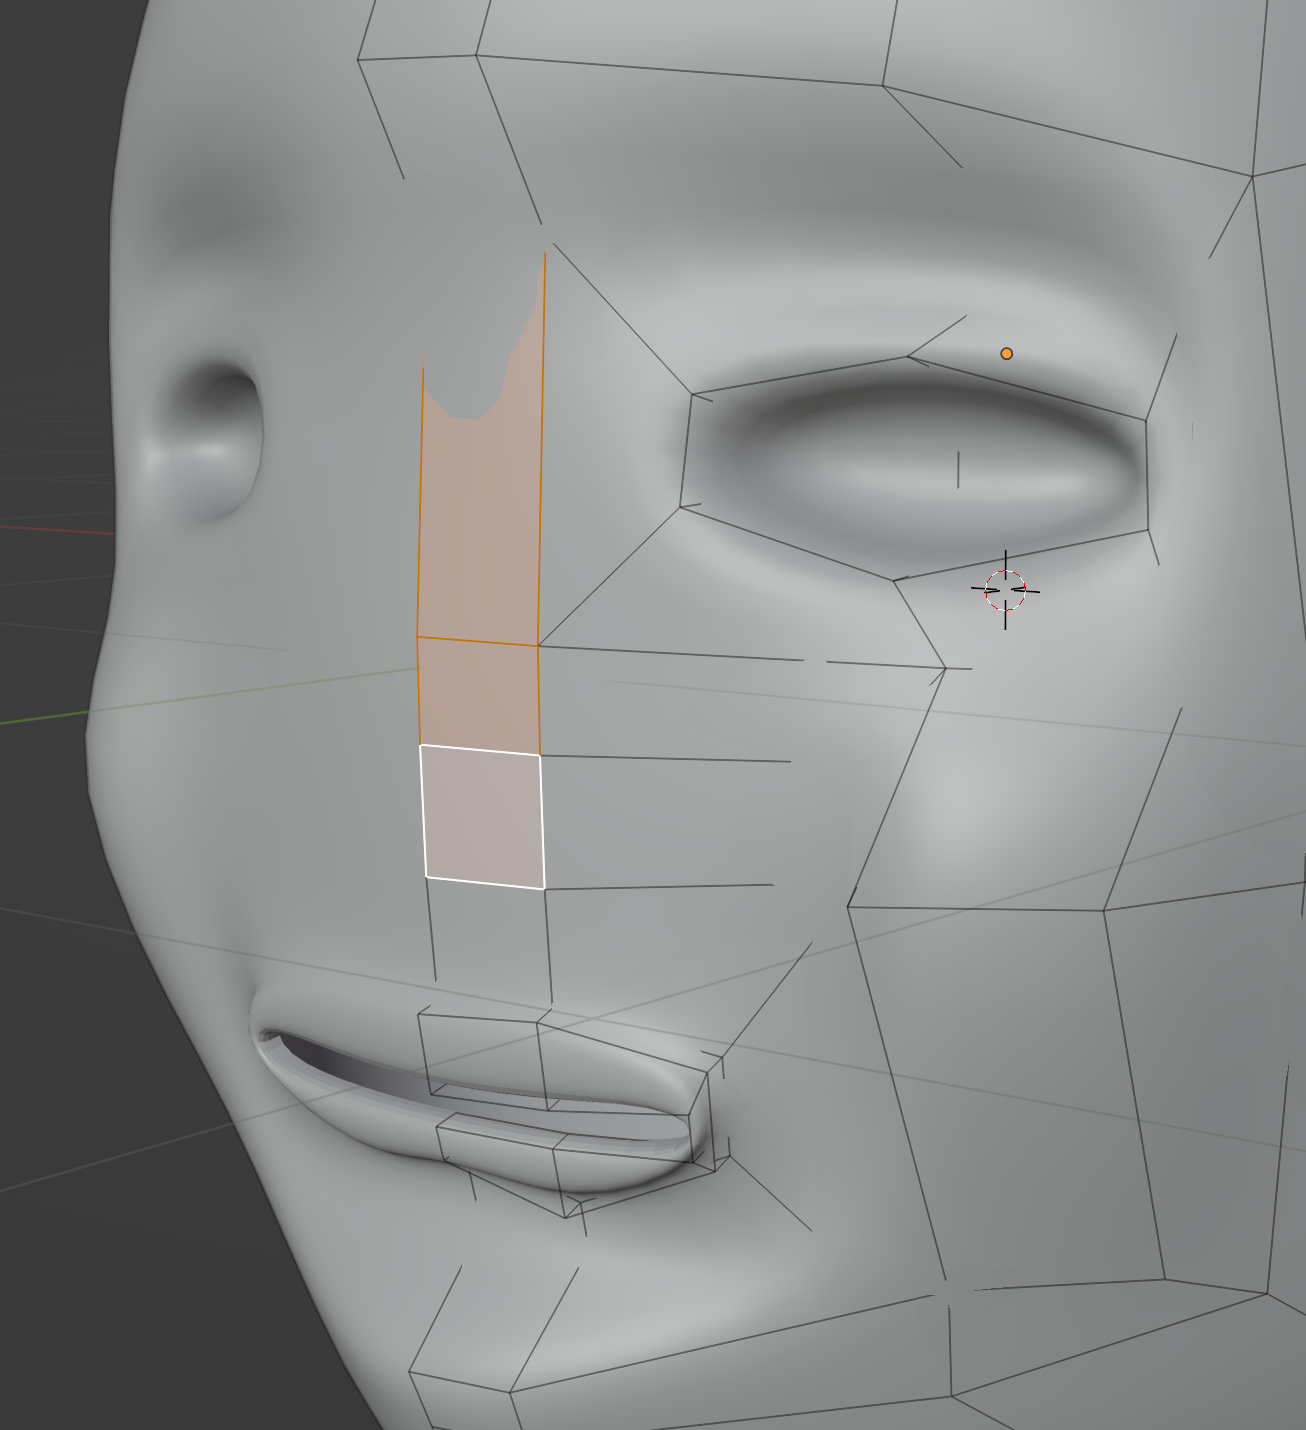
Extrude them forwards and rotate to begin creating the nose.
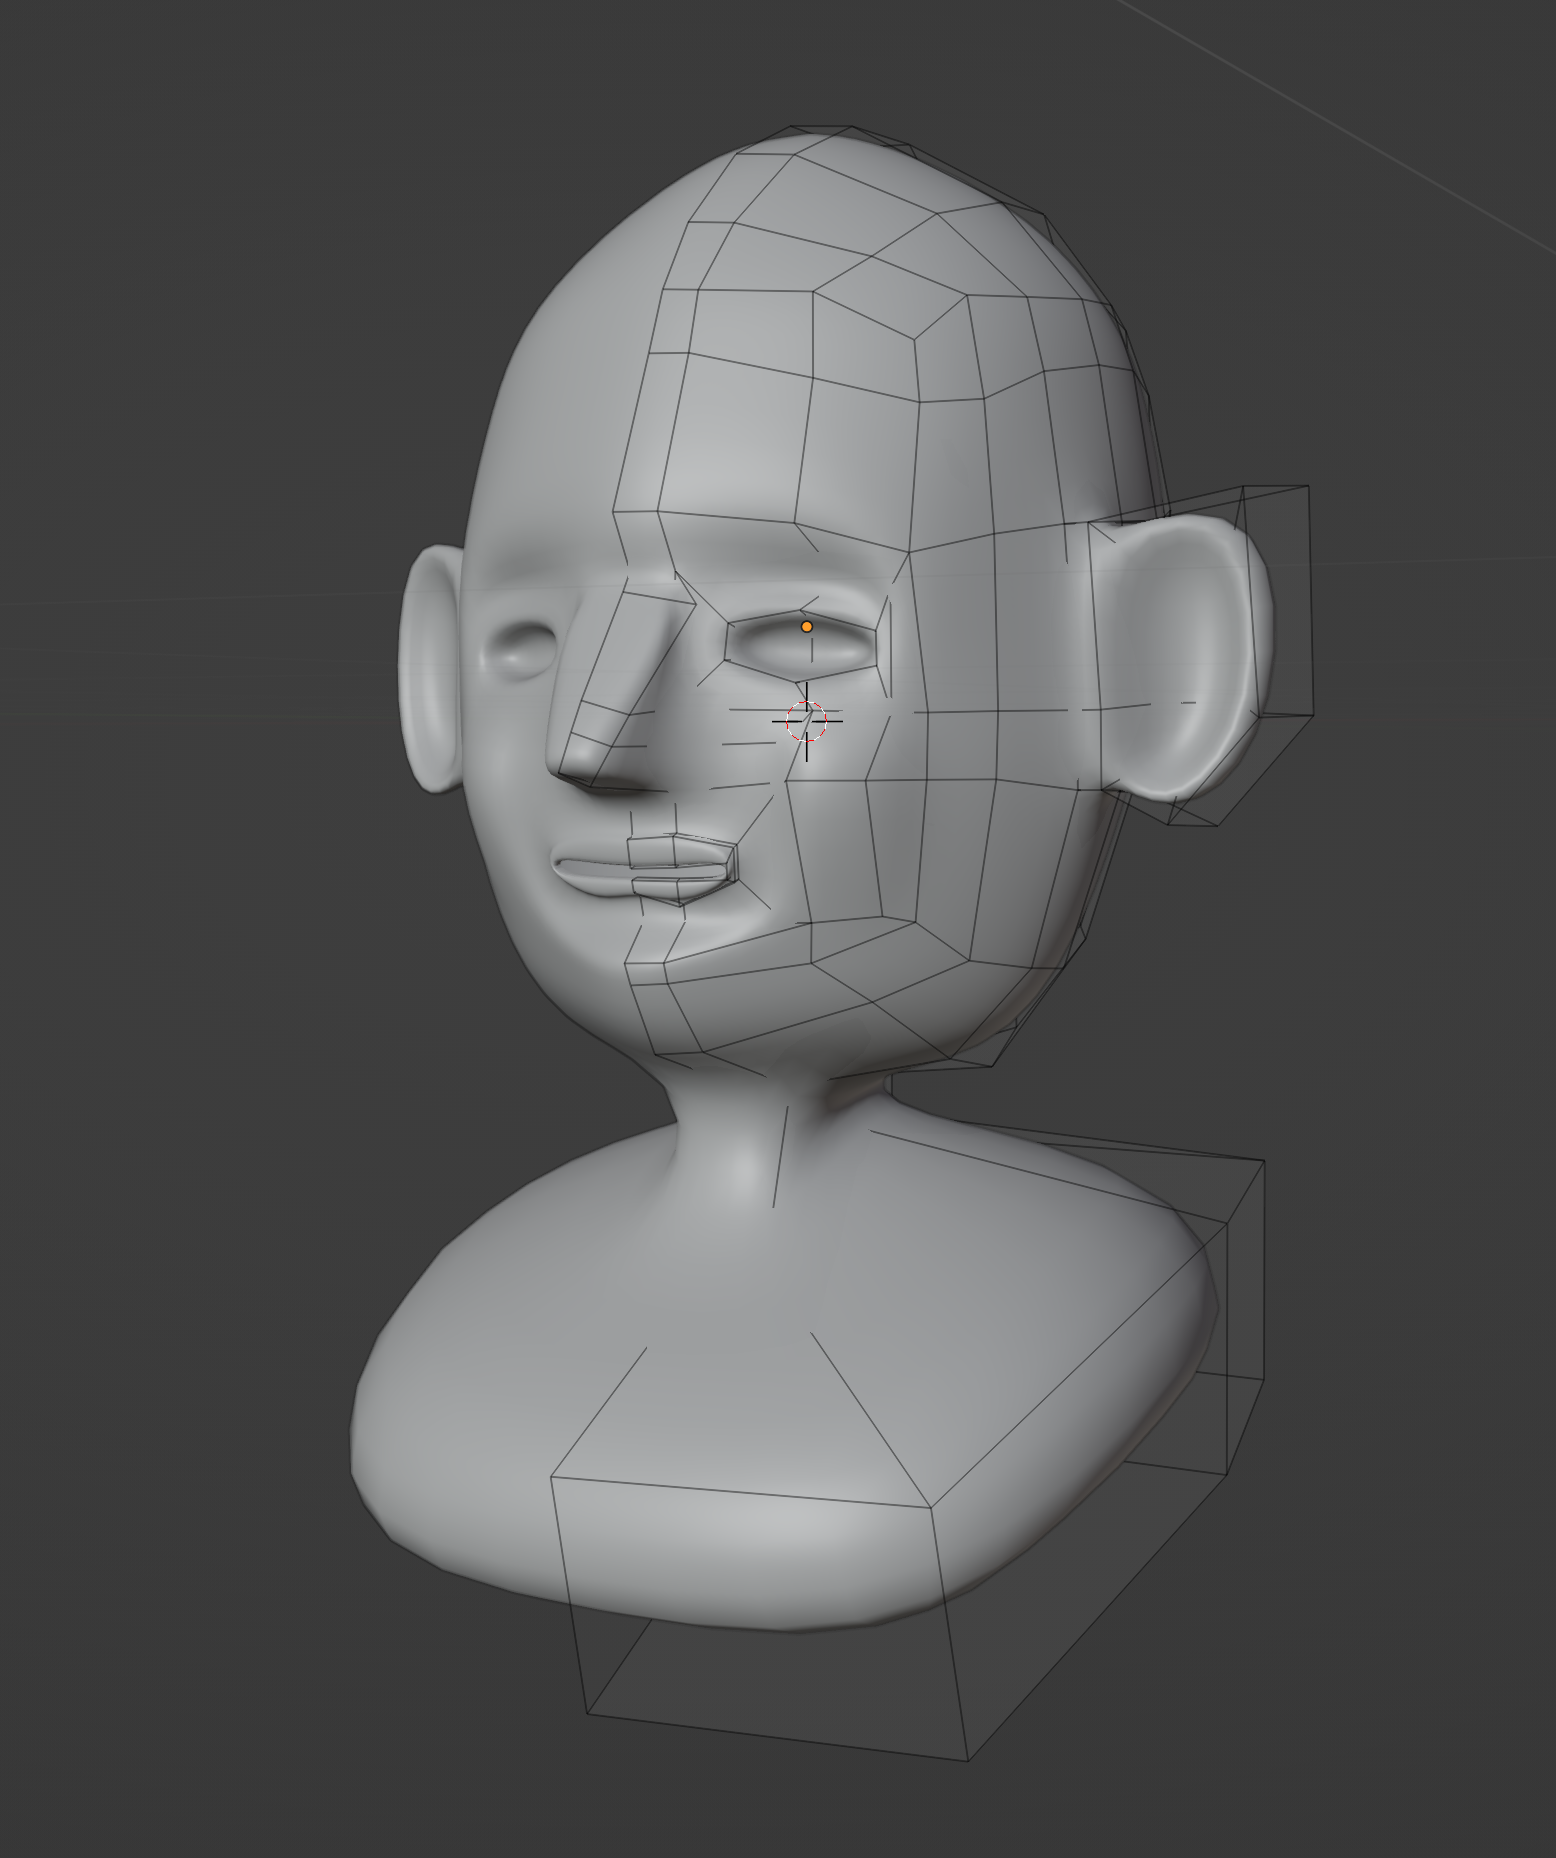
We can grab a few faces on the bottom of the head, extrude them downwards, and flare them out to create a neck and turn our head into a bust. Overall it’s looking somewhat human at this point, and we can start cleaning up, focusing on smaller details, and generally making adjustments until we get the shapes we’d like.
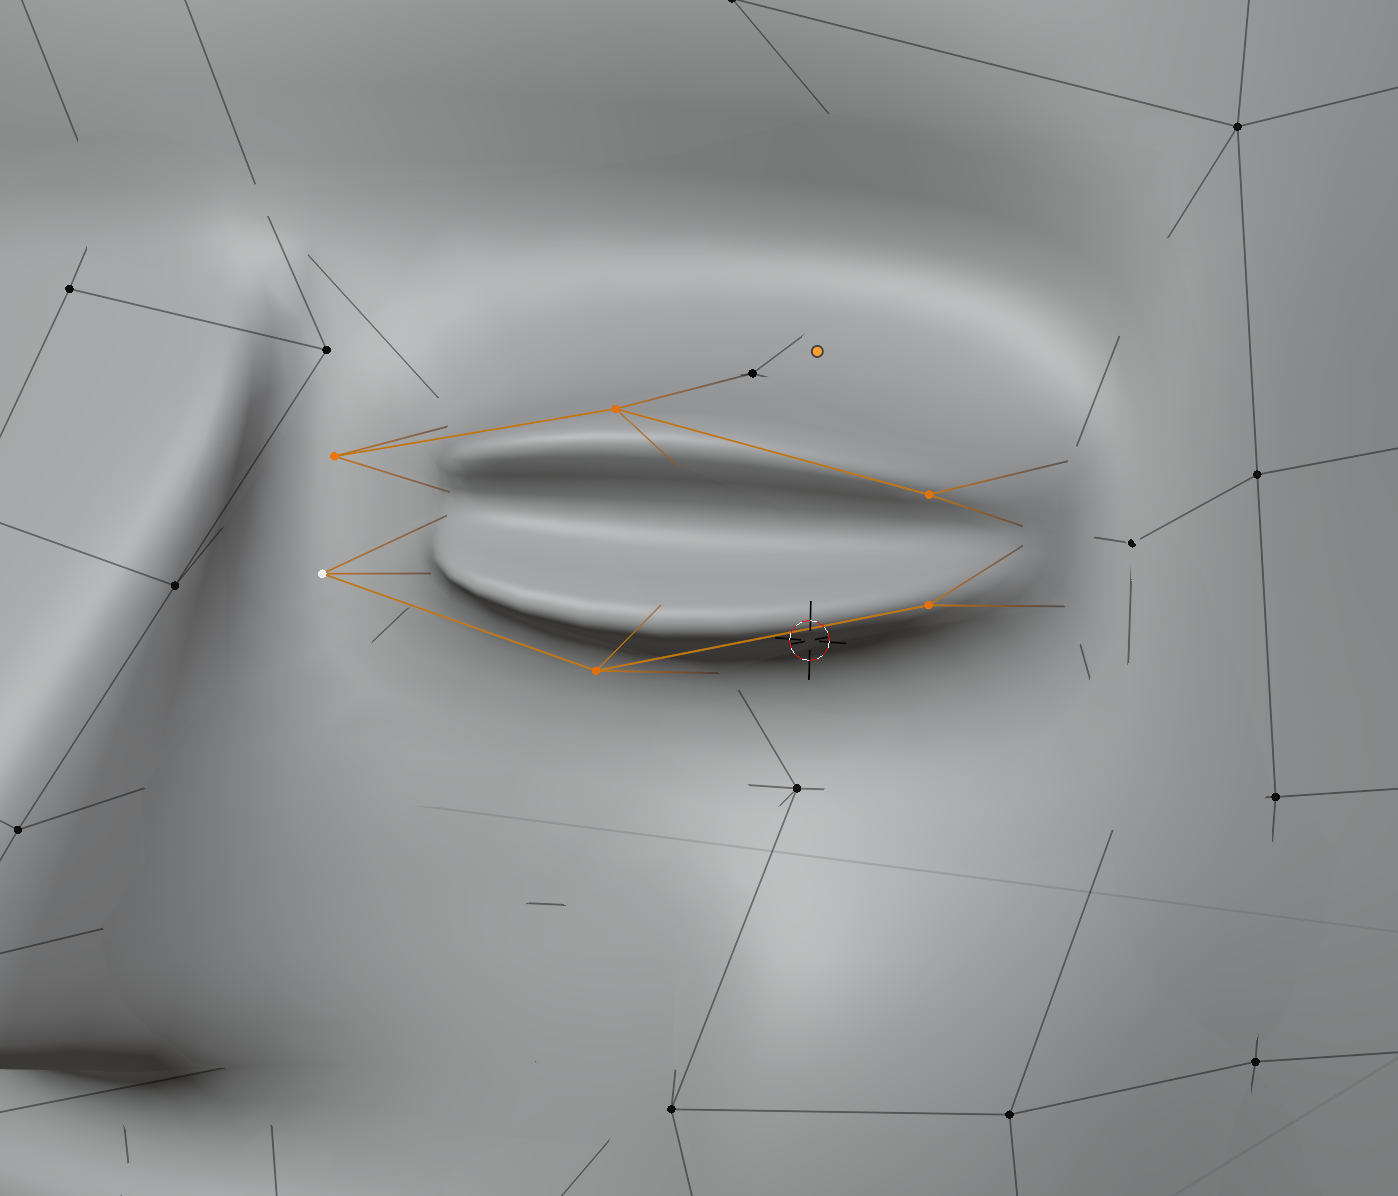
Going back to the eyes, movable eyelids are useful on most rigged characters (so they can blink). Inset these faces…
…add corners to the eyes, and extrude the eyelids forwards, except for the new corner points.
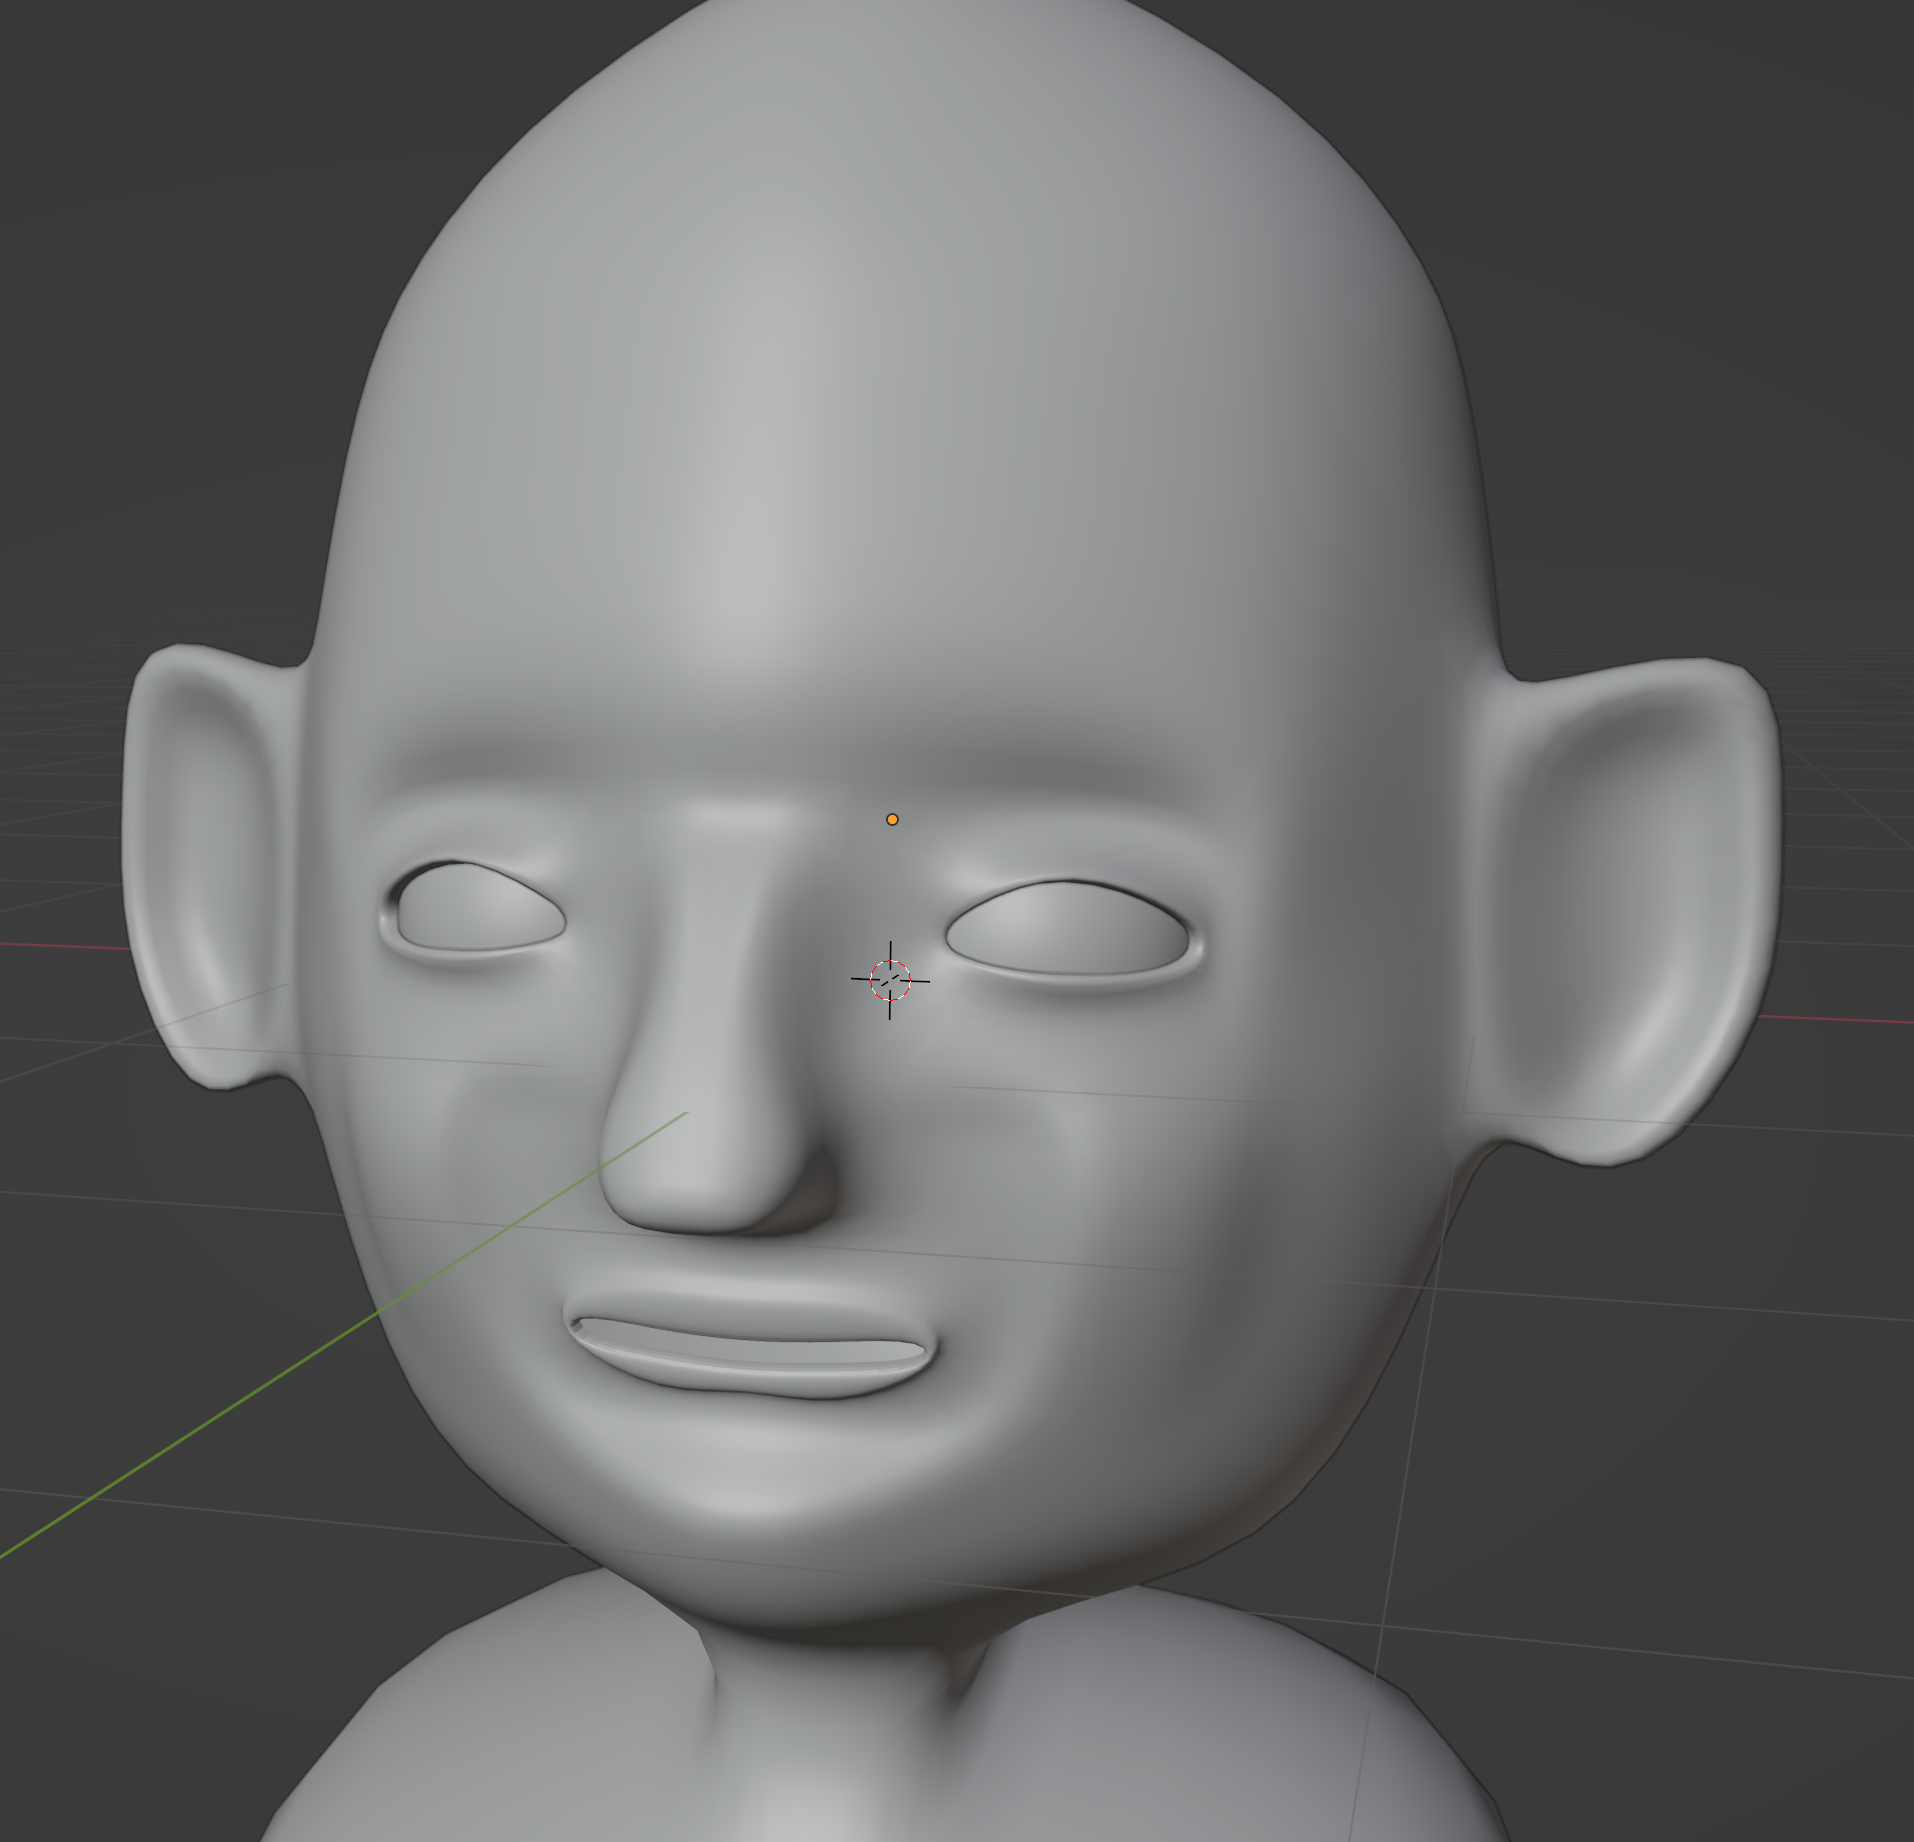
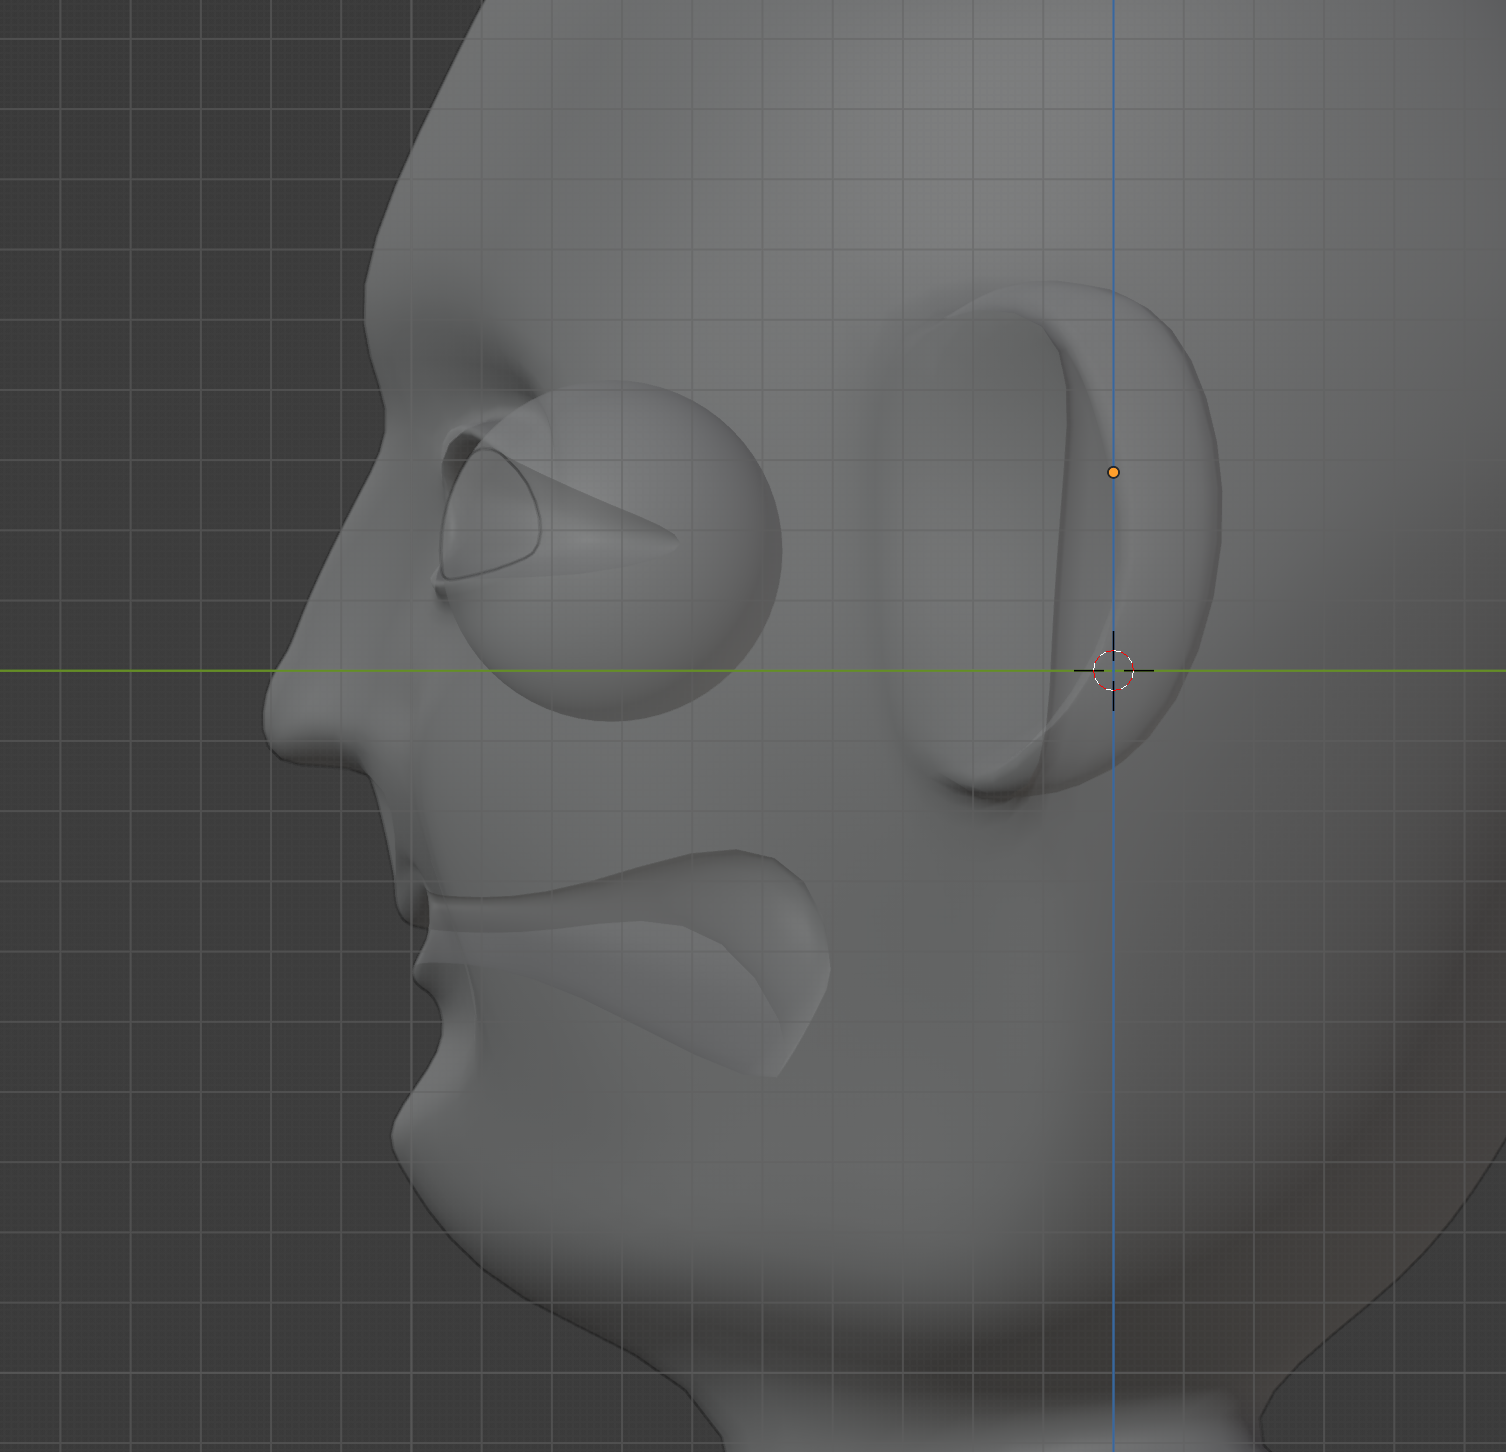
We can then extrude inwards to create much nicer eye sockets than before.
Empty eye sockets are pretty creepy, so let’s add a few spheres to represent the eyes.
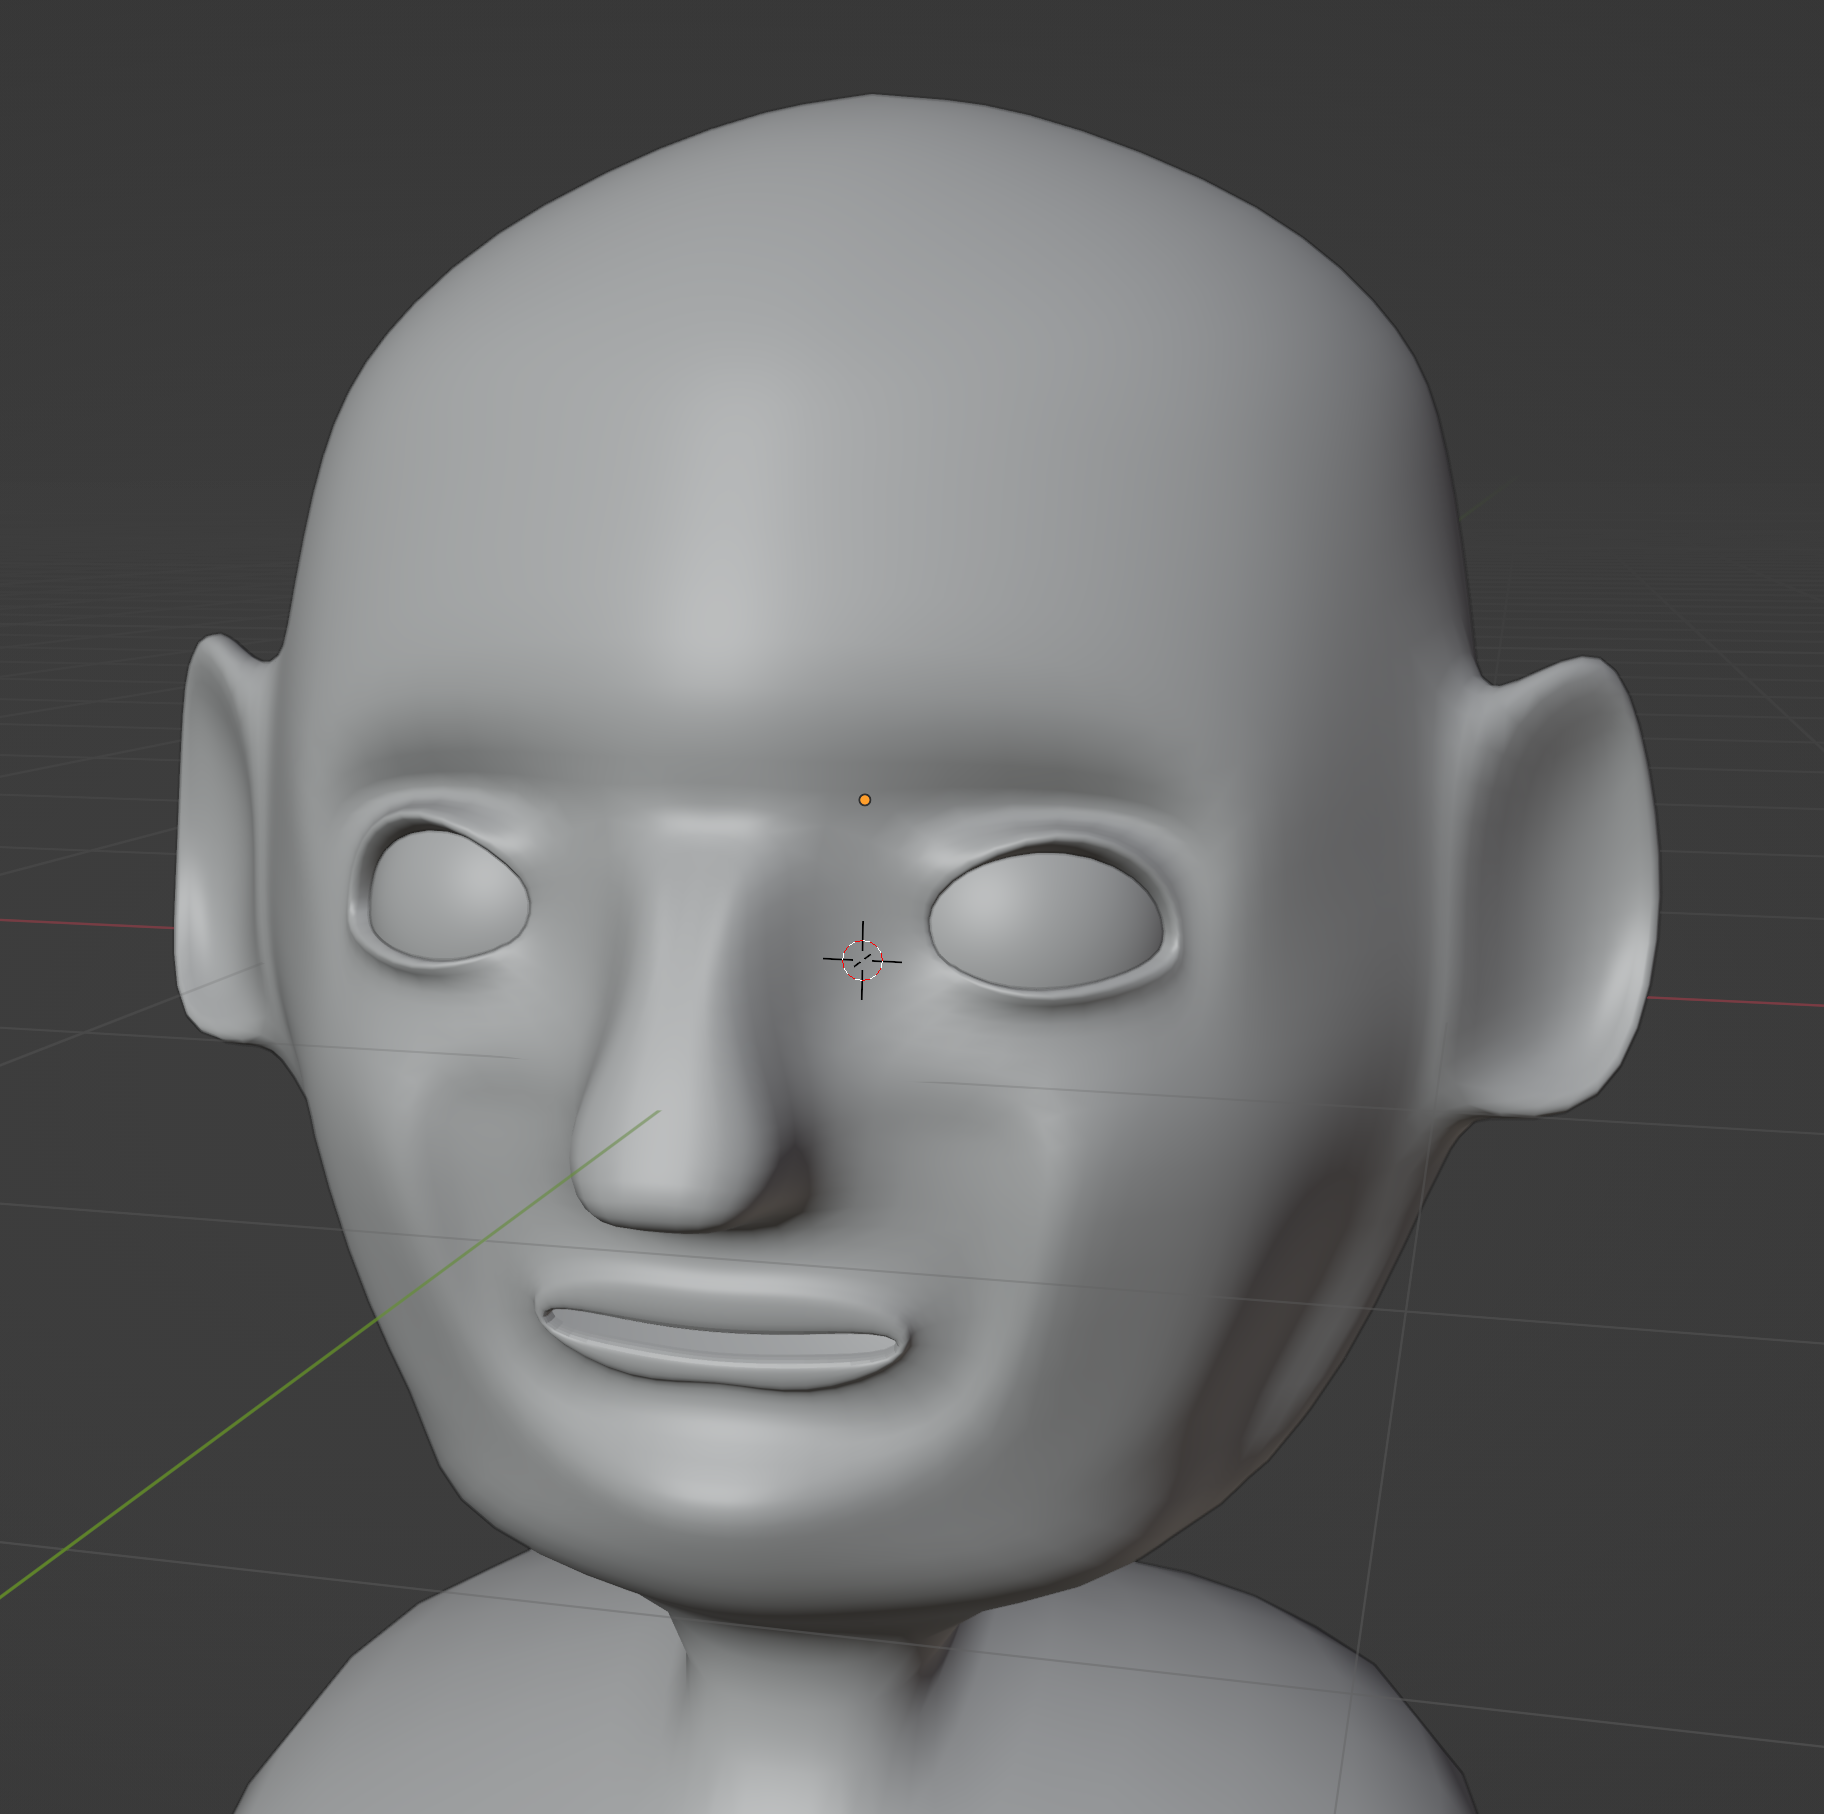
An easy fix for the nose is to move the top parts inward more, and flare out the bottom.
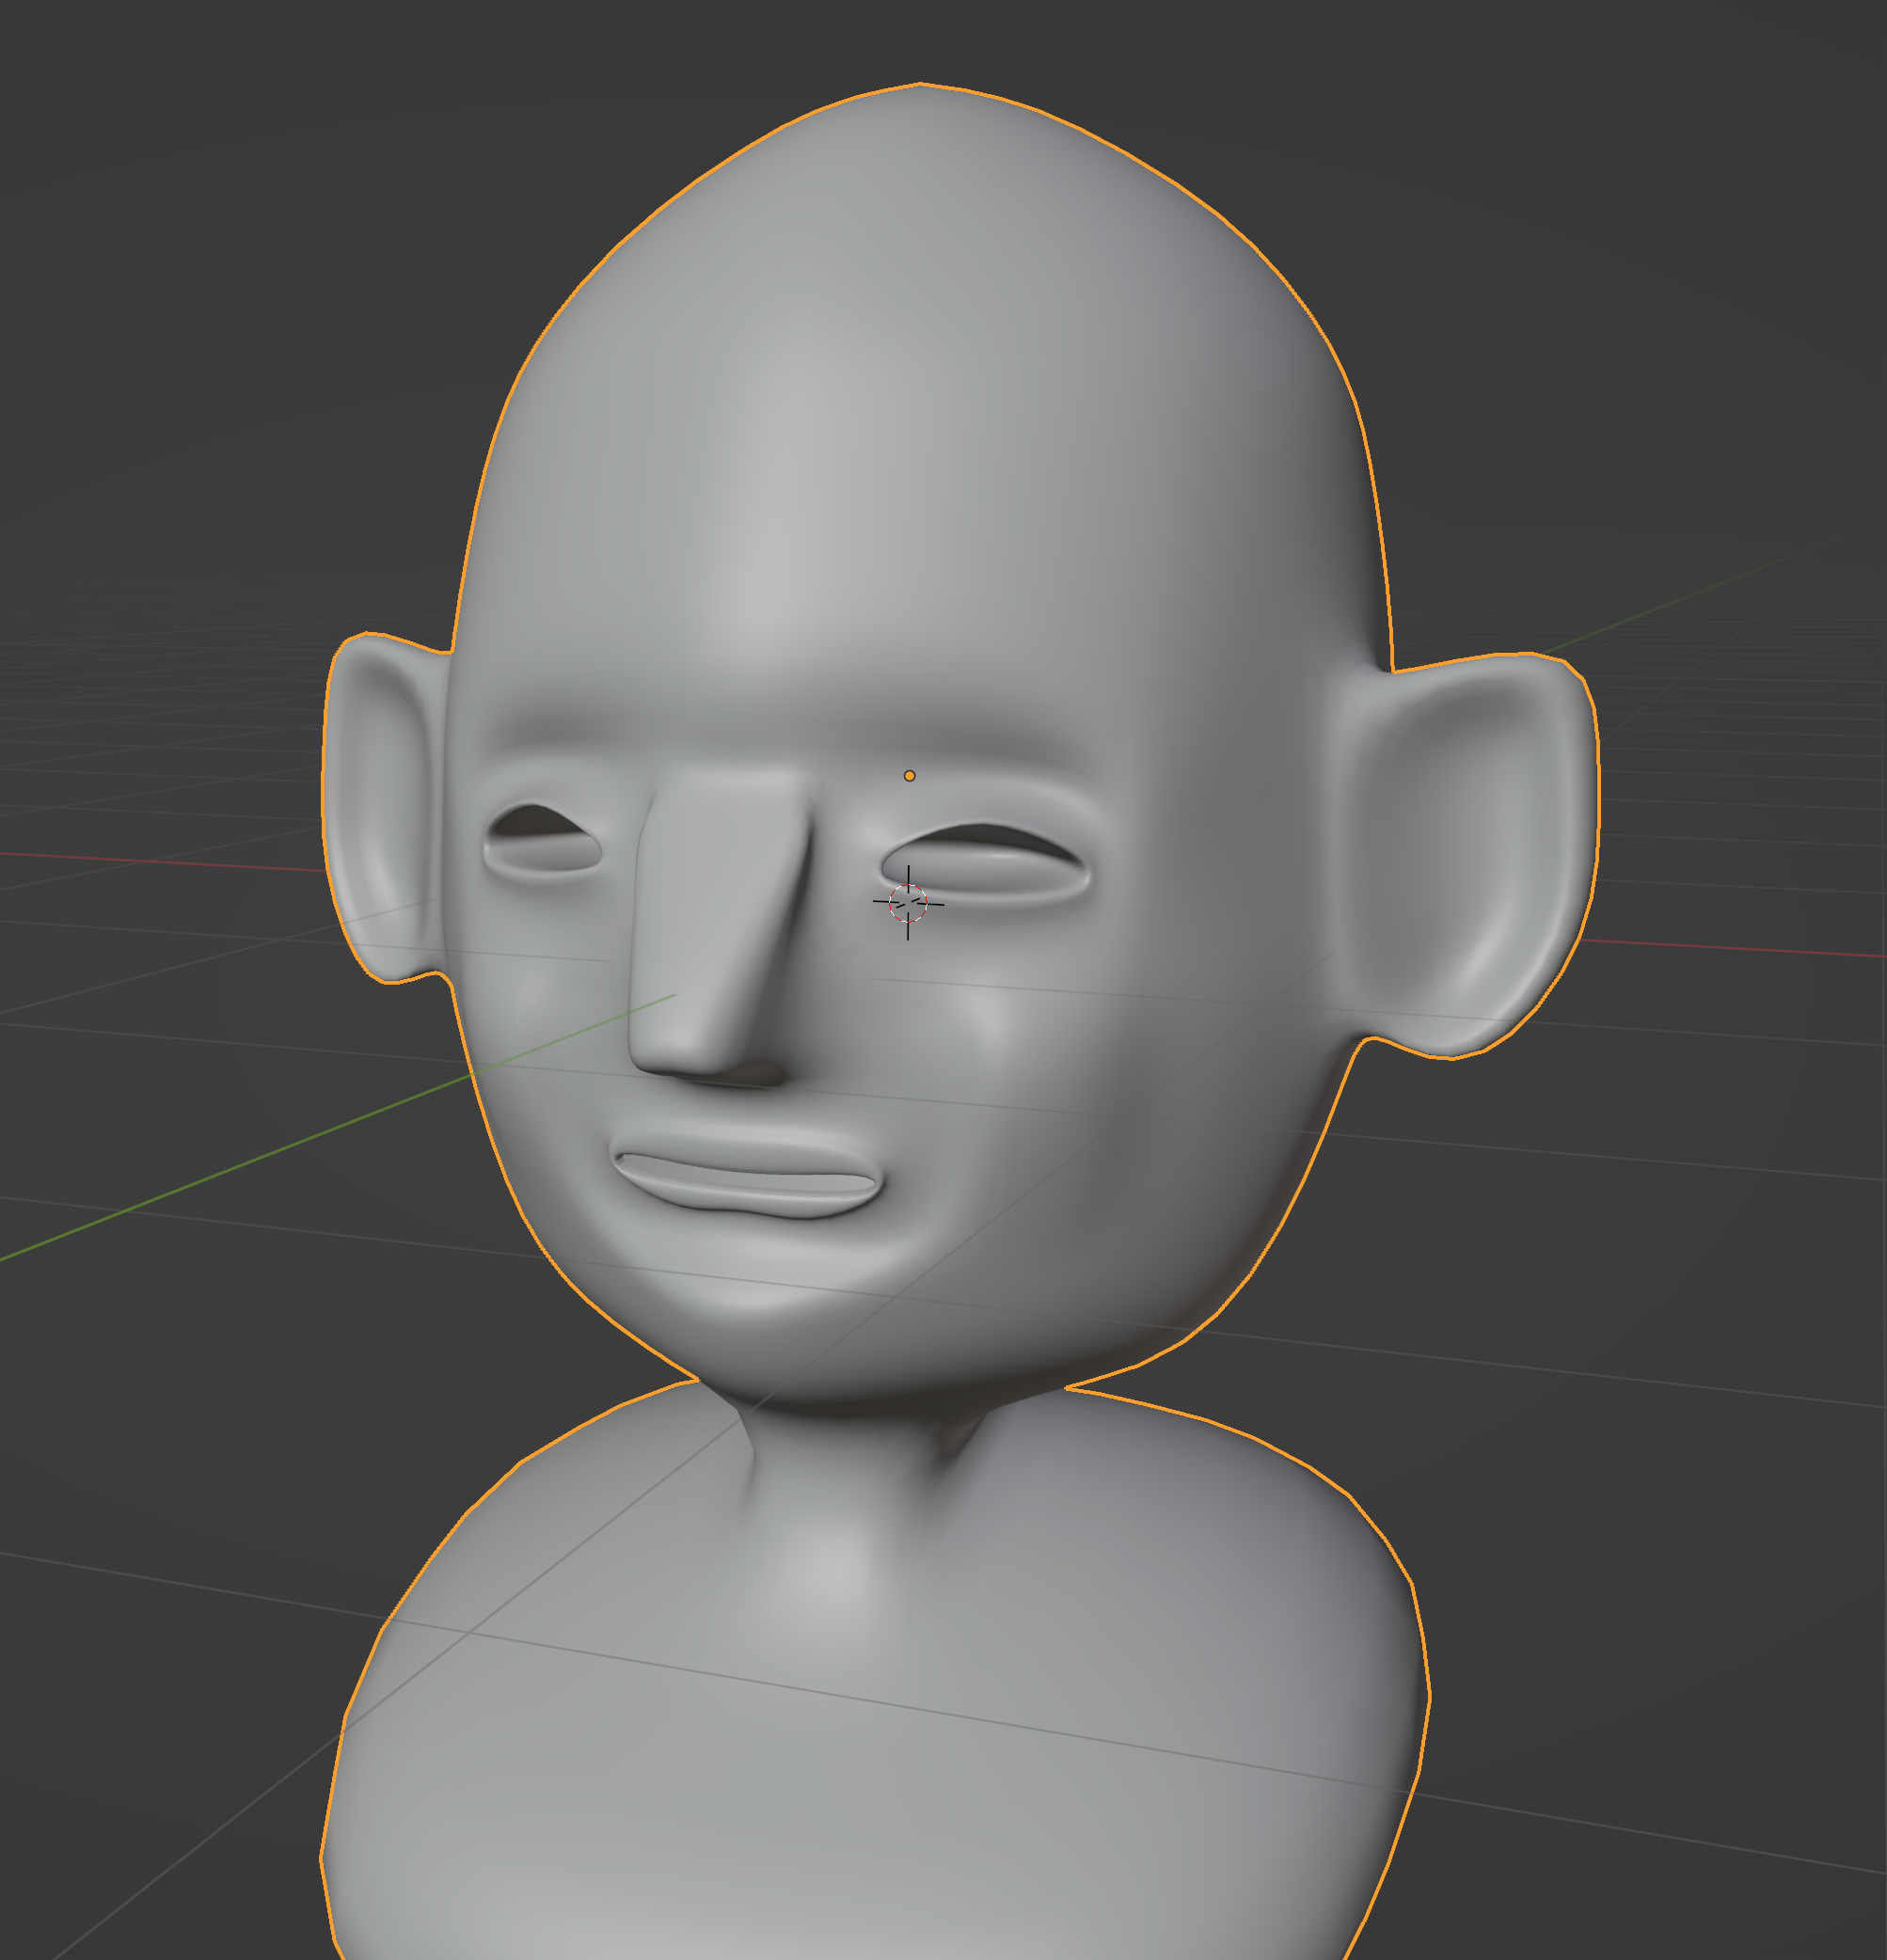
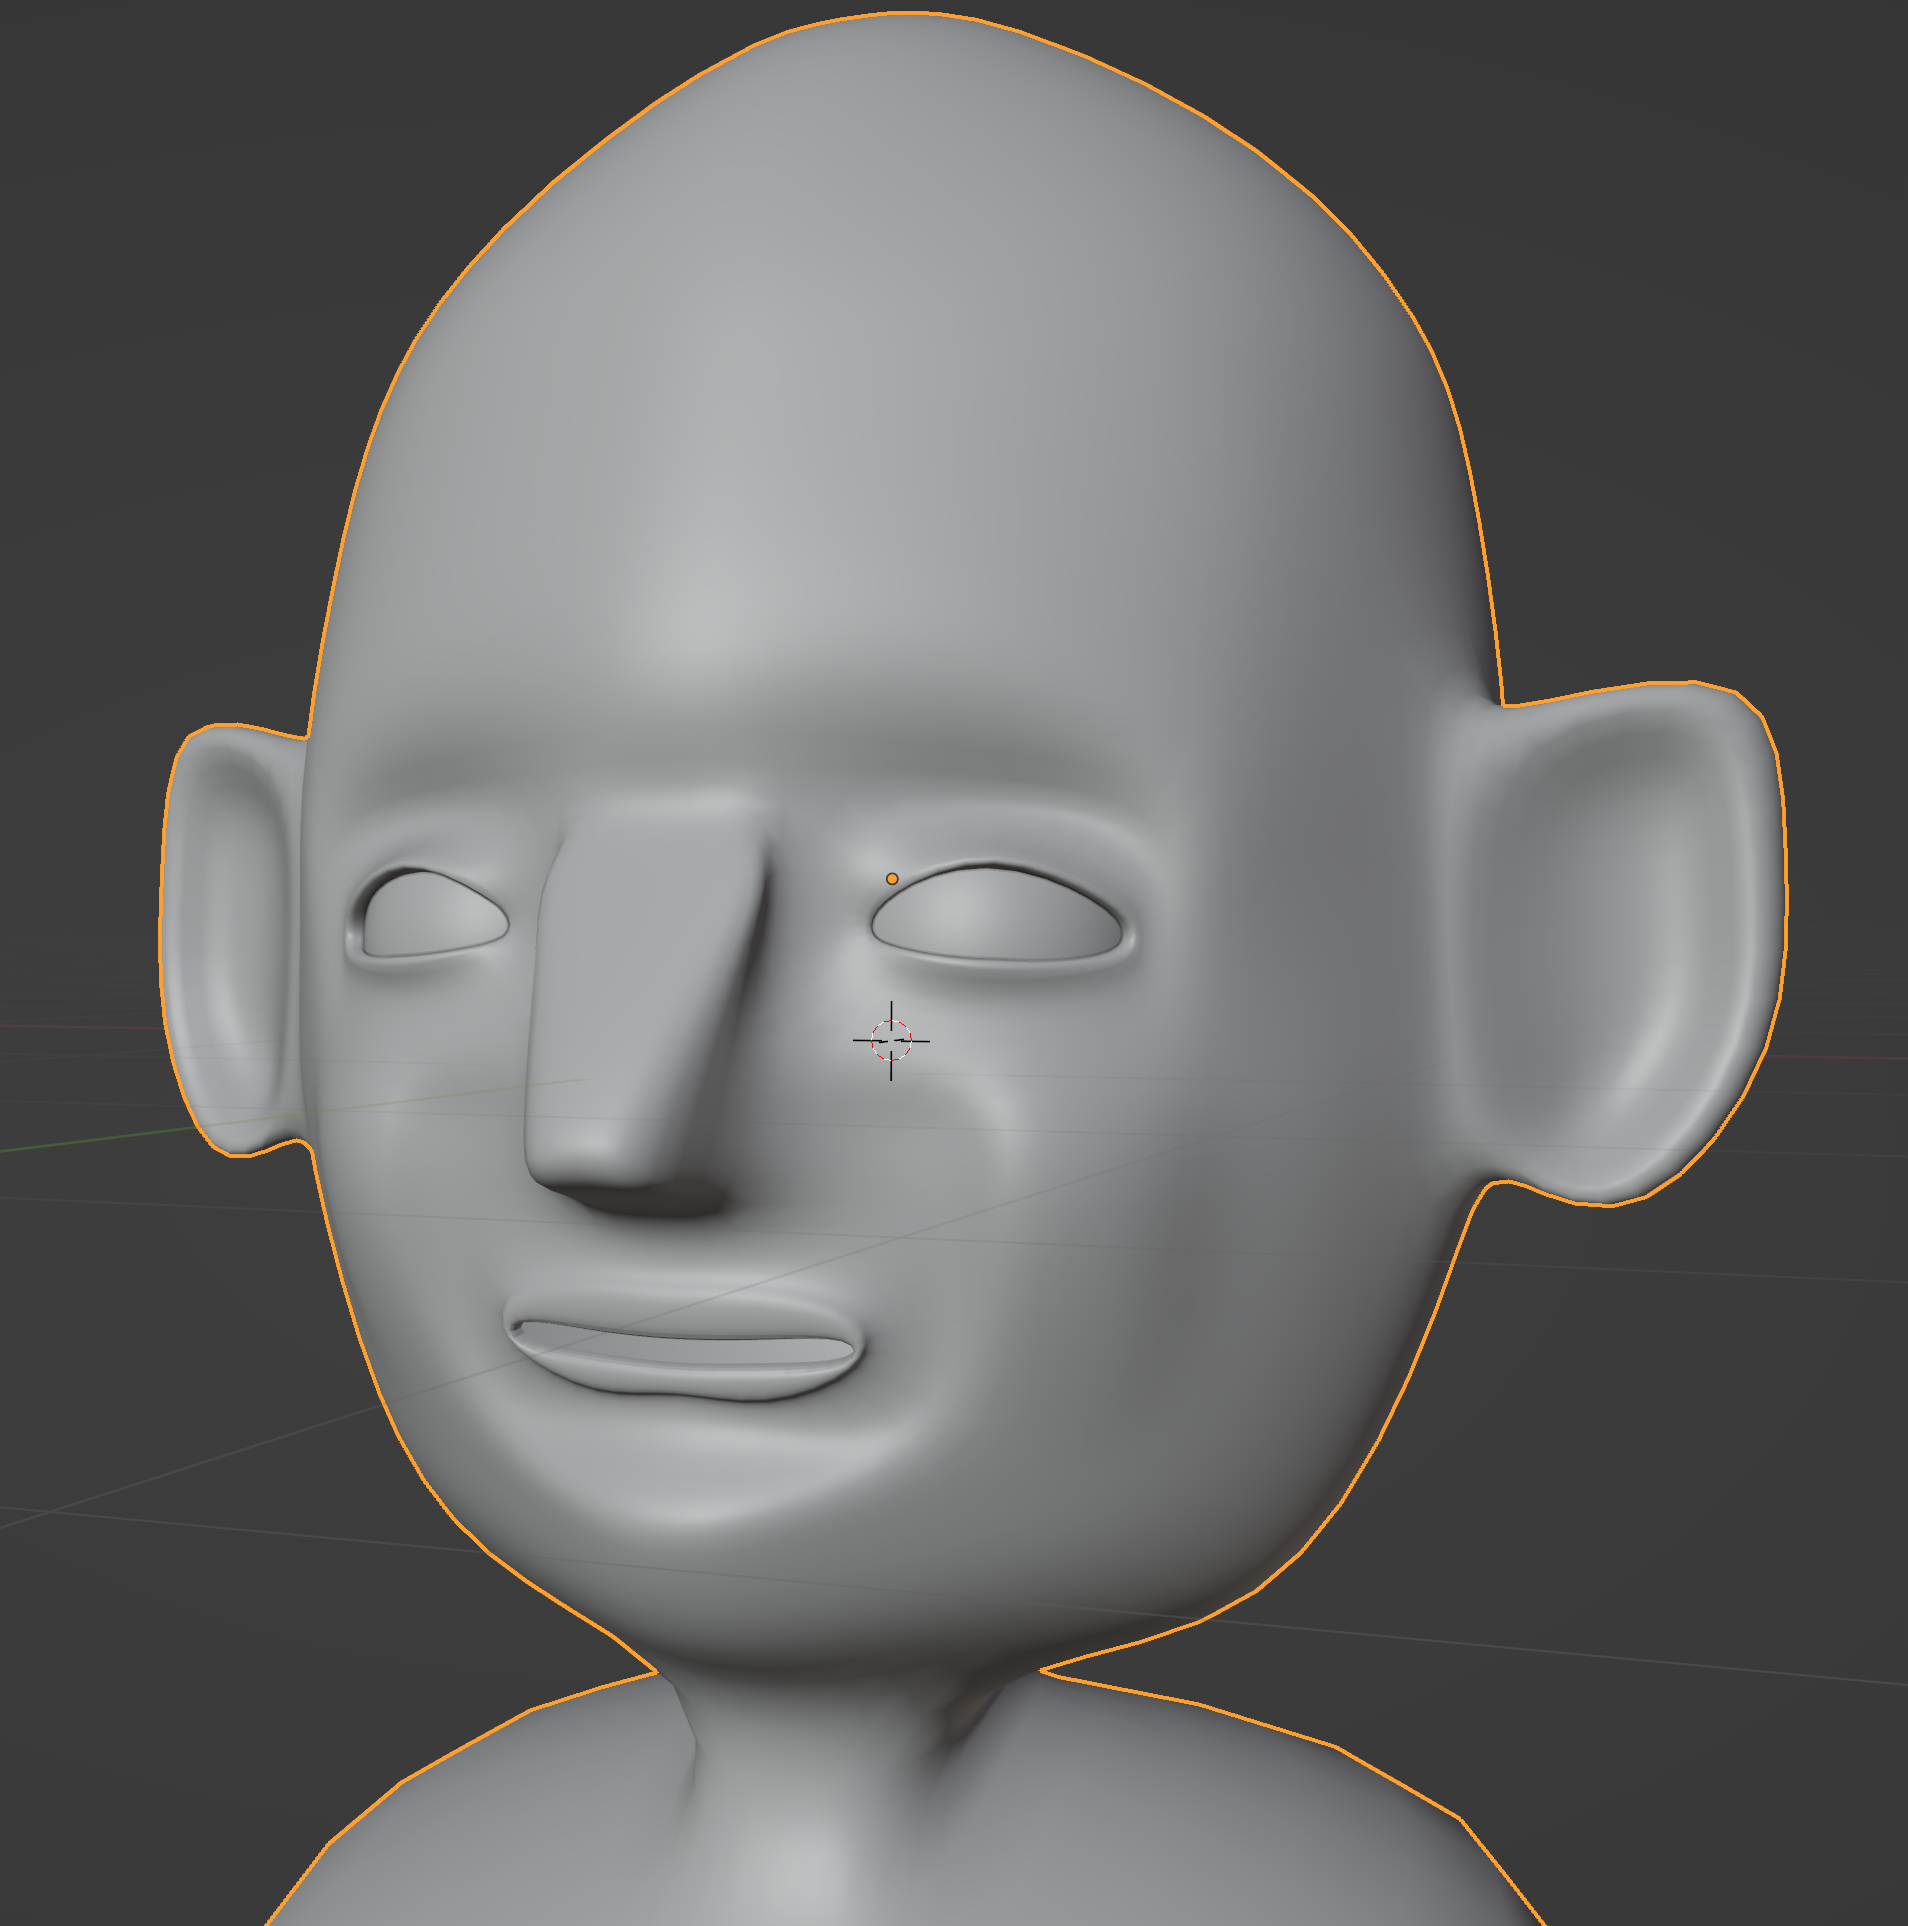
At this stage, we can make all kinds of creative changes. Here I’ve sunken the cheeks a bit to give more of a gaunt look, reshaped the ears, opened the eyes more, made the top of the head less pointy, squared the chin, and reduced the forehead height.
We can even add wildly unrealistic features, like horns.
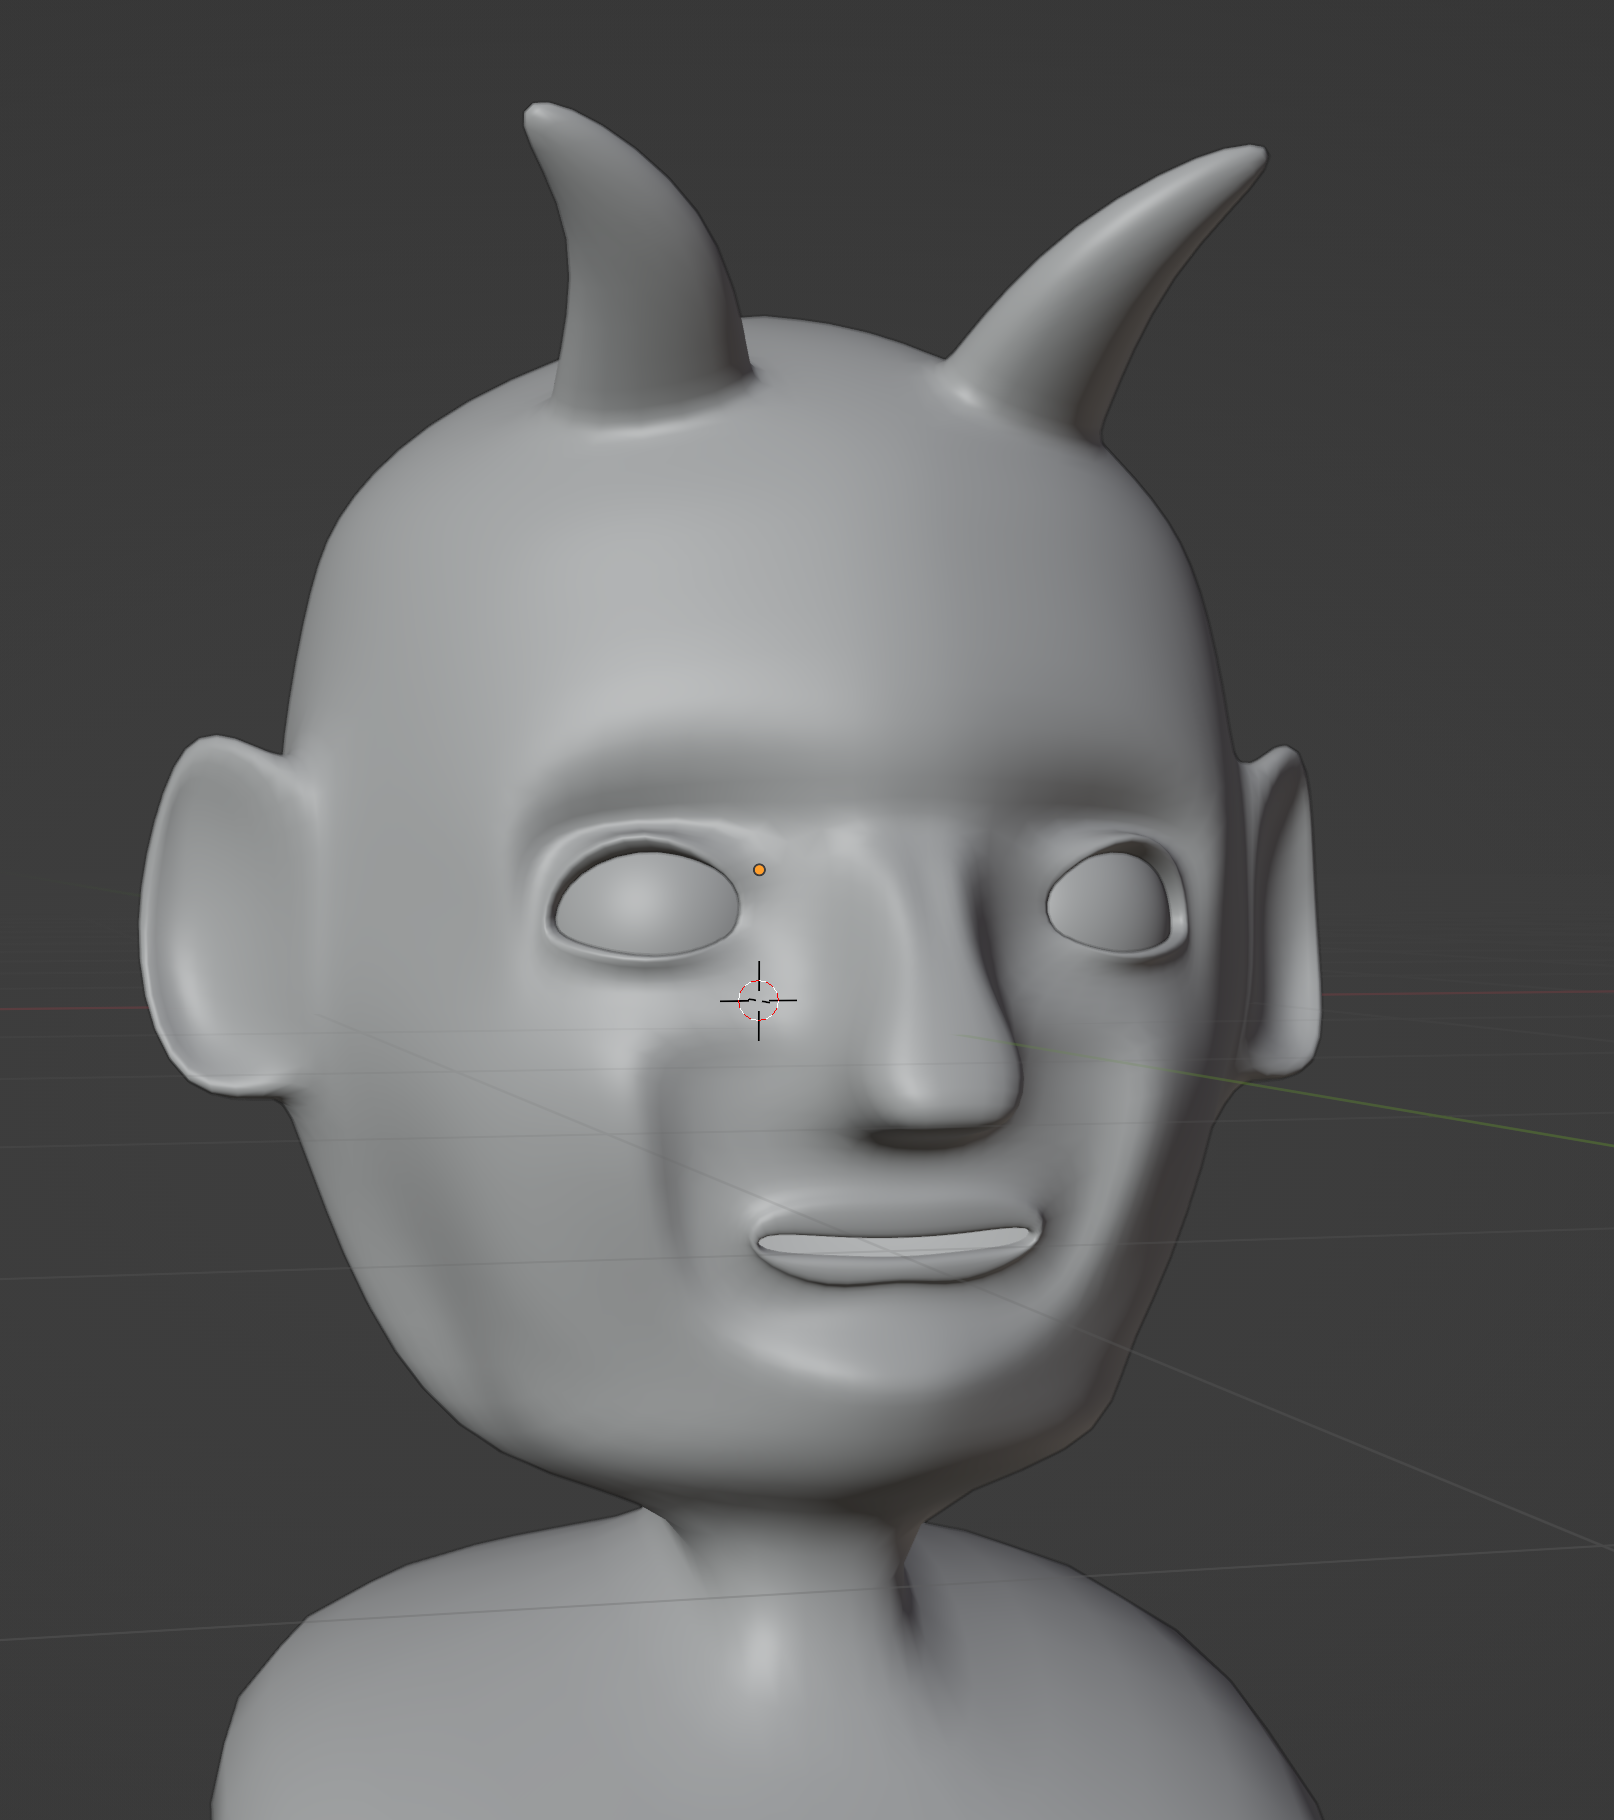
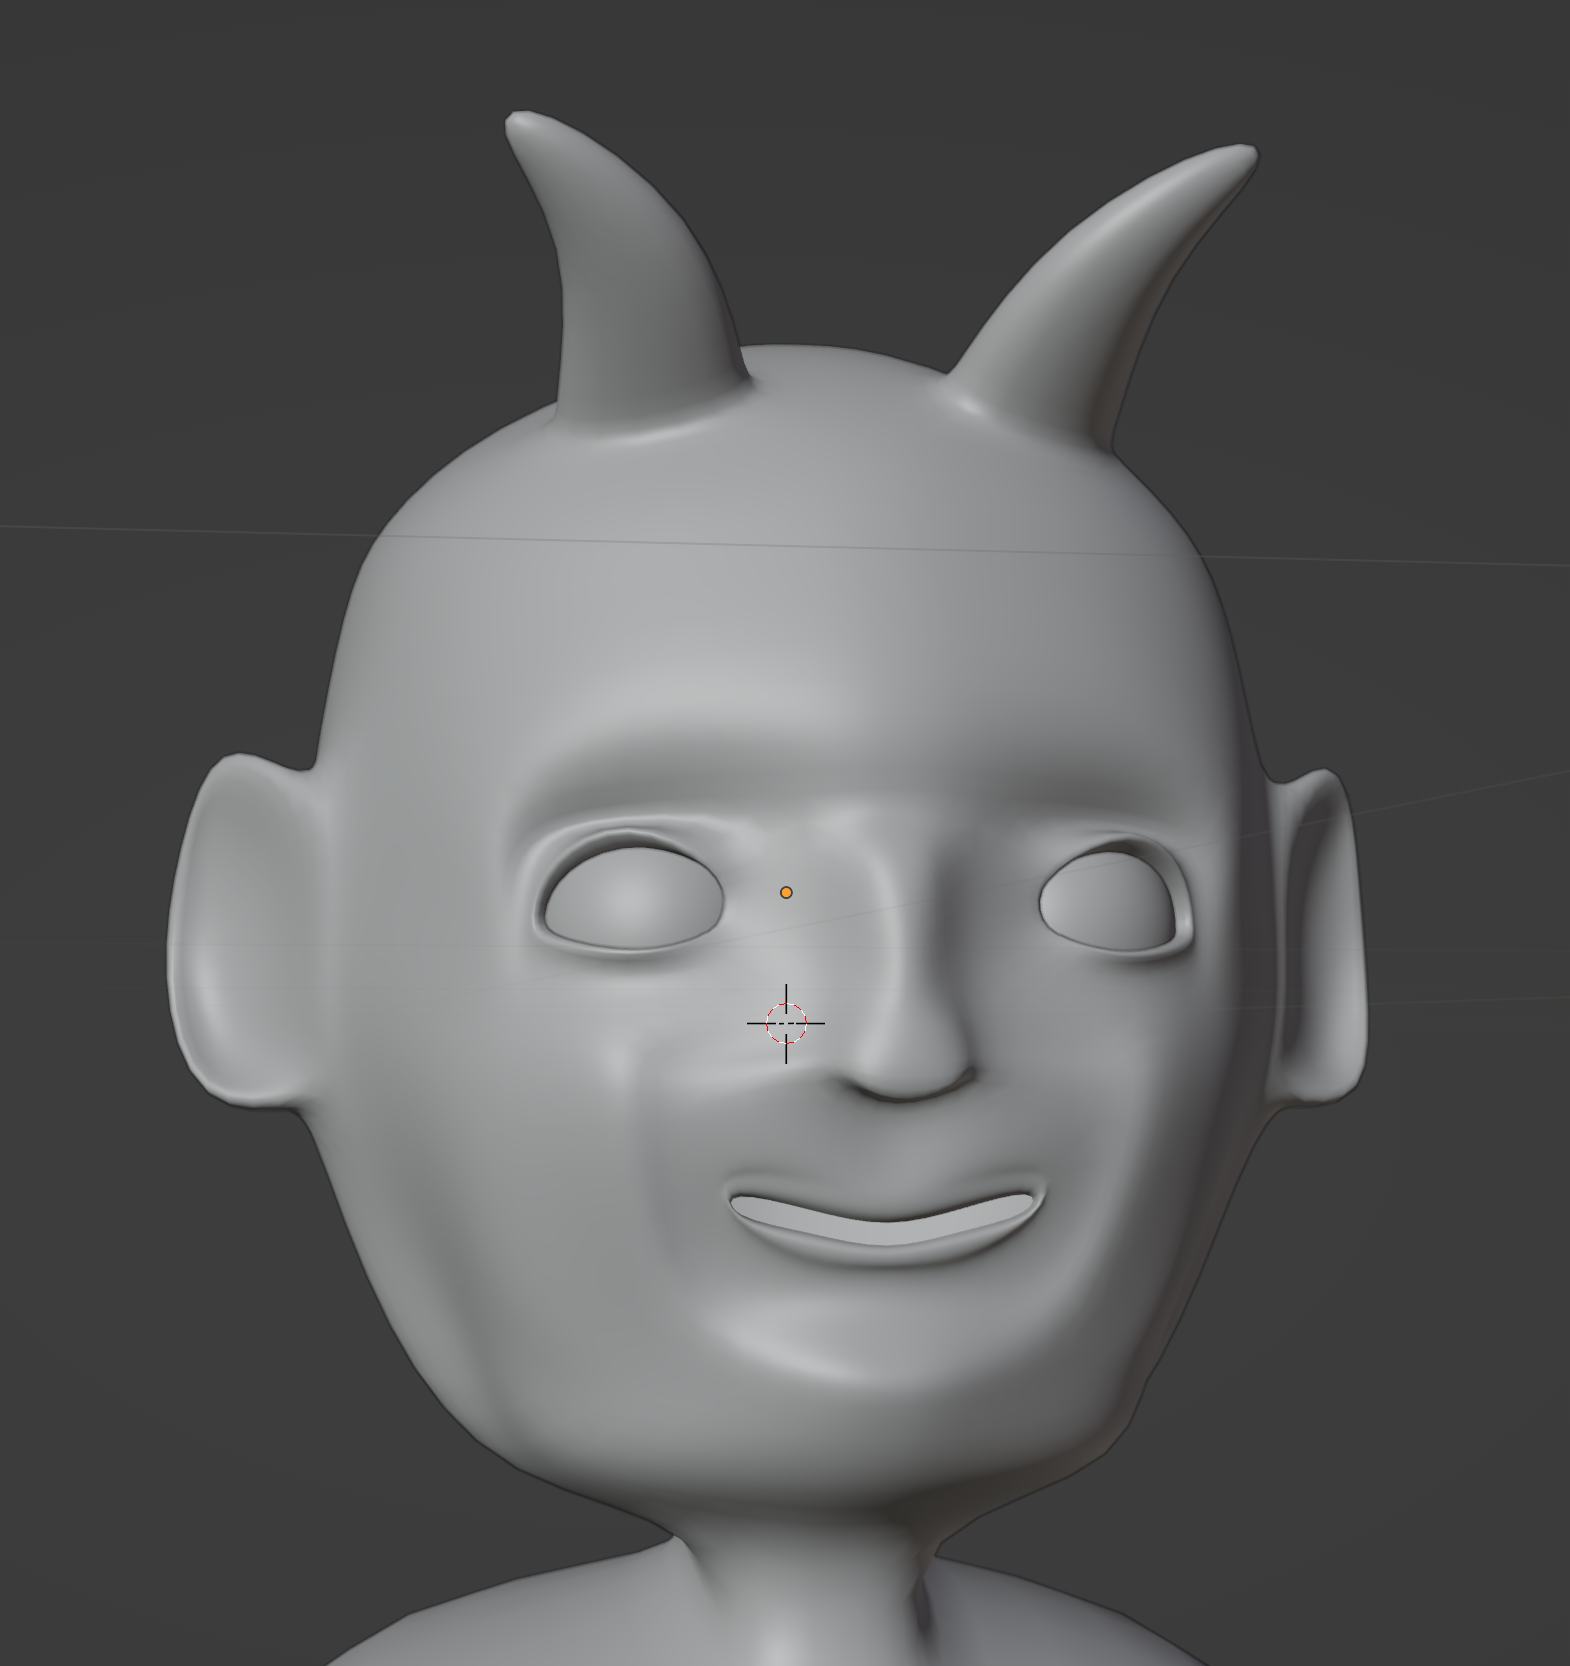
Or do some light posing, like this impish smile. (Though for anything more complex, I’d recommend rigging the character and posing in Pose Mode).
Extruding the mouth opening inwards and closing it up lets us define a mouth box. Now, our character is one solid head piece, along with two spheres for eyes.
The topology is clean by default (though you can add to it as much as you want), and simple enough that we could import this character into a game engine without issues.
After applying basic materials and setting up lighting, we now have a fully-fledged character render.